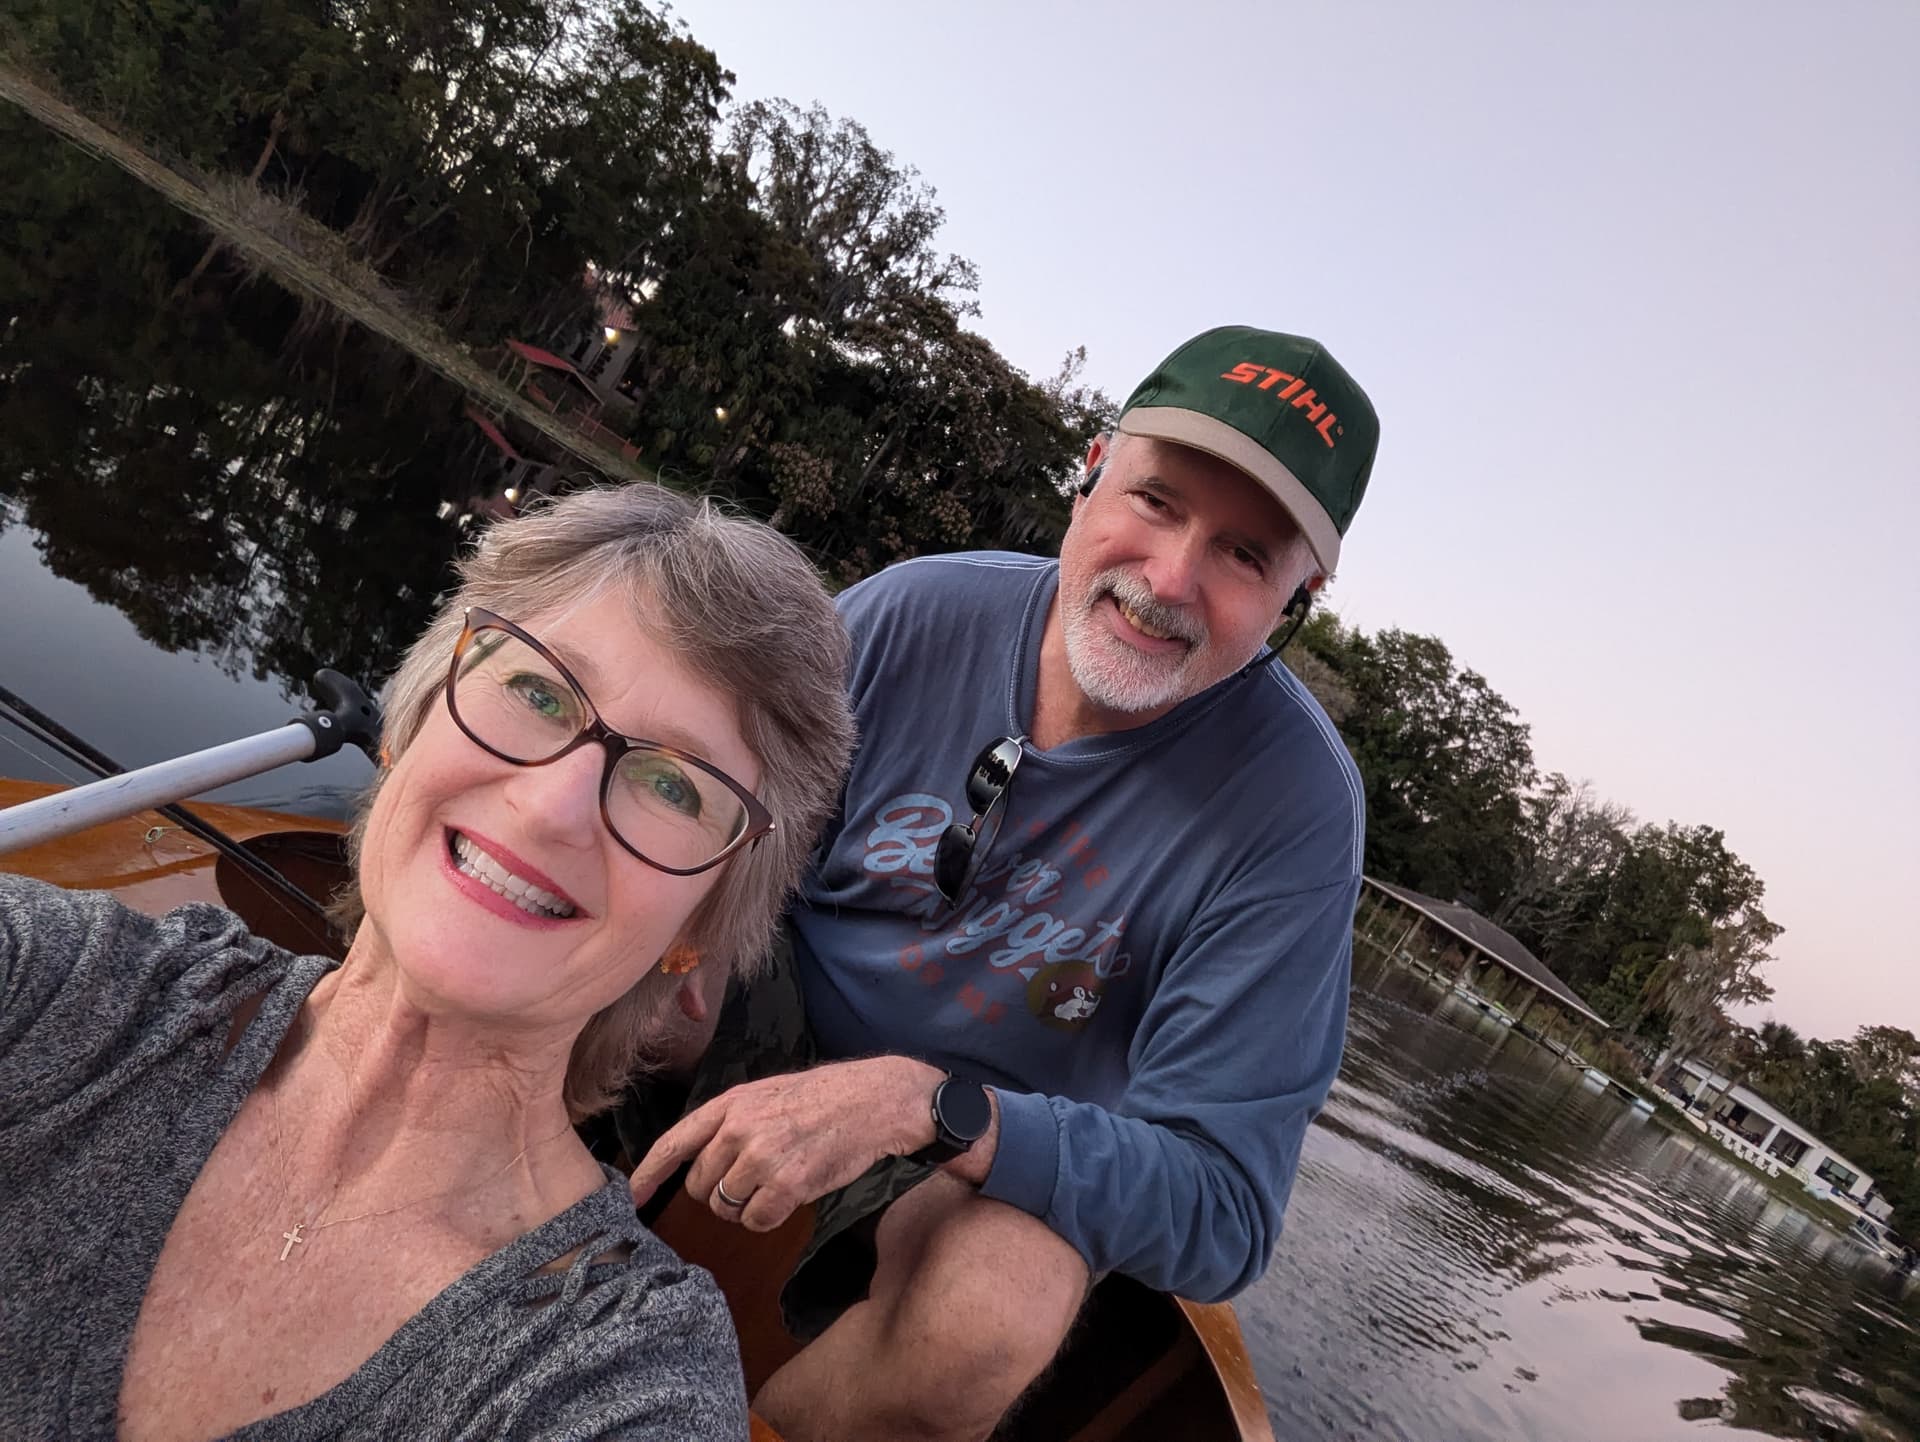
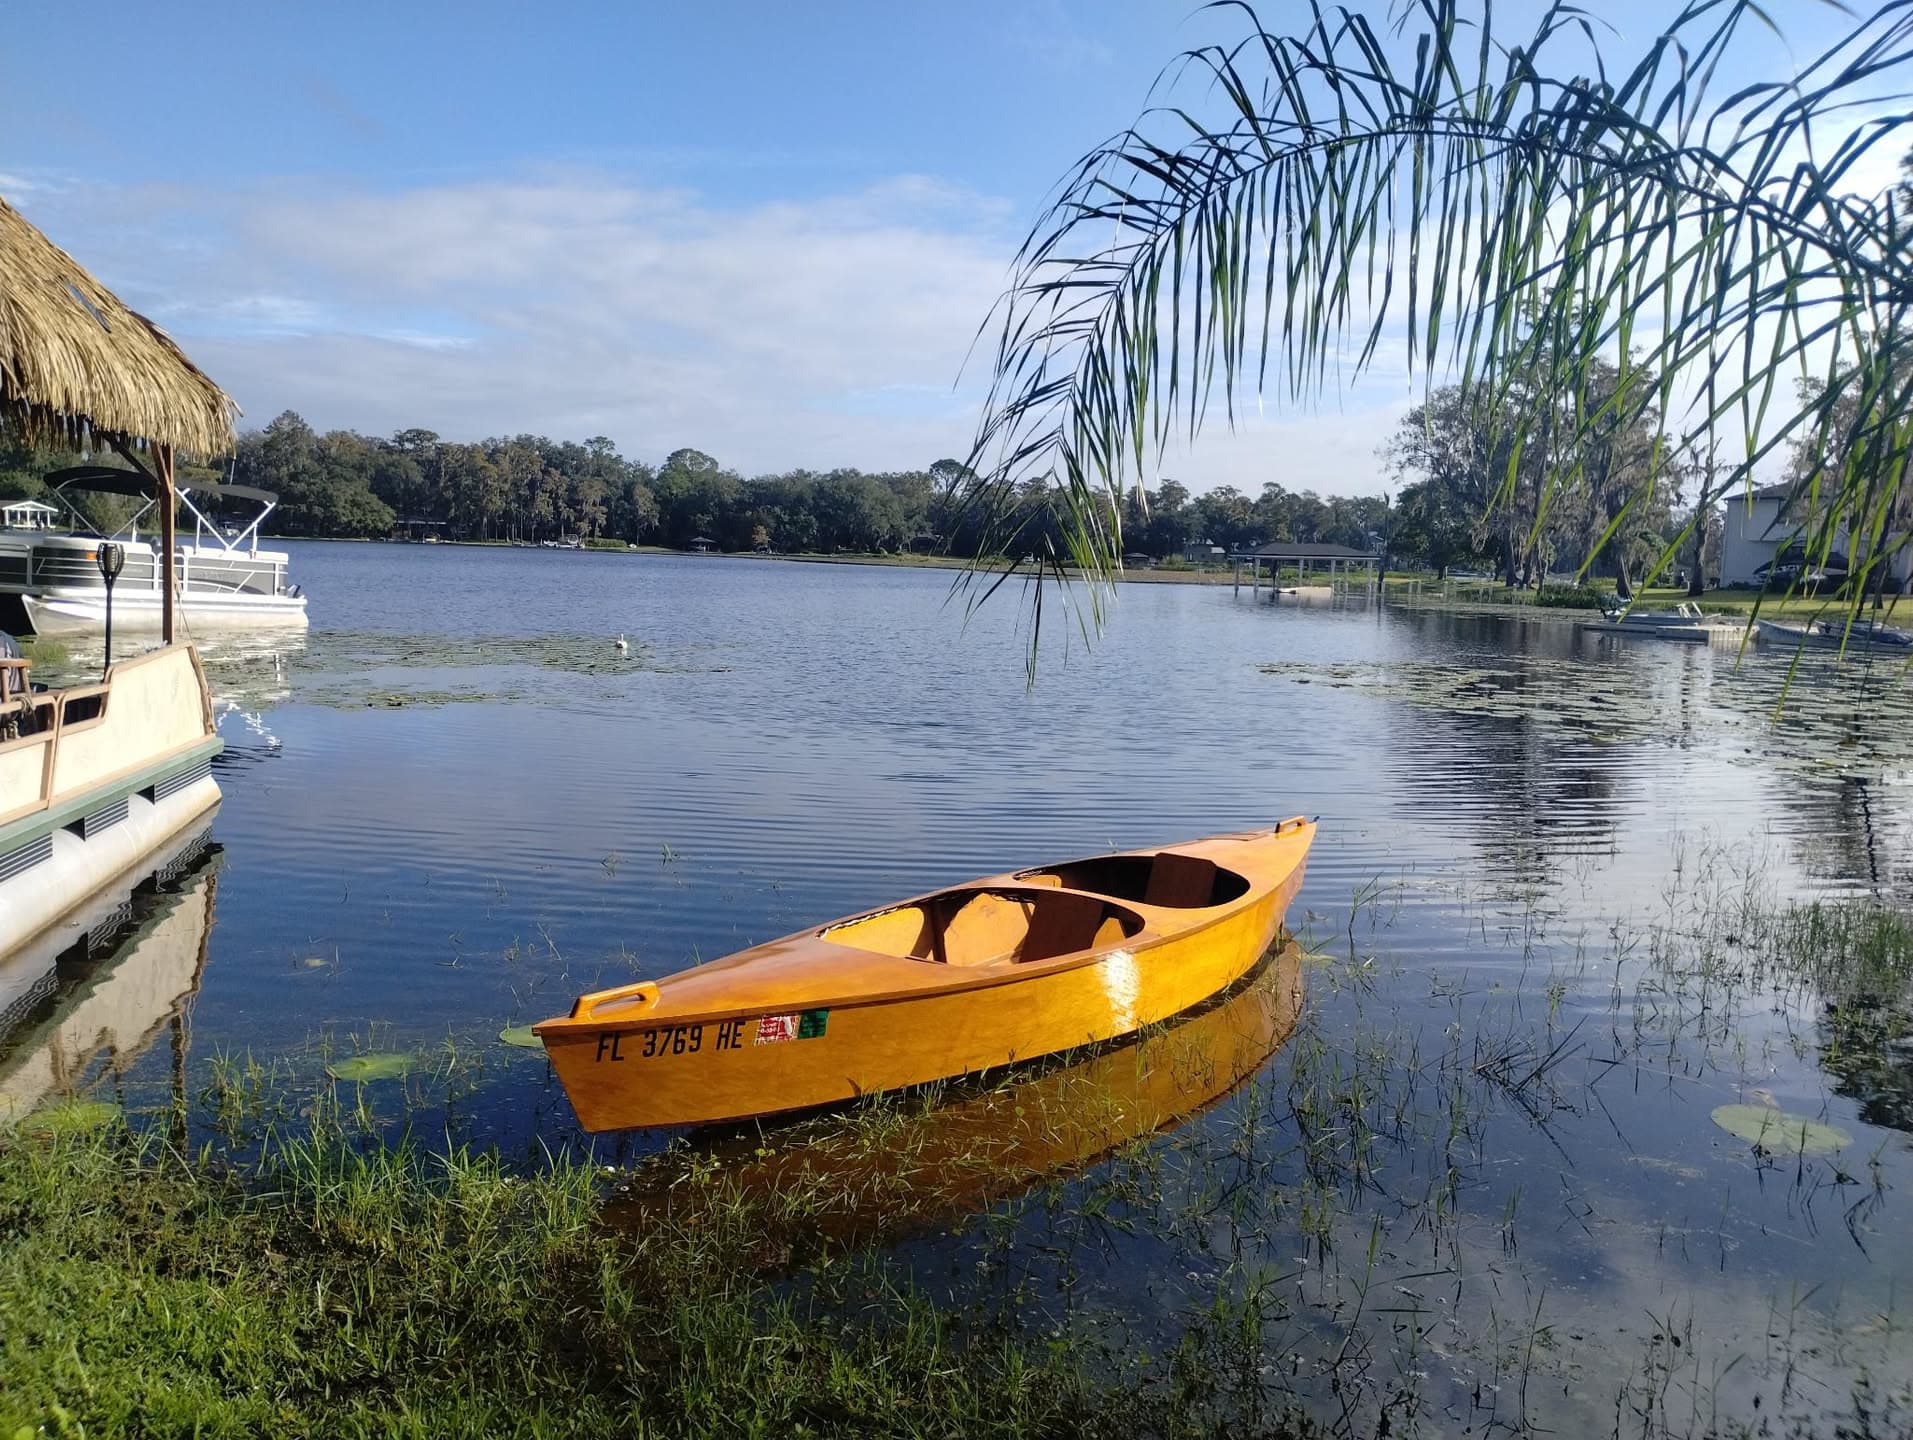
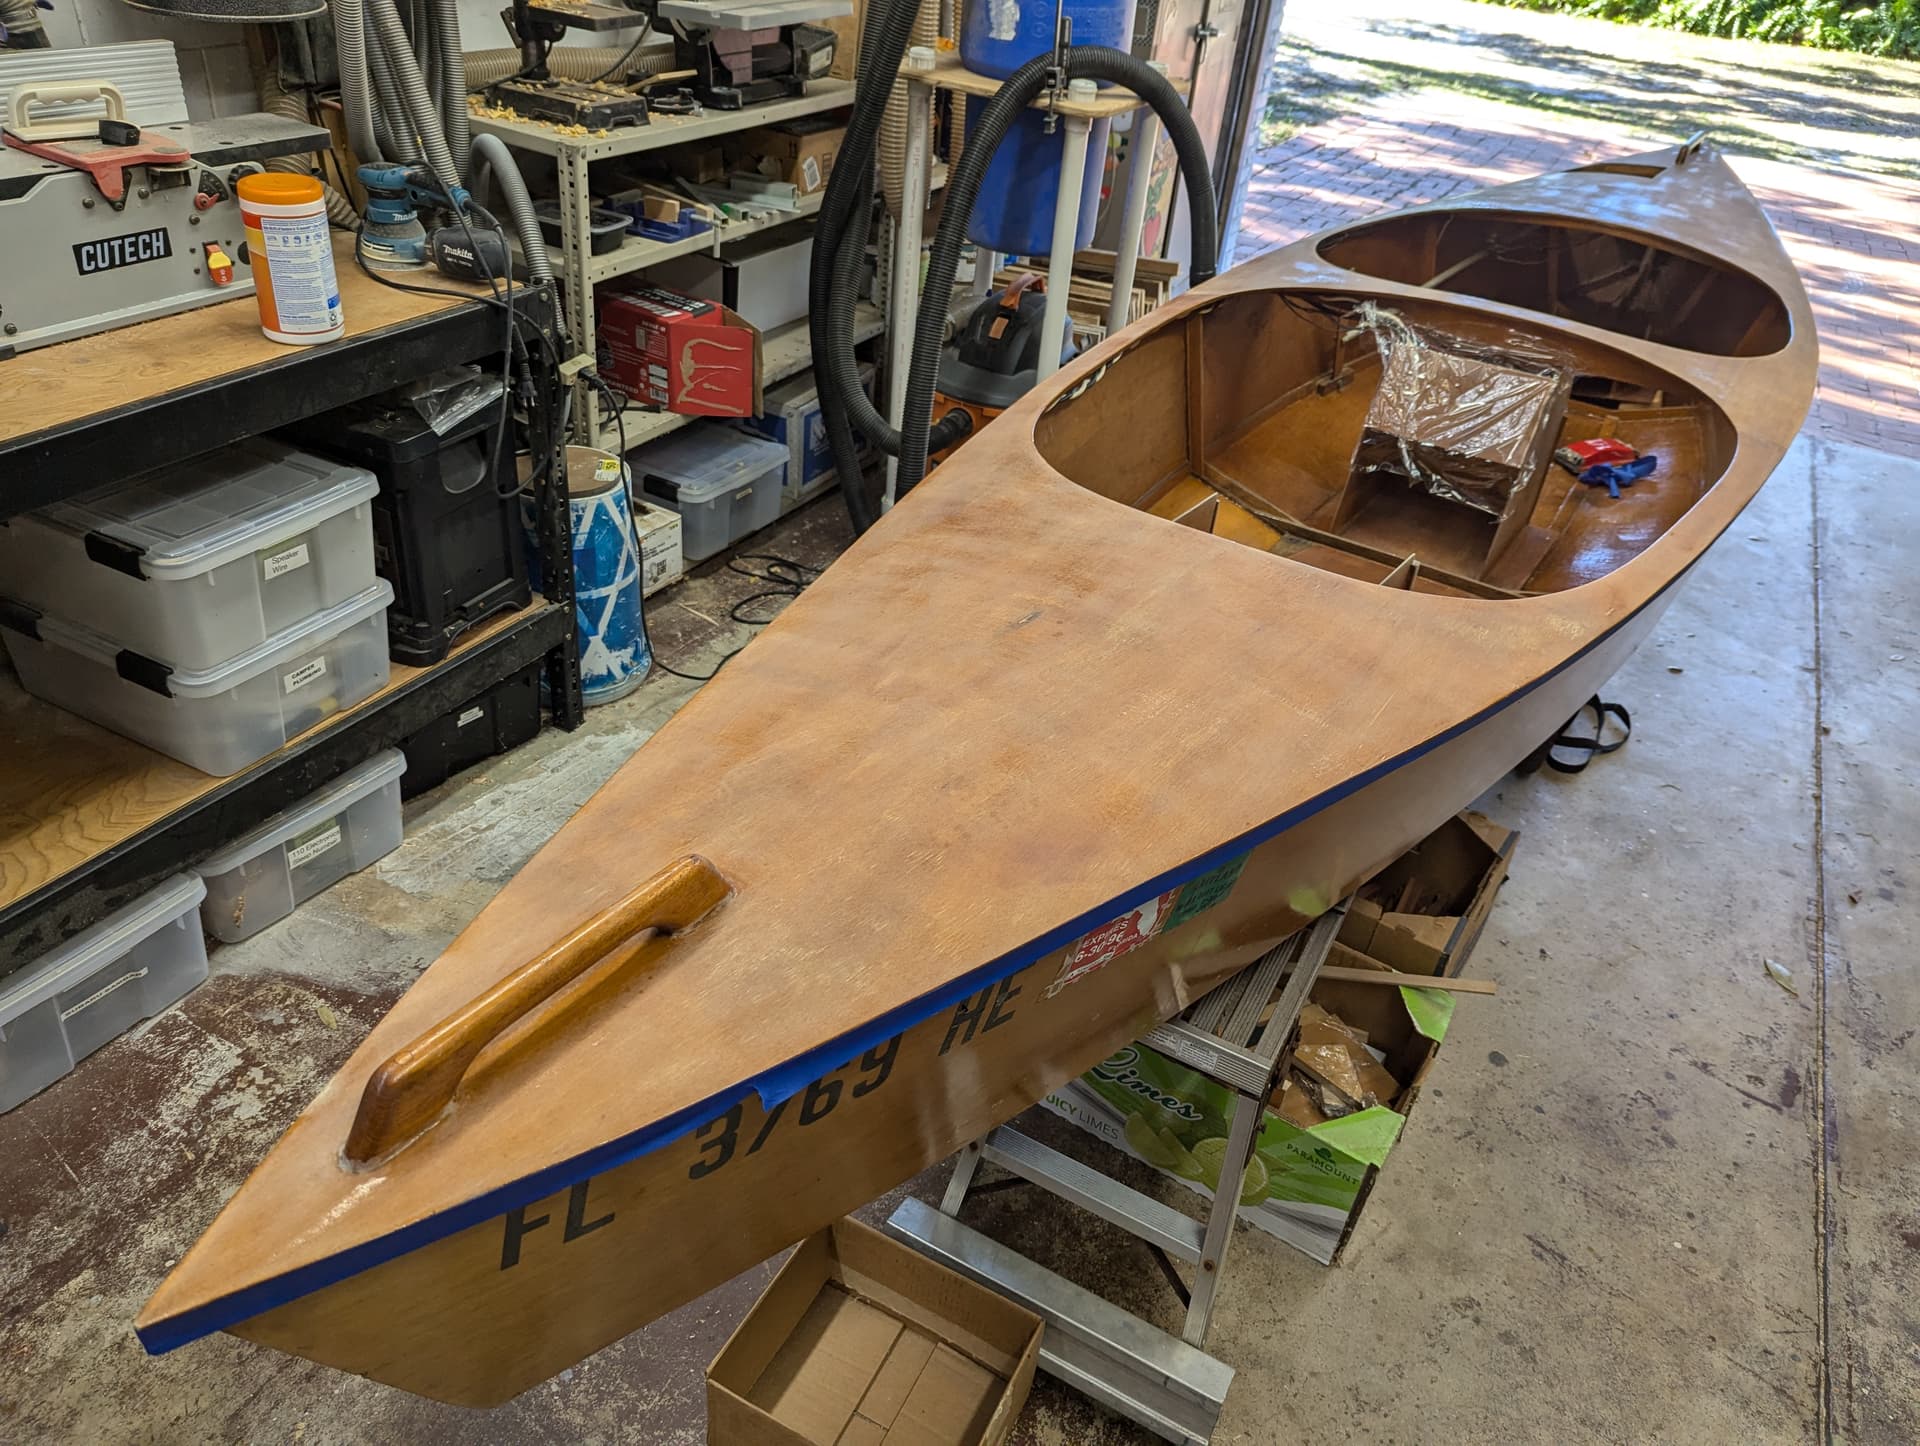
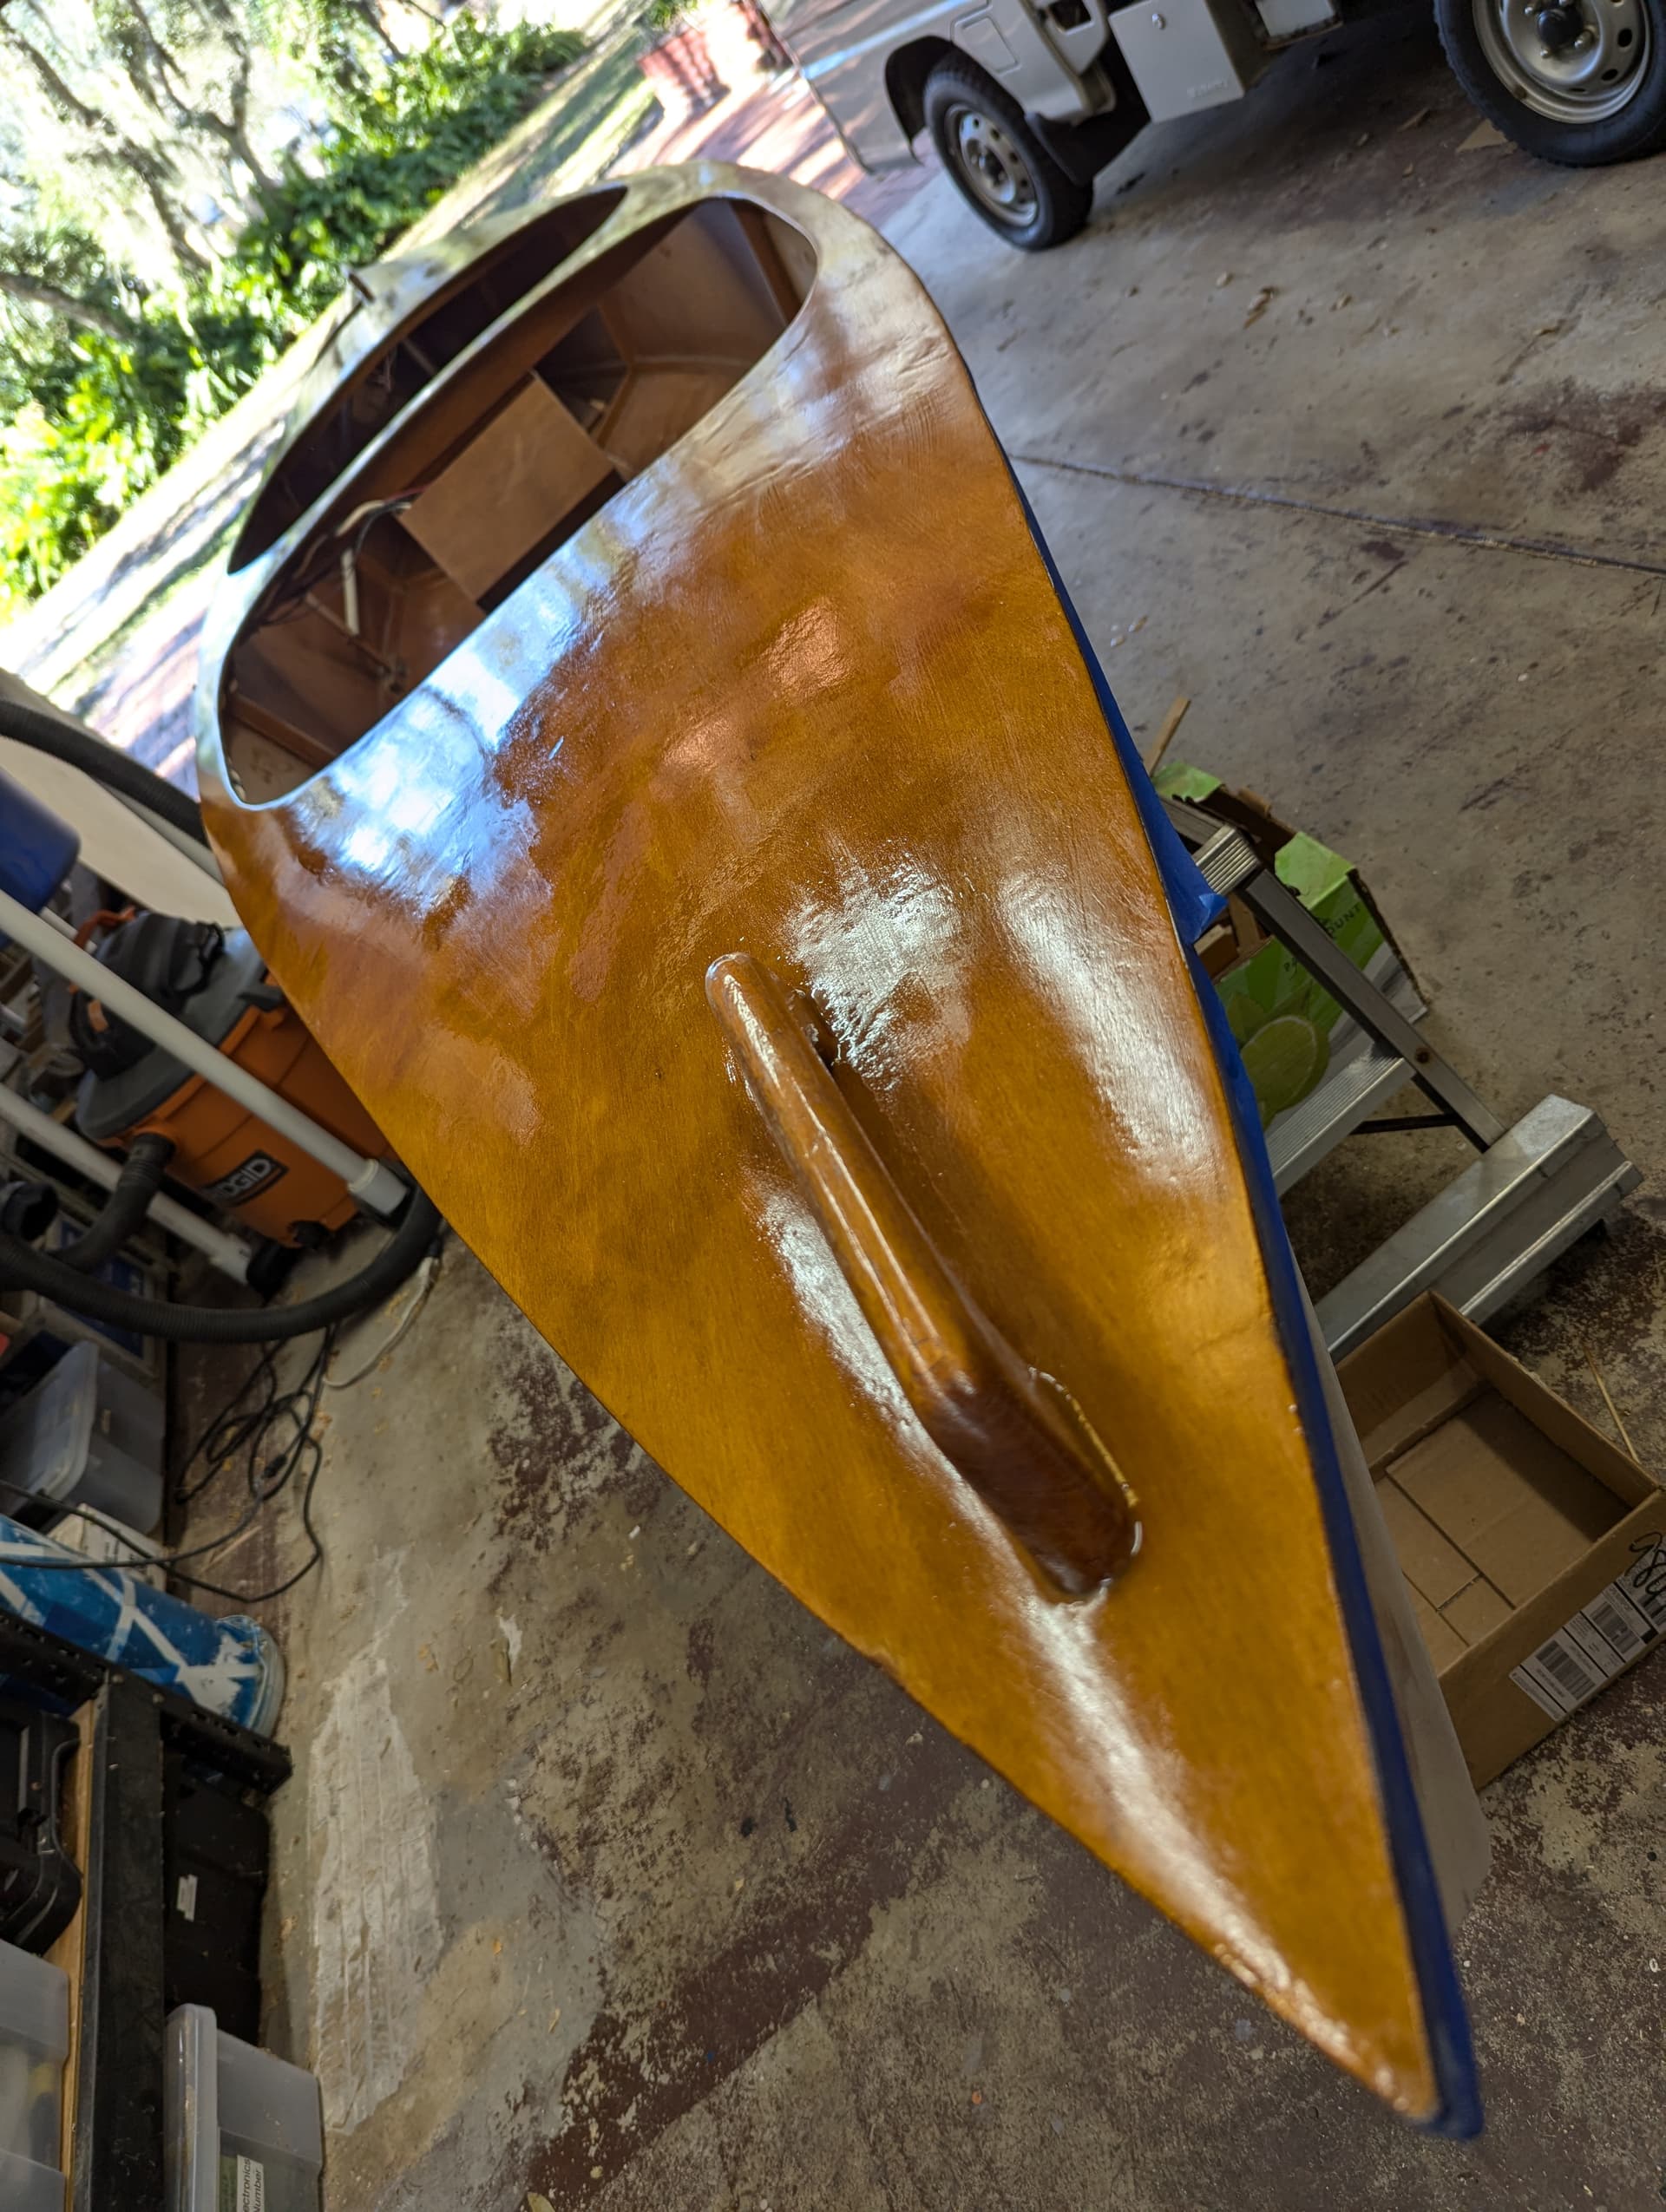
Let me introduce you to Kenwood, the wooden kayak given to me by my friend Ken Robinson 24 years go. Ken made it for an electric boat competition. My new 12 volt lithium battery makes this boat really fly.
The boat is primarily made from door skins making it very light, about 100 pounds. Door skins are a thin and light weight quality plywood.
Ceremonial bonfire and walk around the night before relaunch.
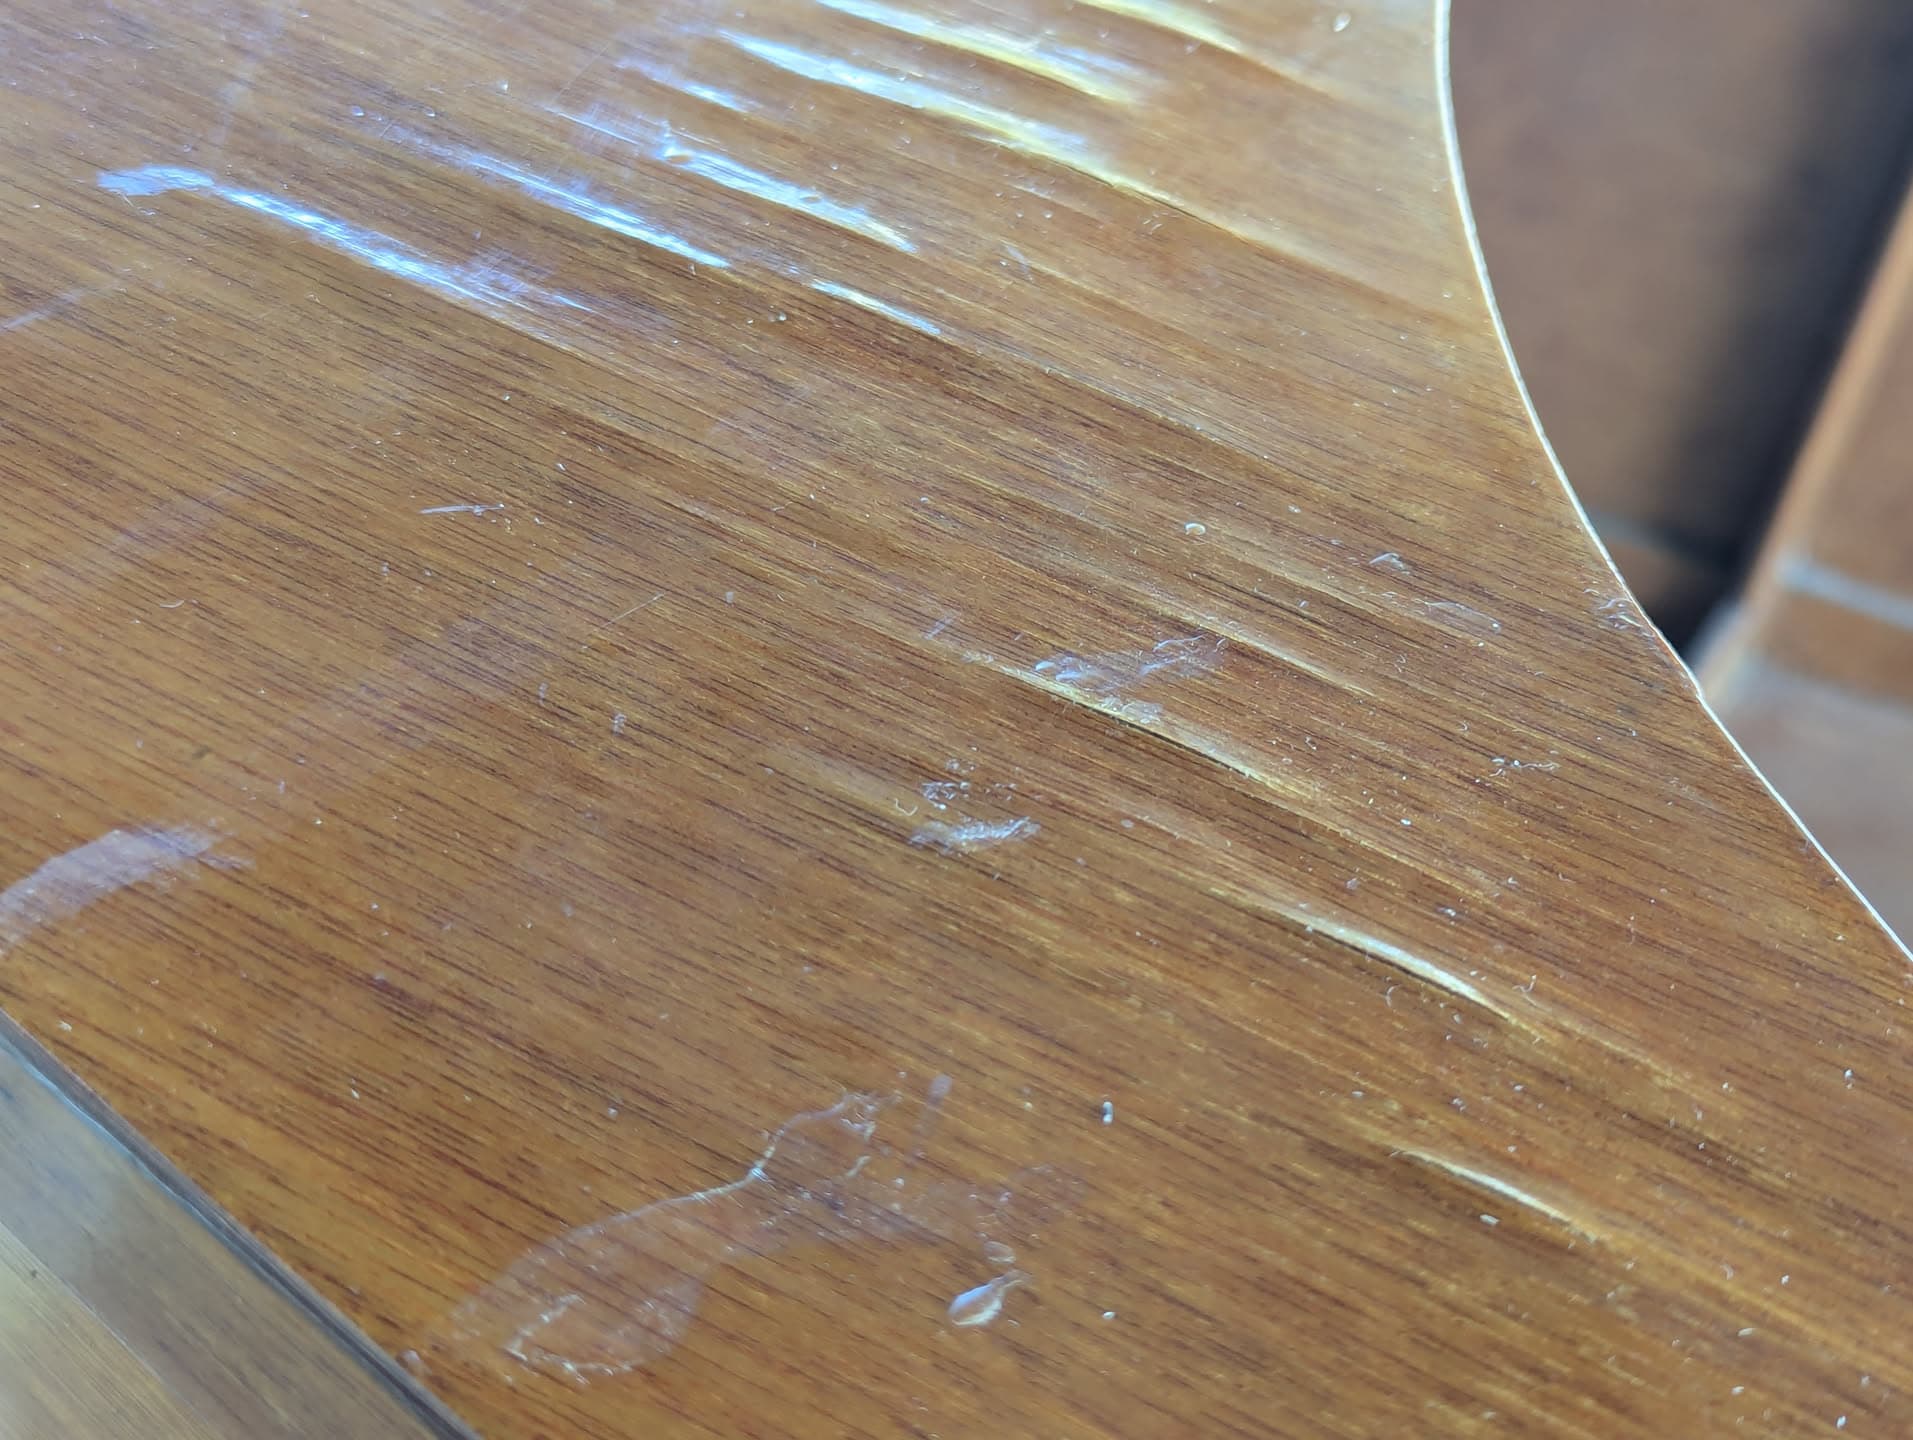
The main issue is water damage, to the top side and the bottom floorboards. In this photo you can see how the top layer of the plywood had become separated.


This YouTube walks through a bubbled wood veneer repair:
- Use a razor blade and split the bubbles in the top veneer layer, along the grain and down to the veneer layer underneath. This allows the air and any moisture to escape in the next step.
- Lay a damp cloth over the area and warm it with a steam iron. This will melt the glue and allow the surface to again lay flat. Repeat these steps as necessary.
- When the surfaces has cooled down, remove the finish with 120 grit paper, making a perfectly smooth surface.
From here I will follow a wood boat finishing processes, I’ve used on other exterior wood surfaces.

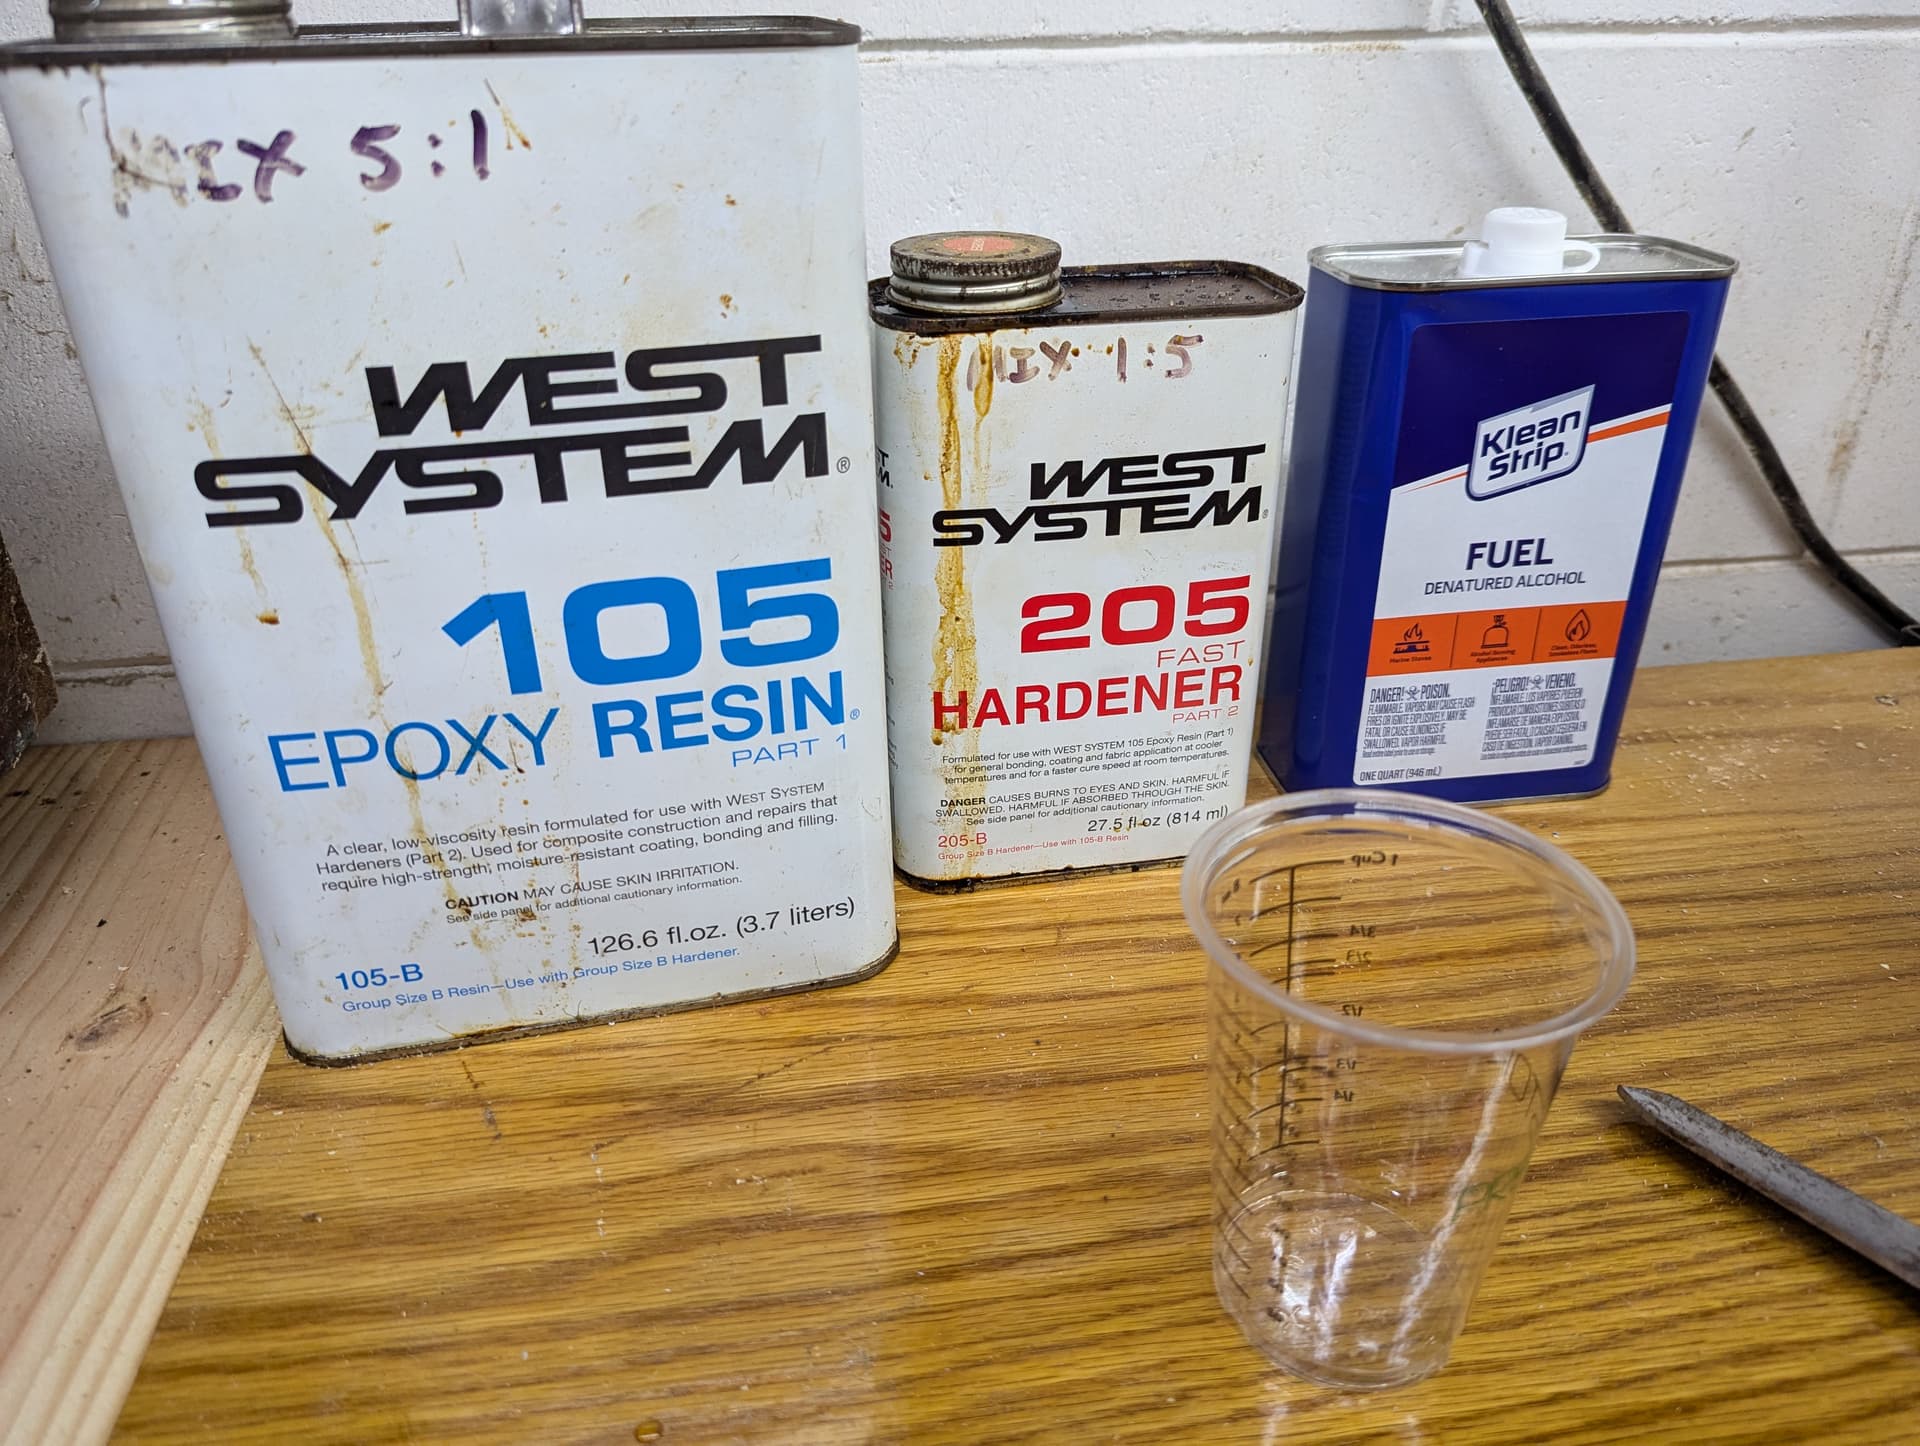
Boat finishing process
I’ll use a process similar to that used by Tips from a Shipwright
- Mix a thin batch of penetrating epoxy.
- Stir it for a least two minutes, do not cut this stage short.
- Add one part denatured alcohol. This will make it extra thin for penetration, but will later simply evaporate away.
- Apply the mixture with the grain in one or more thin layers.
- If the surface is very bad, you may need to let it dry, lightly sand the surface and repeat the process.
- After a light sanding, apply multiple coats of clear Eipfanes varnish.
- Let it dry and apply a light sanding between coats.

Progress to date, we’ve got it in the shop and have performed an inspection.
There are two main parts of the project, 1, rehabbing and resurfacing the floor and 2, same for the top surface.
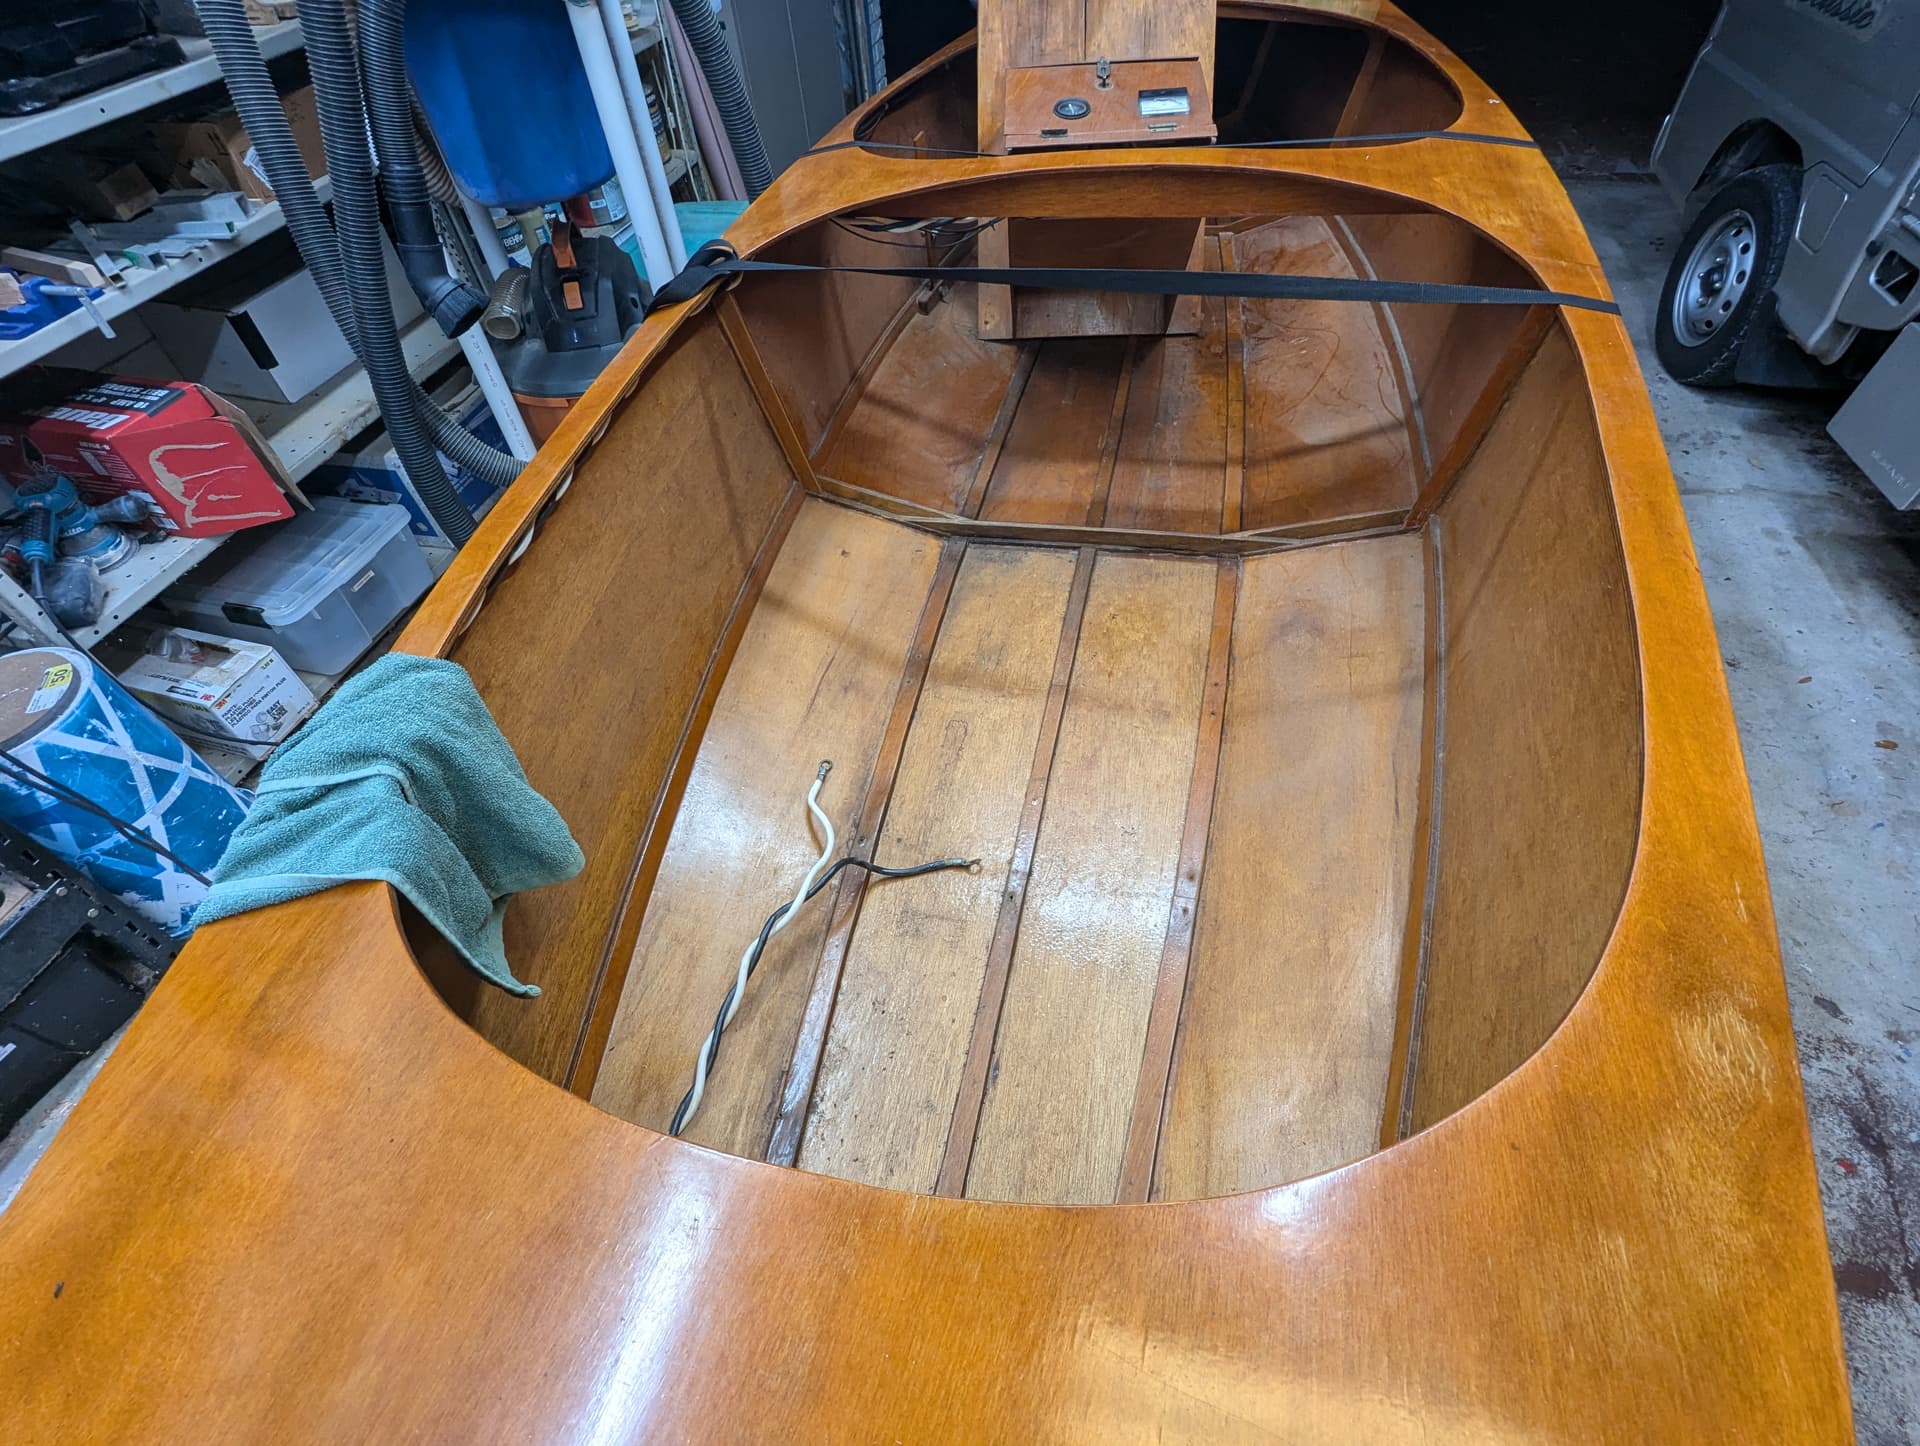
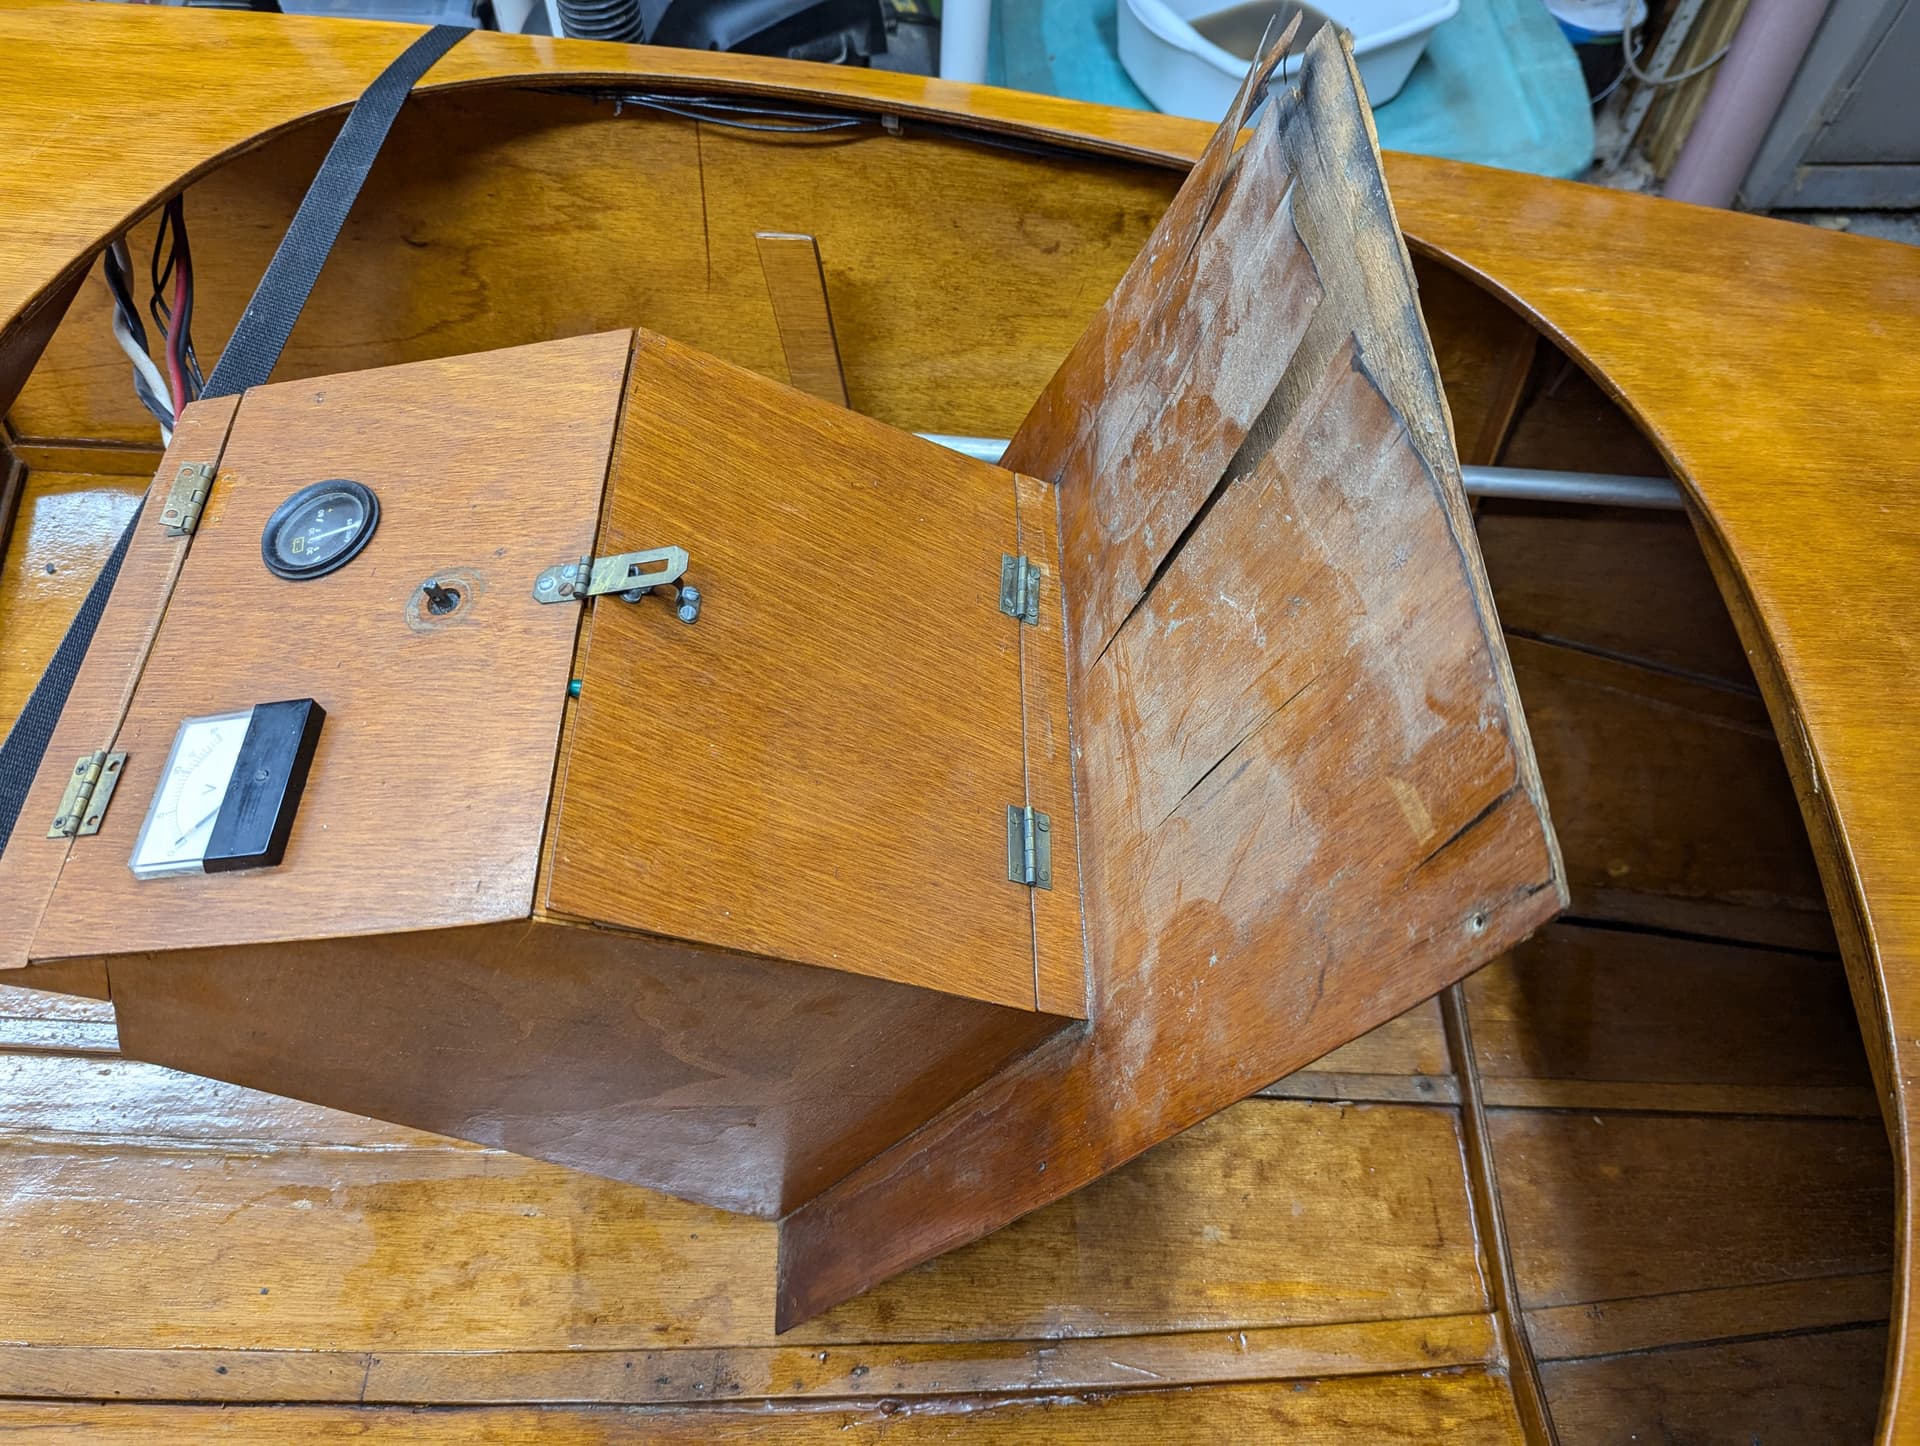
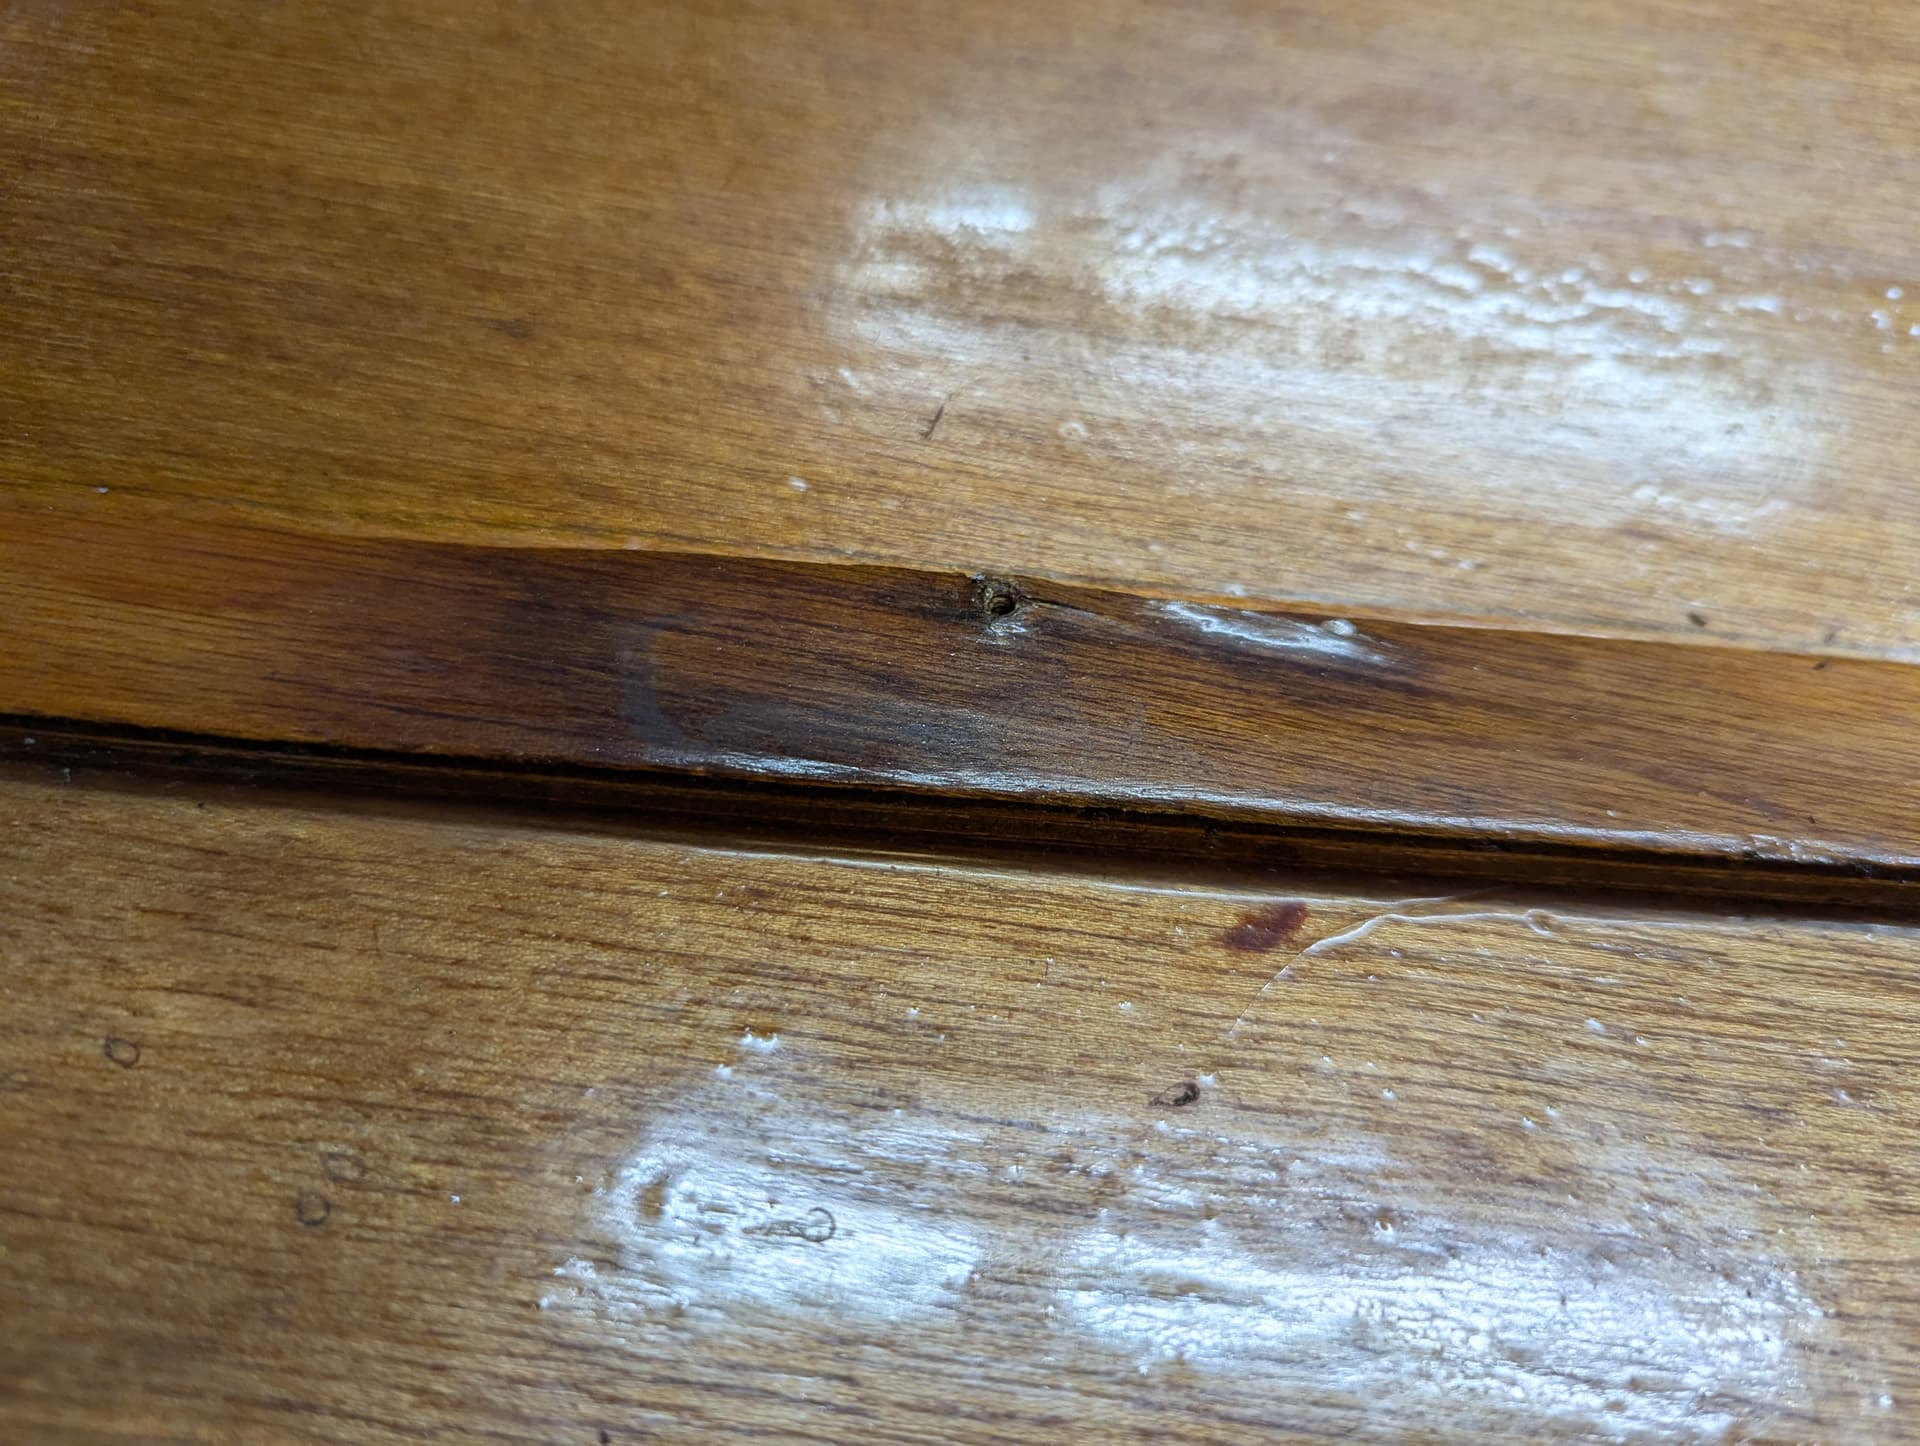
The floor has three panels and the central panel has three ribs. The central panel has water damage. A fiberglass fix was made 10+ years ago but the interior is still showing damage and several of the ribs and part of the panels are a bit soft. Note the dark spot, the main area(s) of focus.
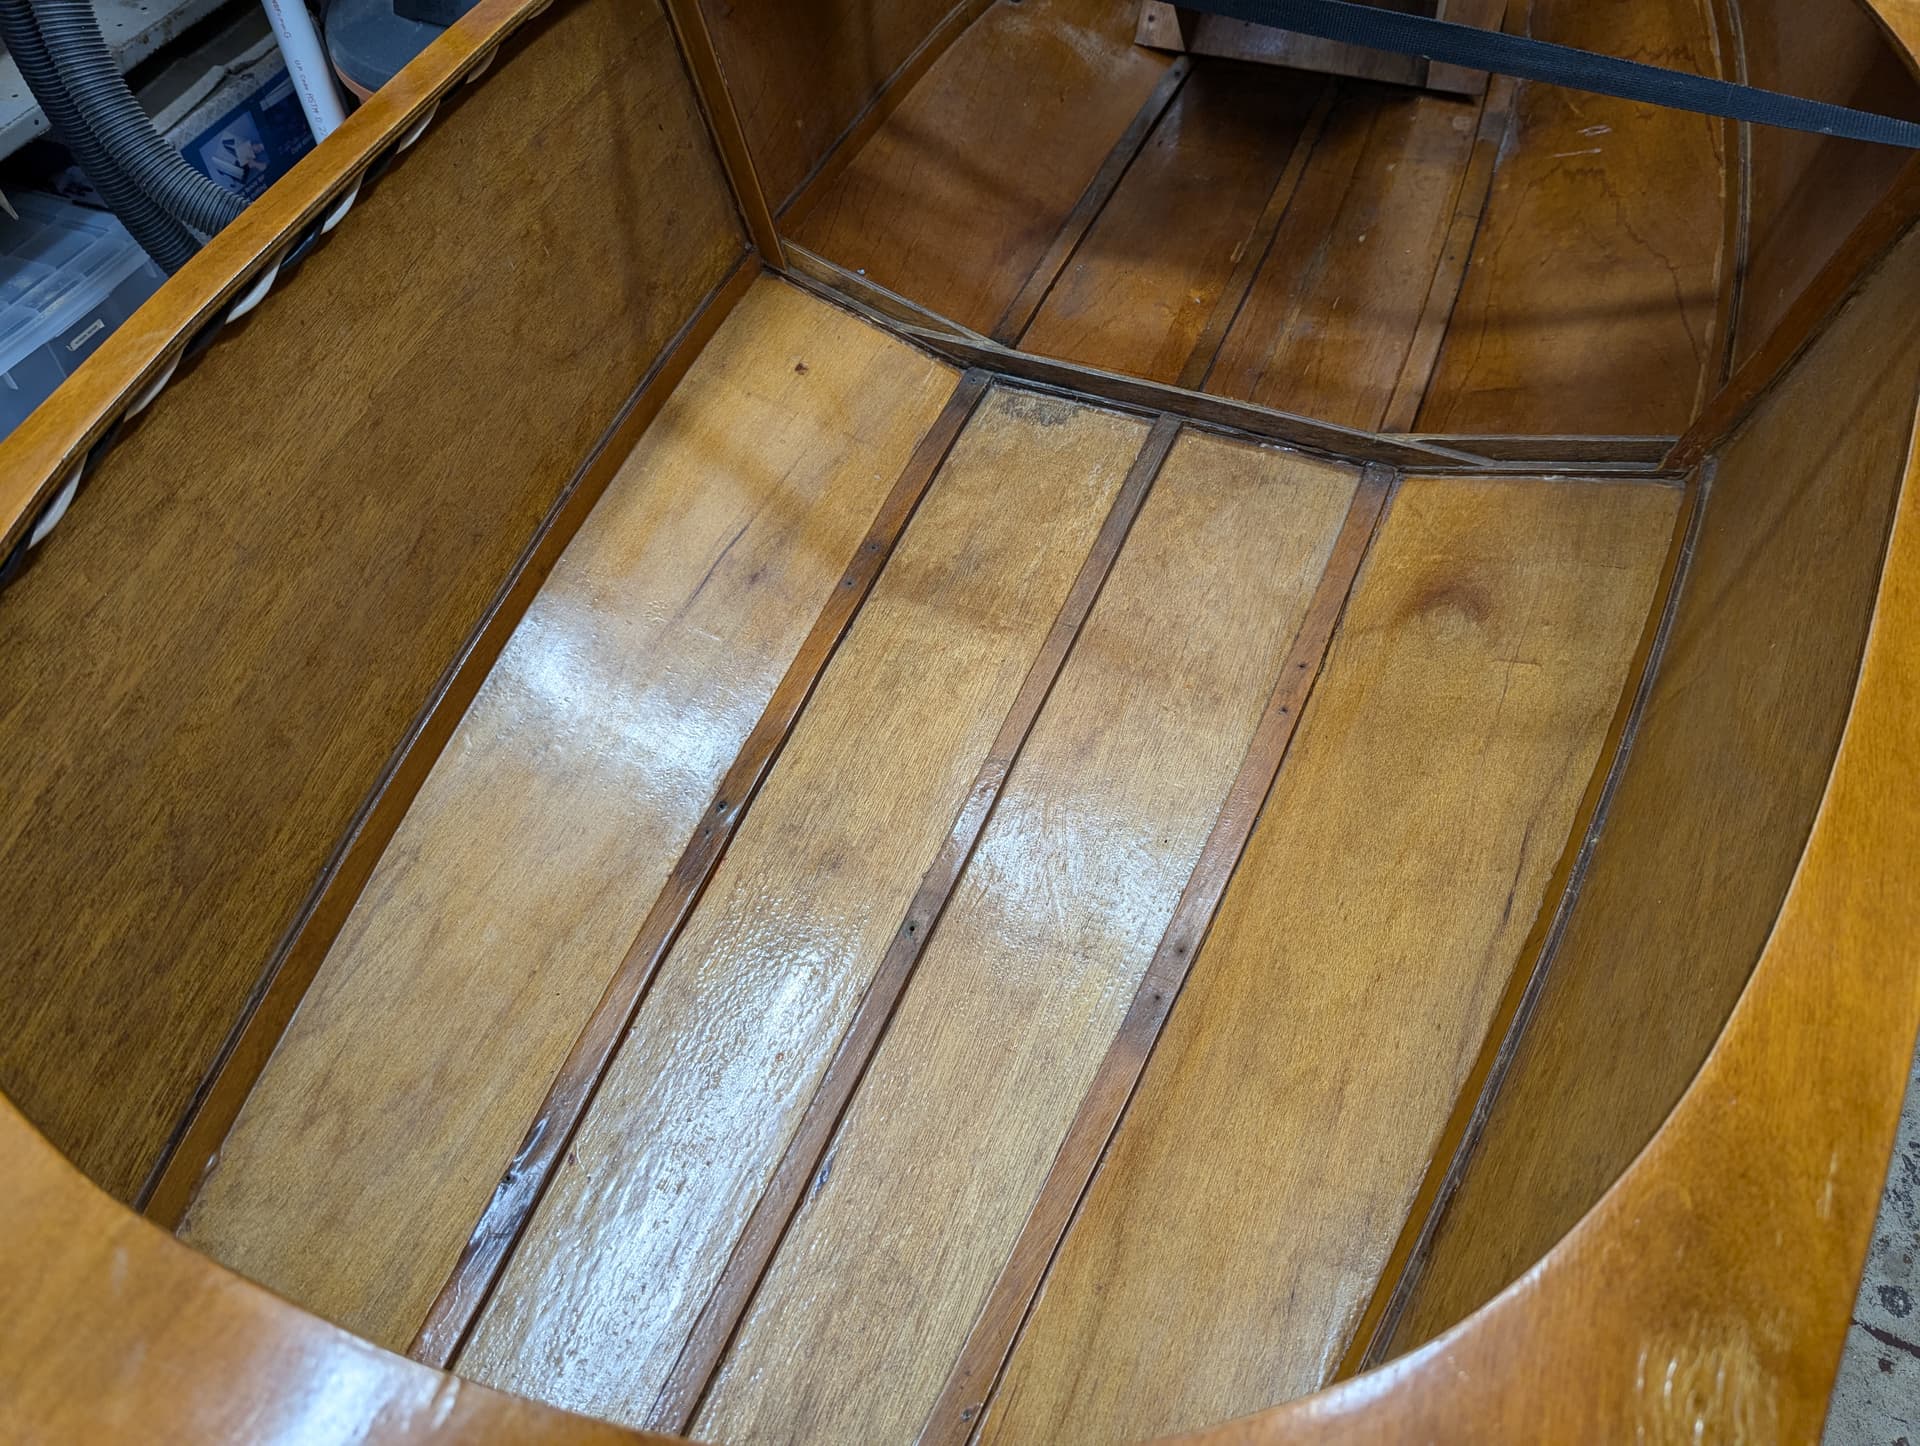
See the dark areas. The whole floor will get a couple of coats of epoxy, after a light sanding and more cleaning.

The veneer layers are starting to separate. Epoxy can be injected between the layers, compression is applied during drying.
Most of the floor panels can be refinished and will be just fine. The panel directly in front of the console has water damage such that it needs to be replaced. The floor panels are 1/4". We have some 3/8" baltic birch in stock for replacement. After finishing, the replacement floor panels will be similar in appearance to the existing panels but stronger. The expectation is that you will be able to stand up in the boat and fly fish while having a firm footing.

What is next?
- Sand, clean and epoxy the floor.
- Fabricate replacement floor panels as necessary, refinish others as necessary.
- Refinish top, sand, epoxy, varnish top/w 5 coats.
- Reinstall components, test electronics, test, test, test, go fishing.
Repair Stage
The electronics were working well in general. It is uncertain how accurate the amp meter was. When running a trolling motor without resistance, the motor draws very little current. The voltage meter was confirmed by a second meter.
One solder joint had come loose that was easily fixed.
It was interesting to see how Ken created the rotary switch mount. He use a pair of popsicle sticks, cut a slot in each that match the rotary switch, and held things together with epoxy. One of the sticks had come loose, requiring more epoxy, plus a zip-tie for good measure.
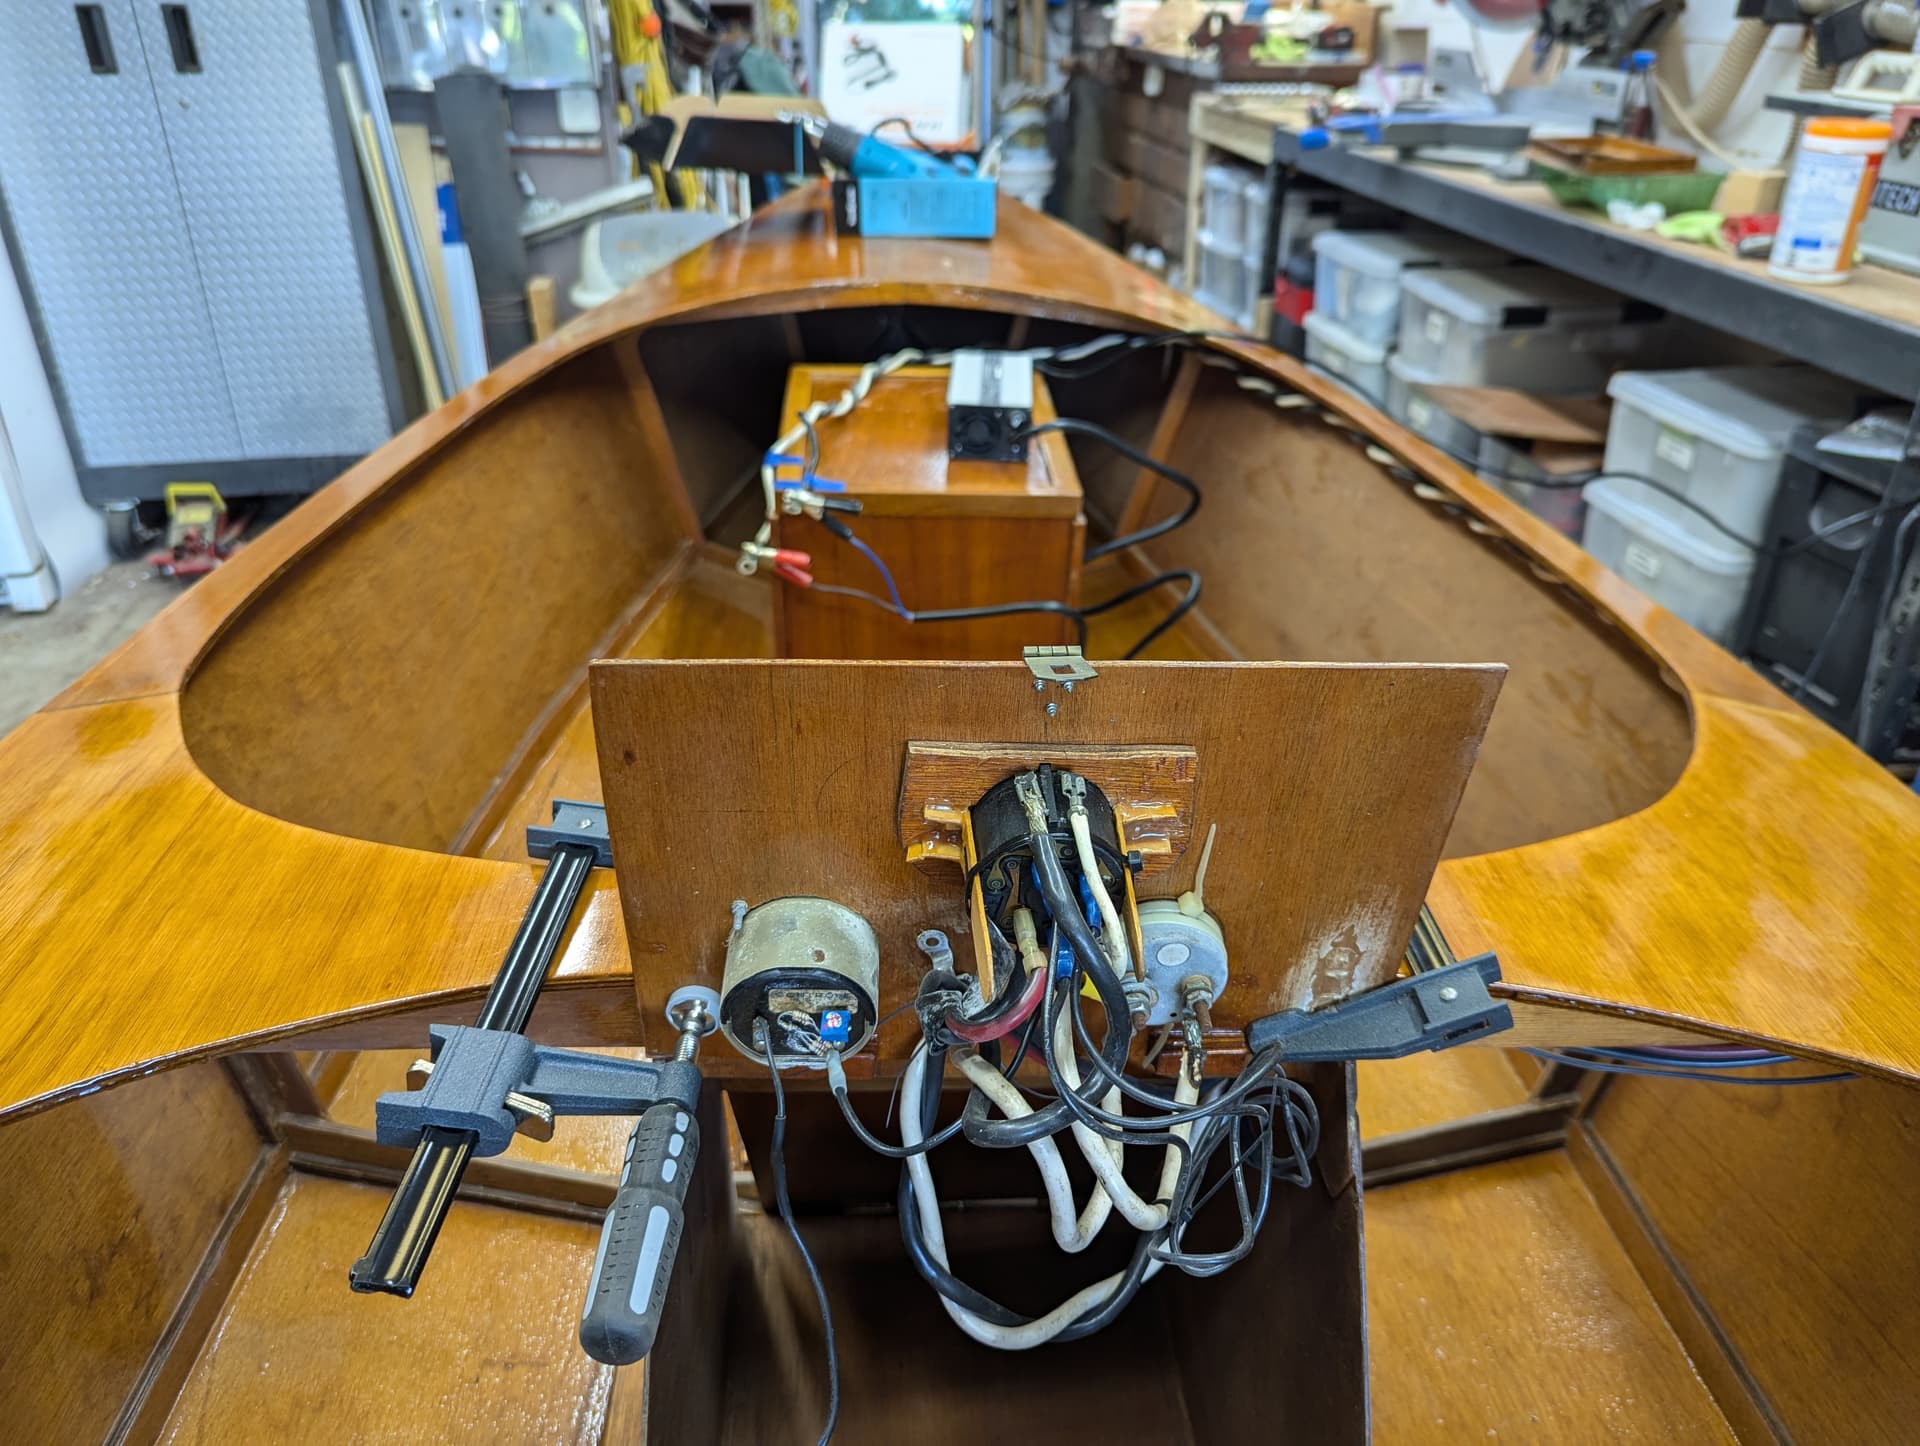
In this photo, I have used a 12 volt battery charger to bench test the system.