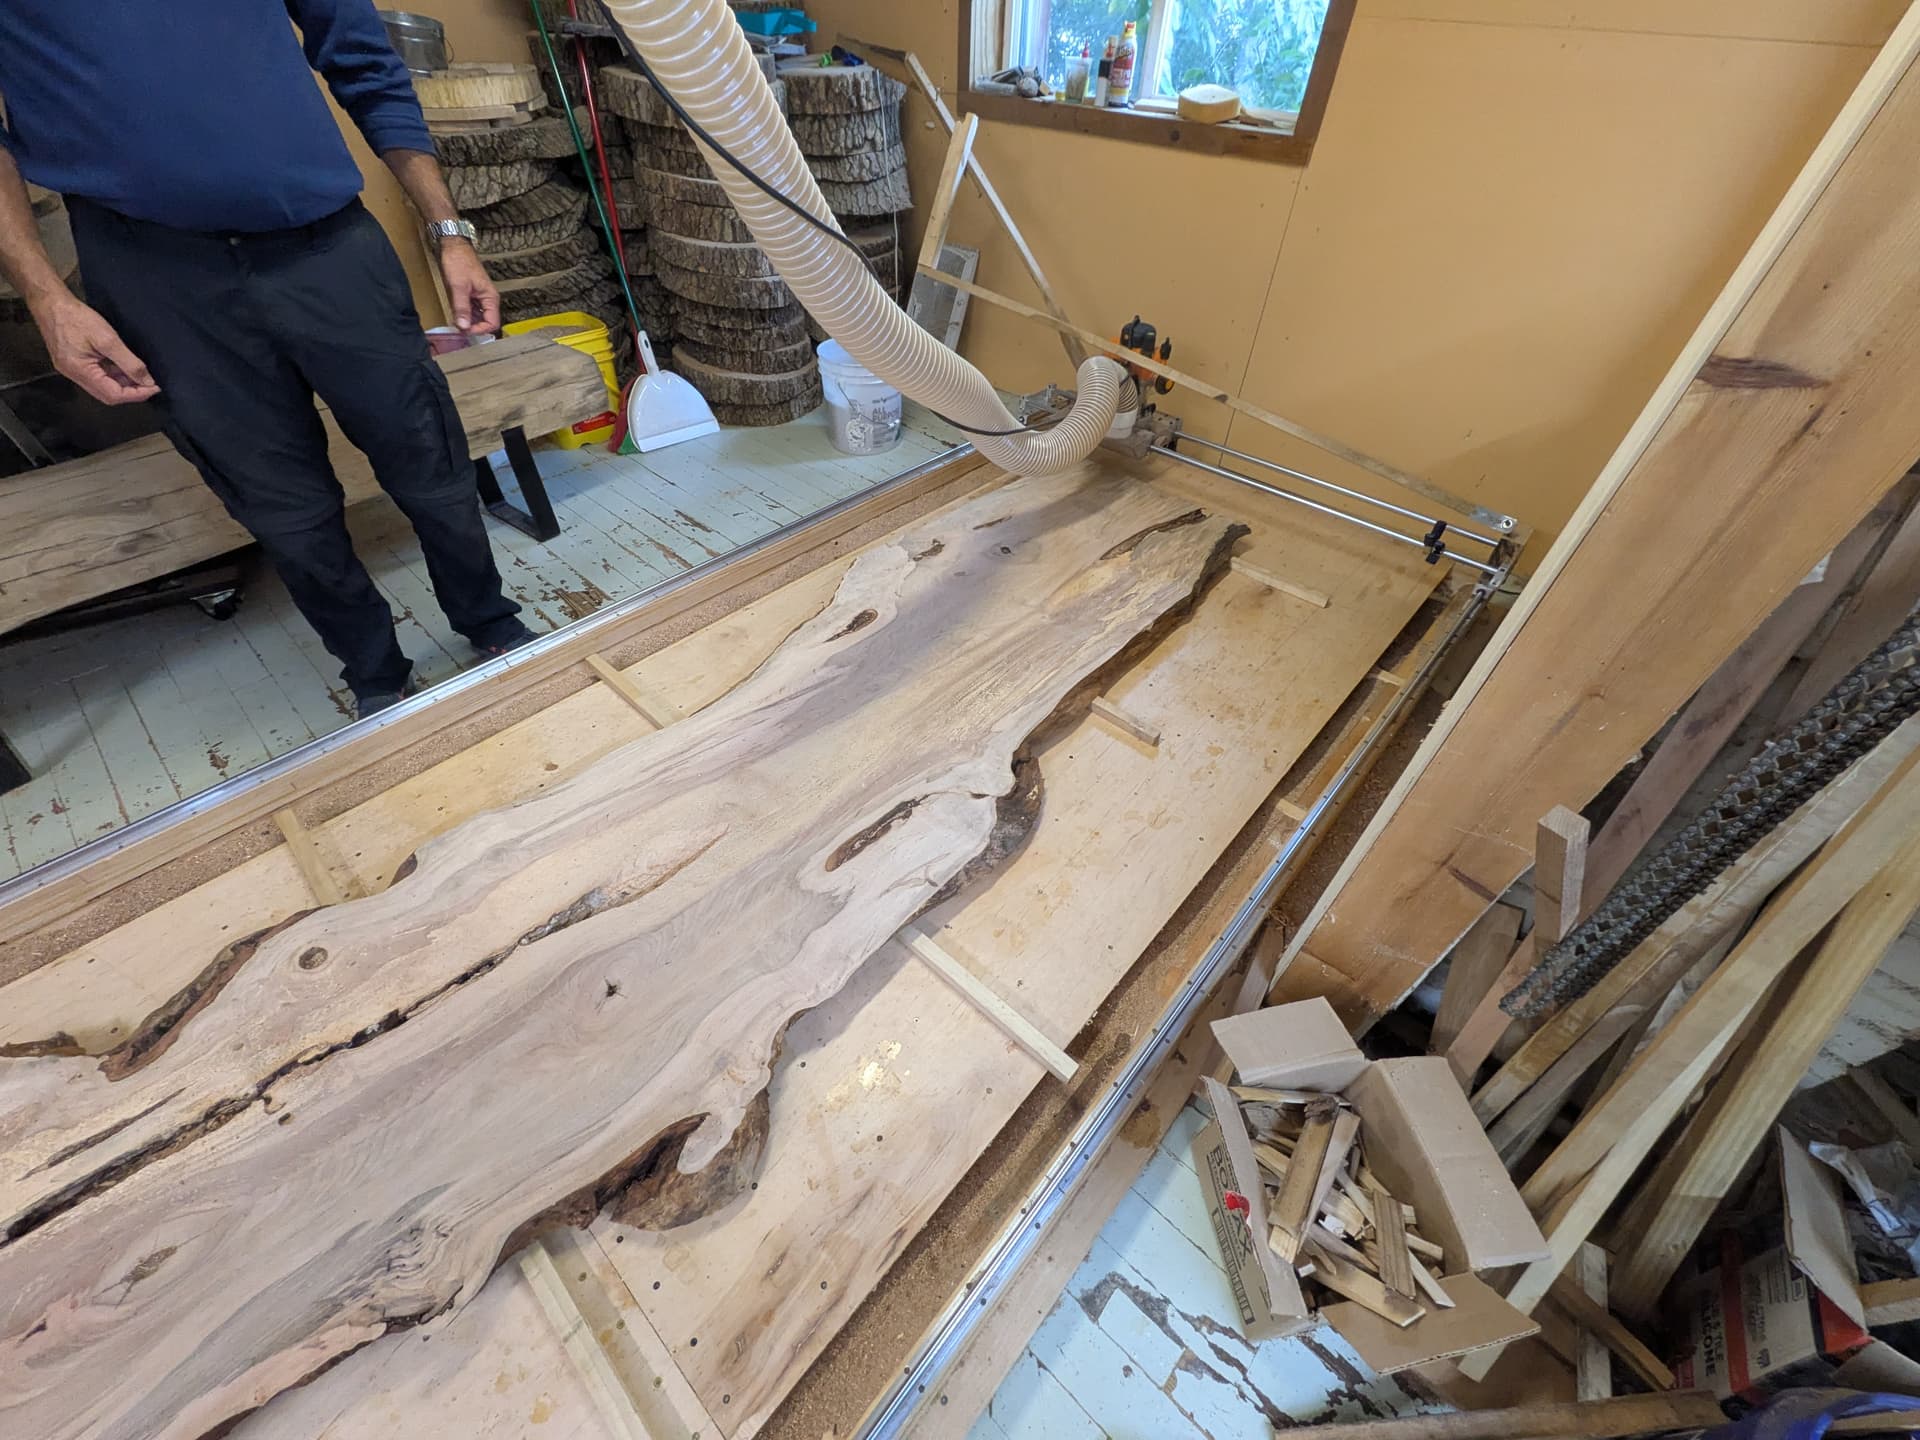
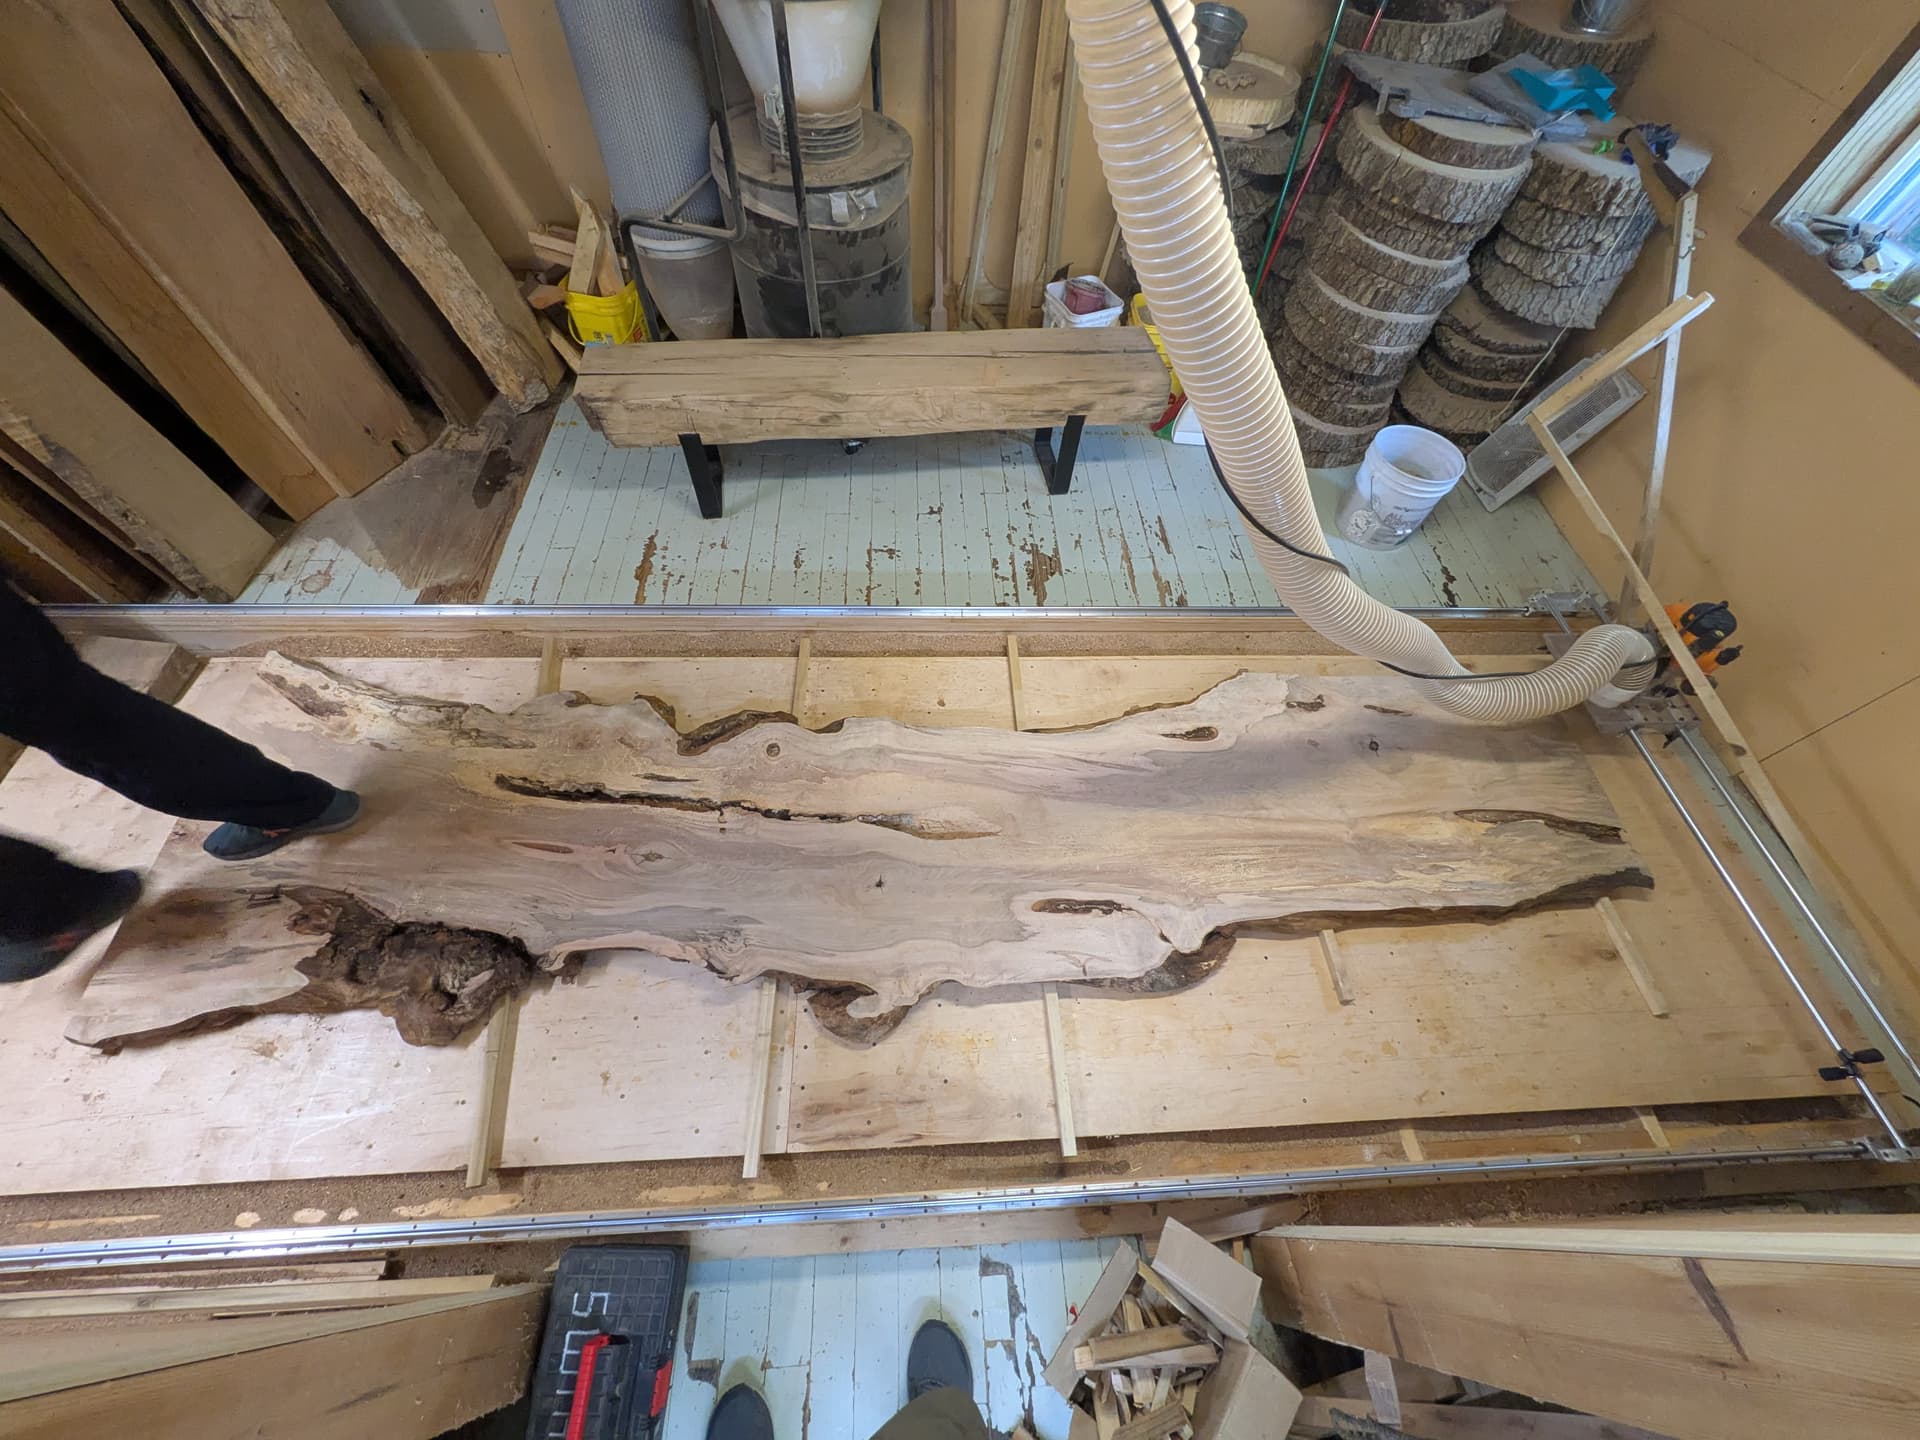
Initial leveling with a router sled was performed at Bucky’s shop. You make the slab as level as possible using shims, and work a router end-to-end over the slab to get the surface in one plane. Once the slab is flat on one side, flip the slab and flatten the other side. Shims are not required for the second slide. When complete, the slab should be both flat and of a consistent thickness. The two slabs are not the exact same thickness, we had plans to deal with this later. Note the dust collection. This process takes several hours.
Back at the main build site, there are several preparations:
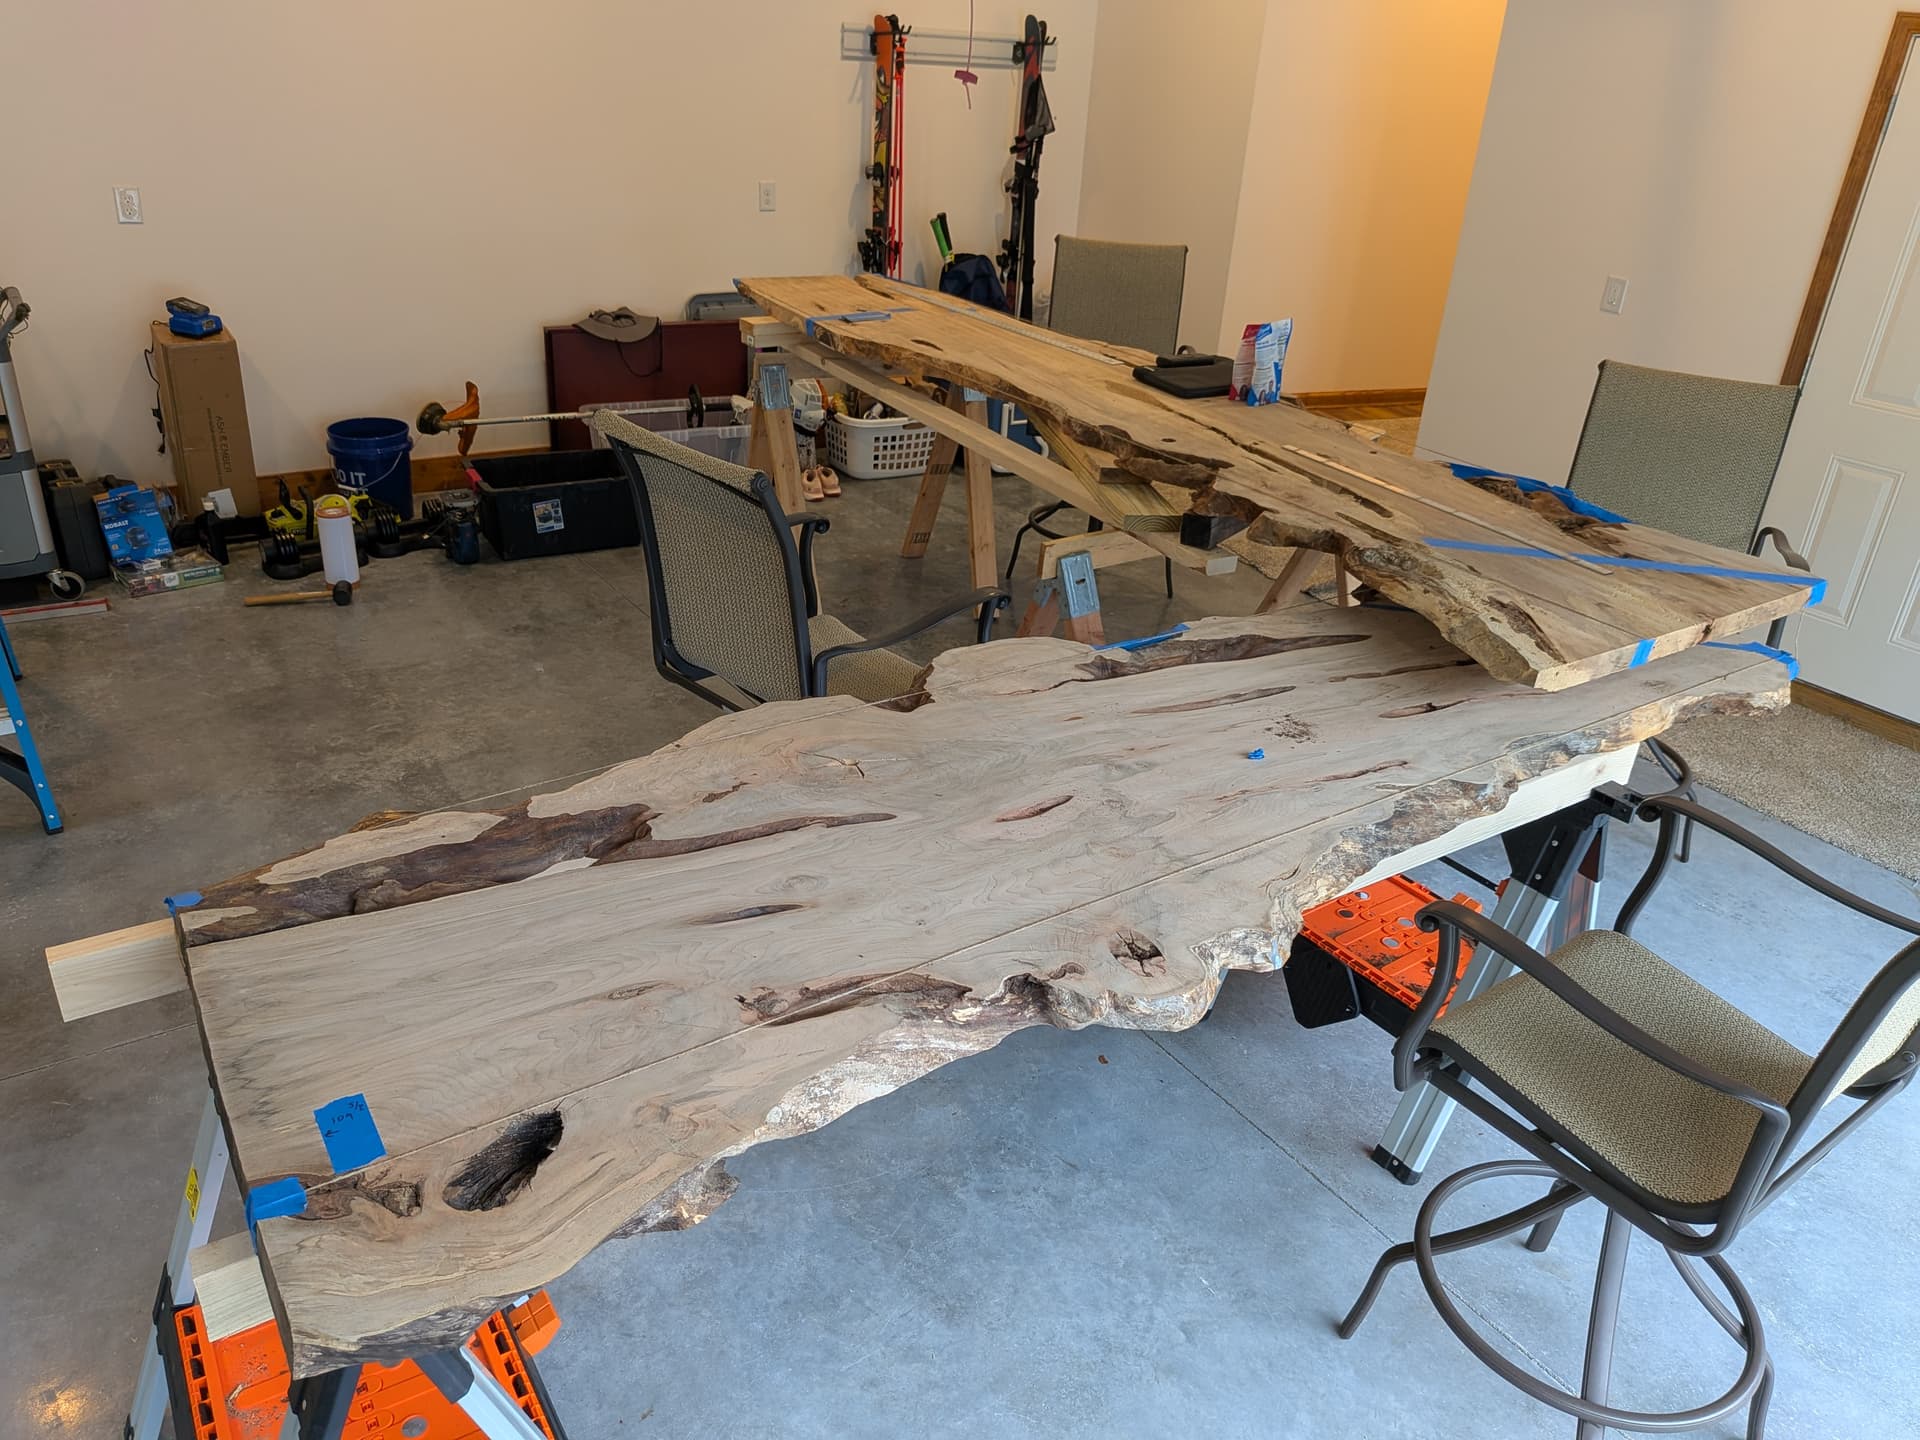
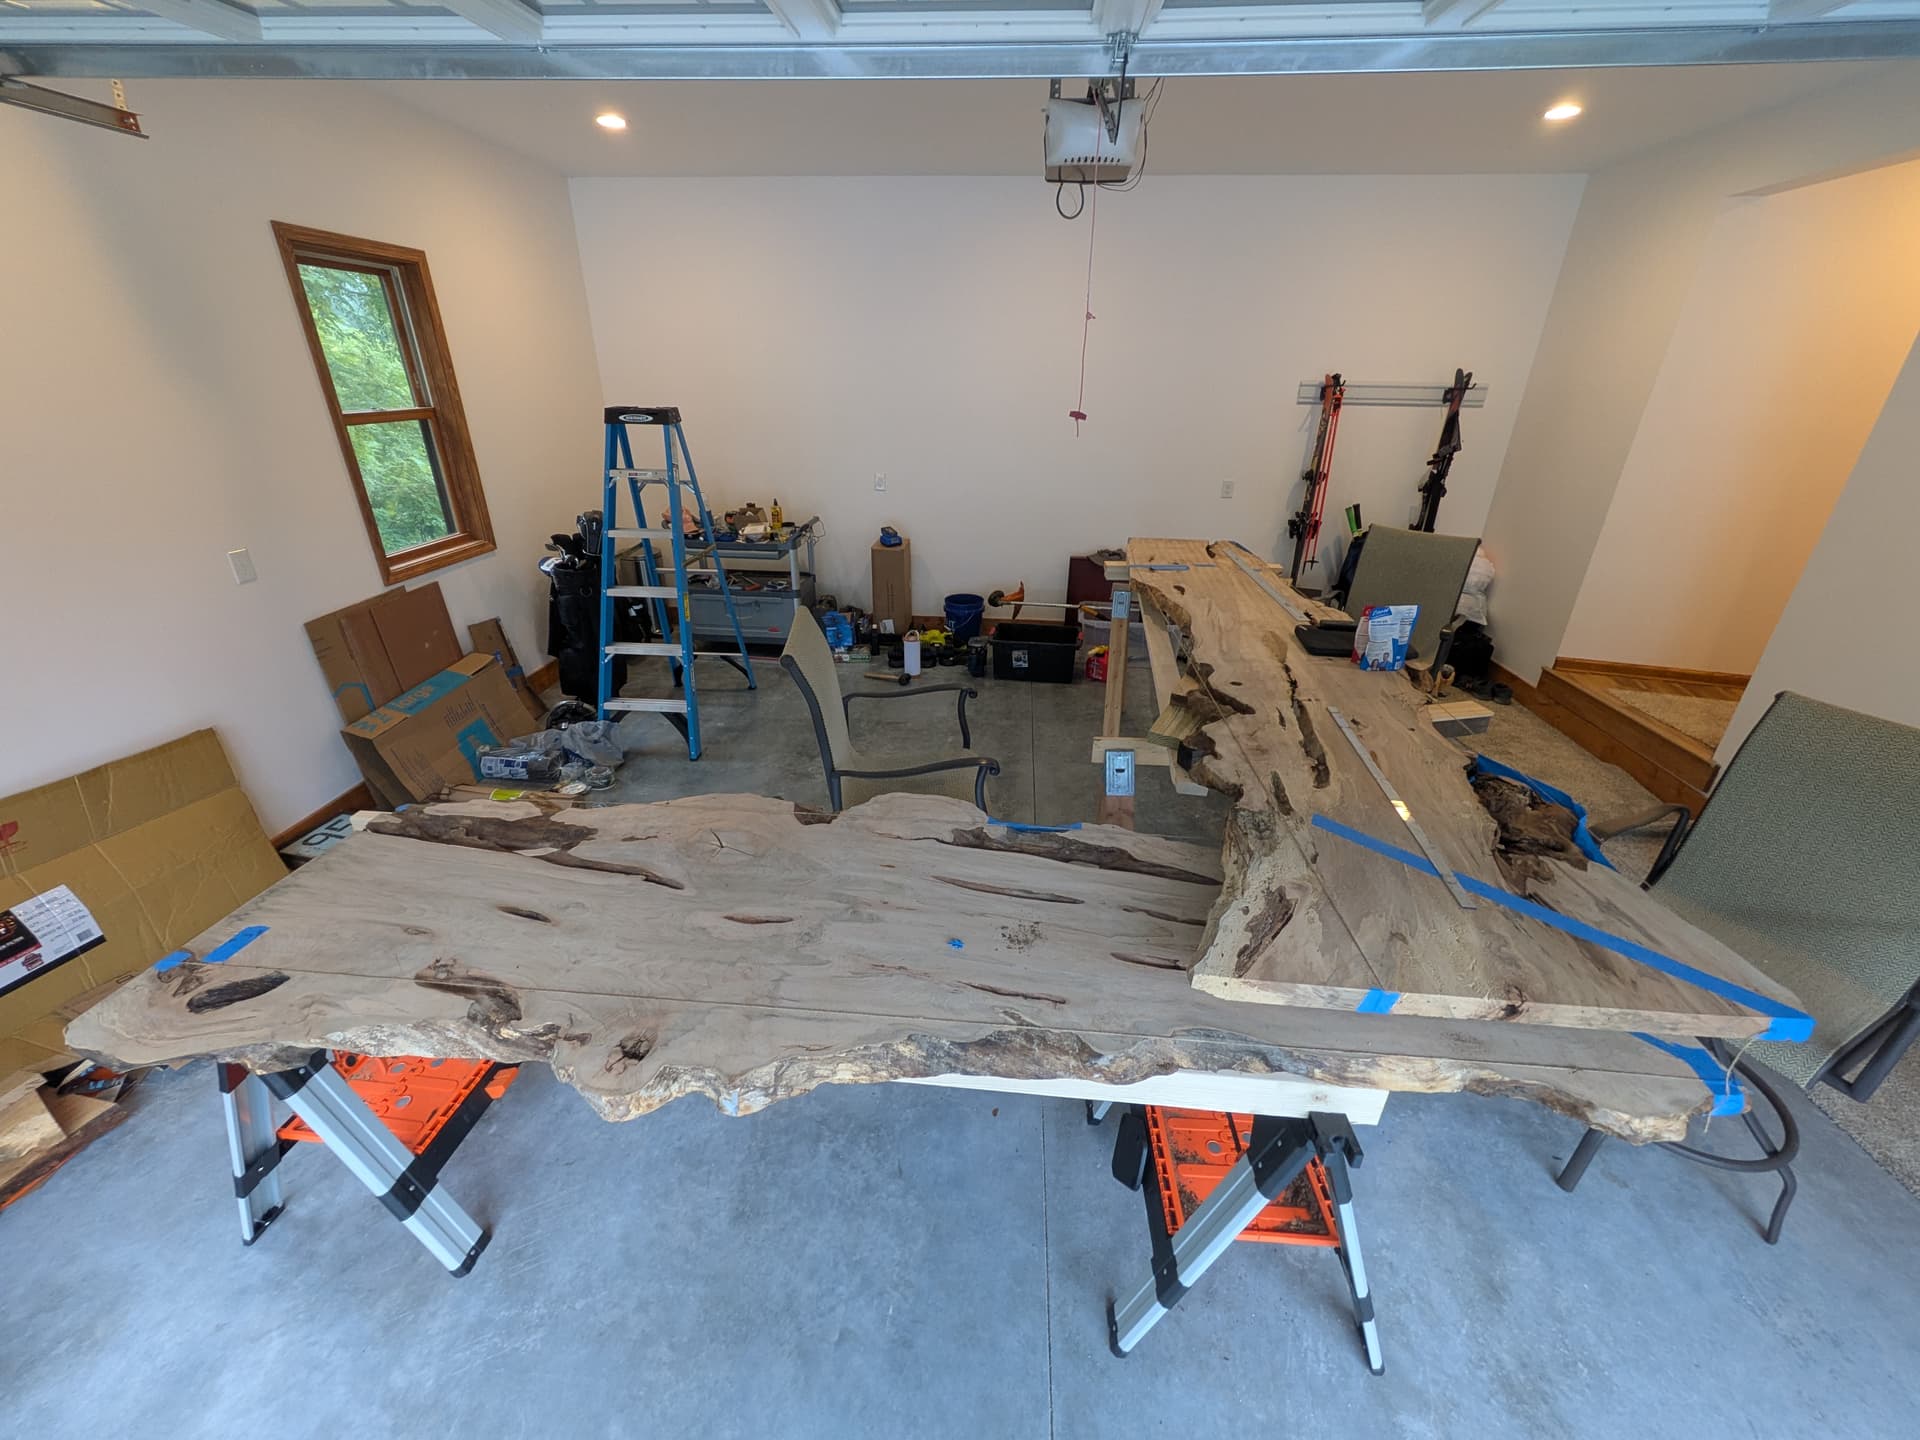
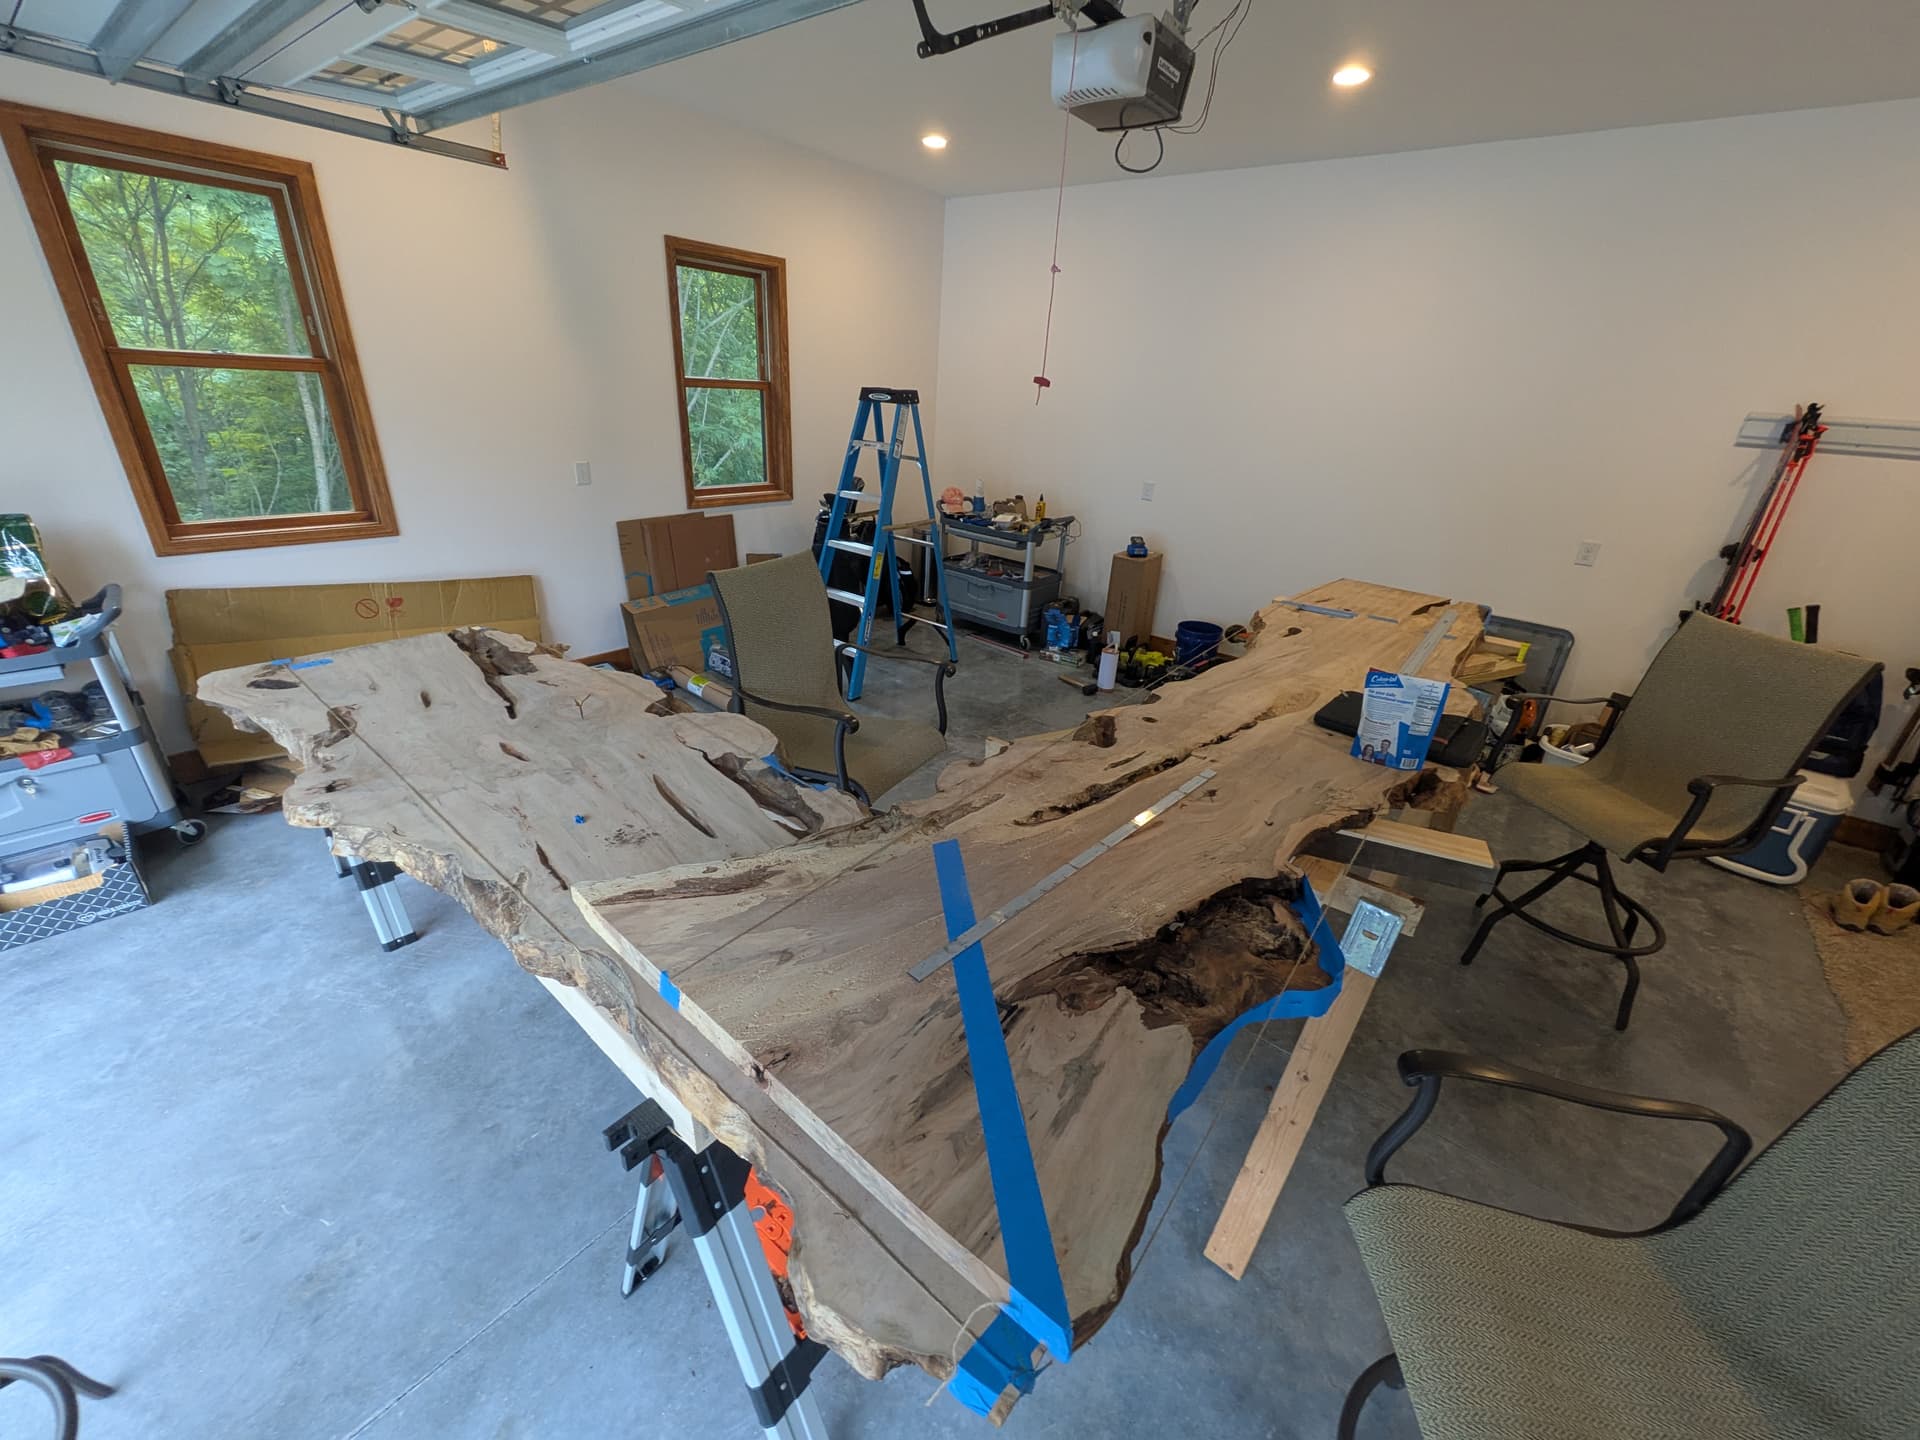
- Cover the garage floor with a layer of plastic, and then a layer of paper - to catch excess epoxy.
- All milling and sanding was done outside with the garage door closed.
- Dust in the garage was kept to a minimum.
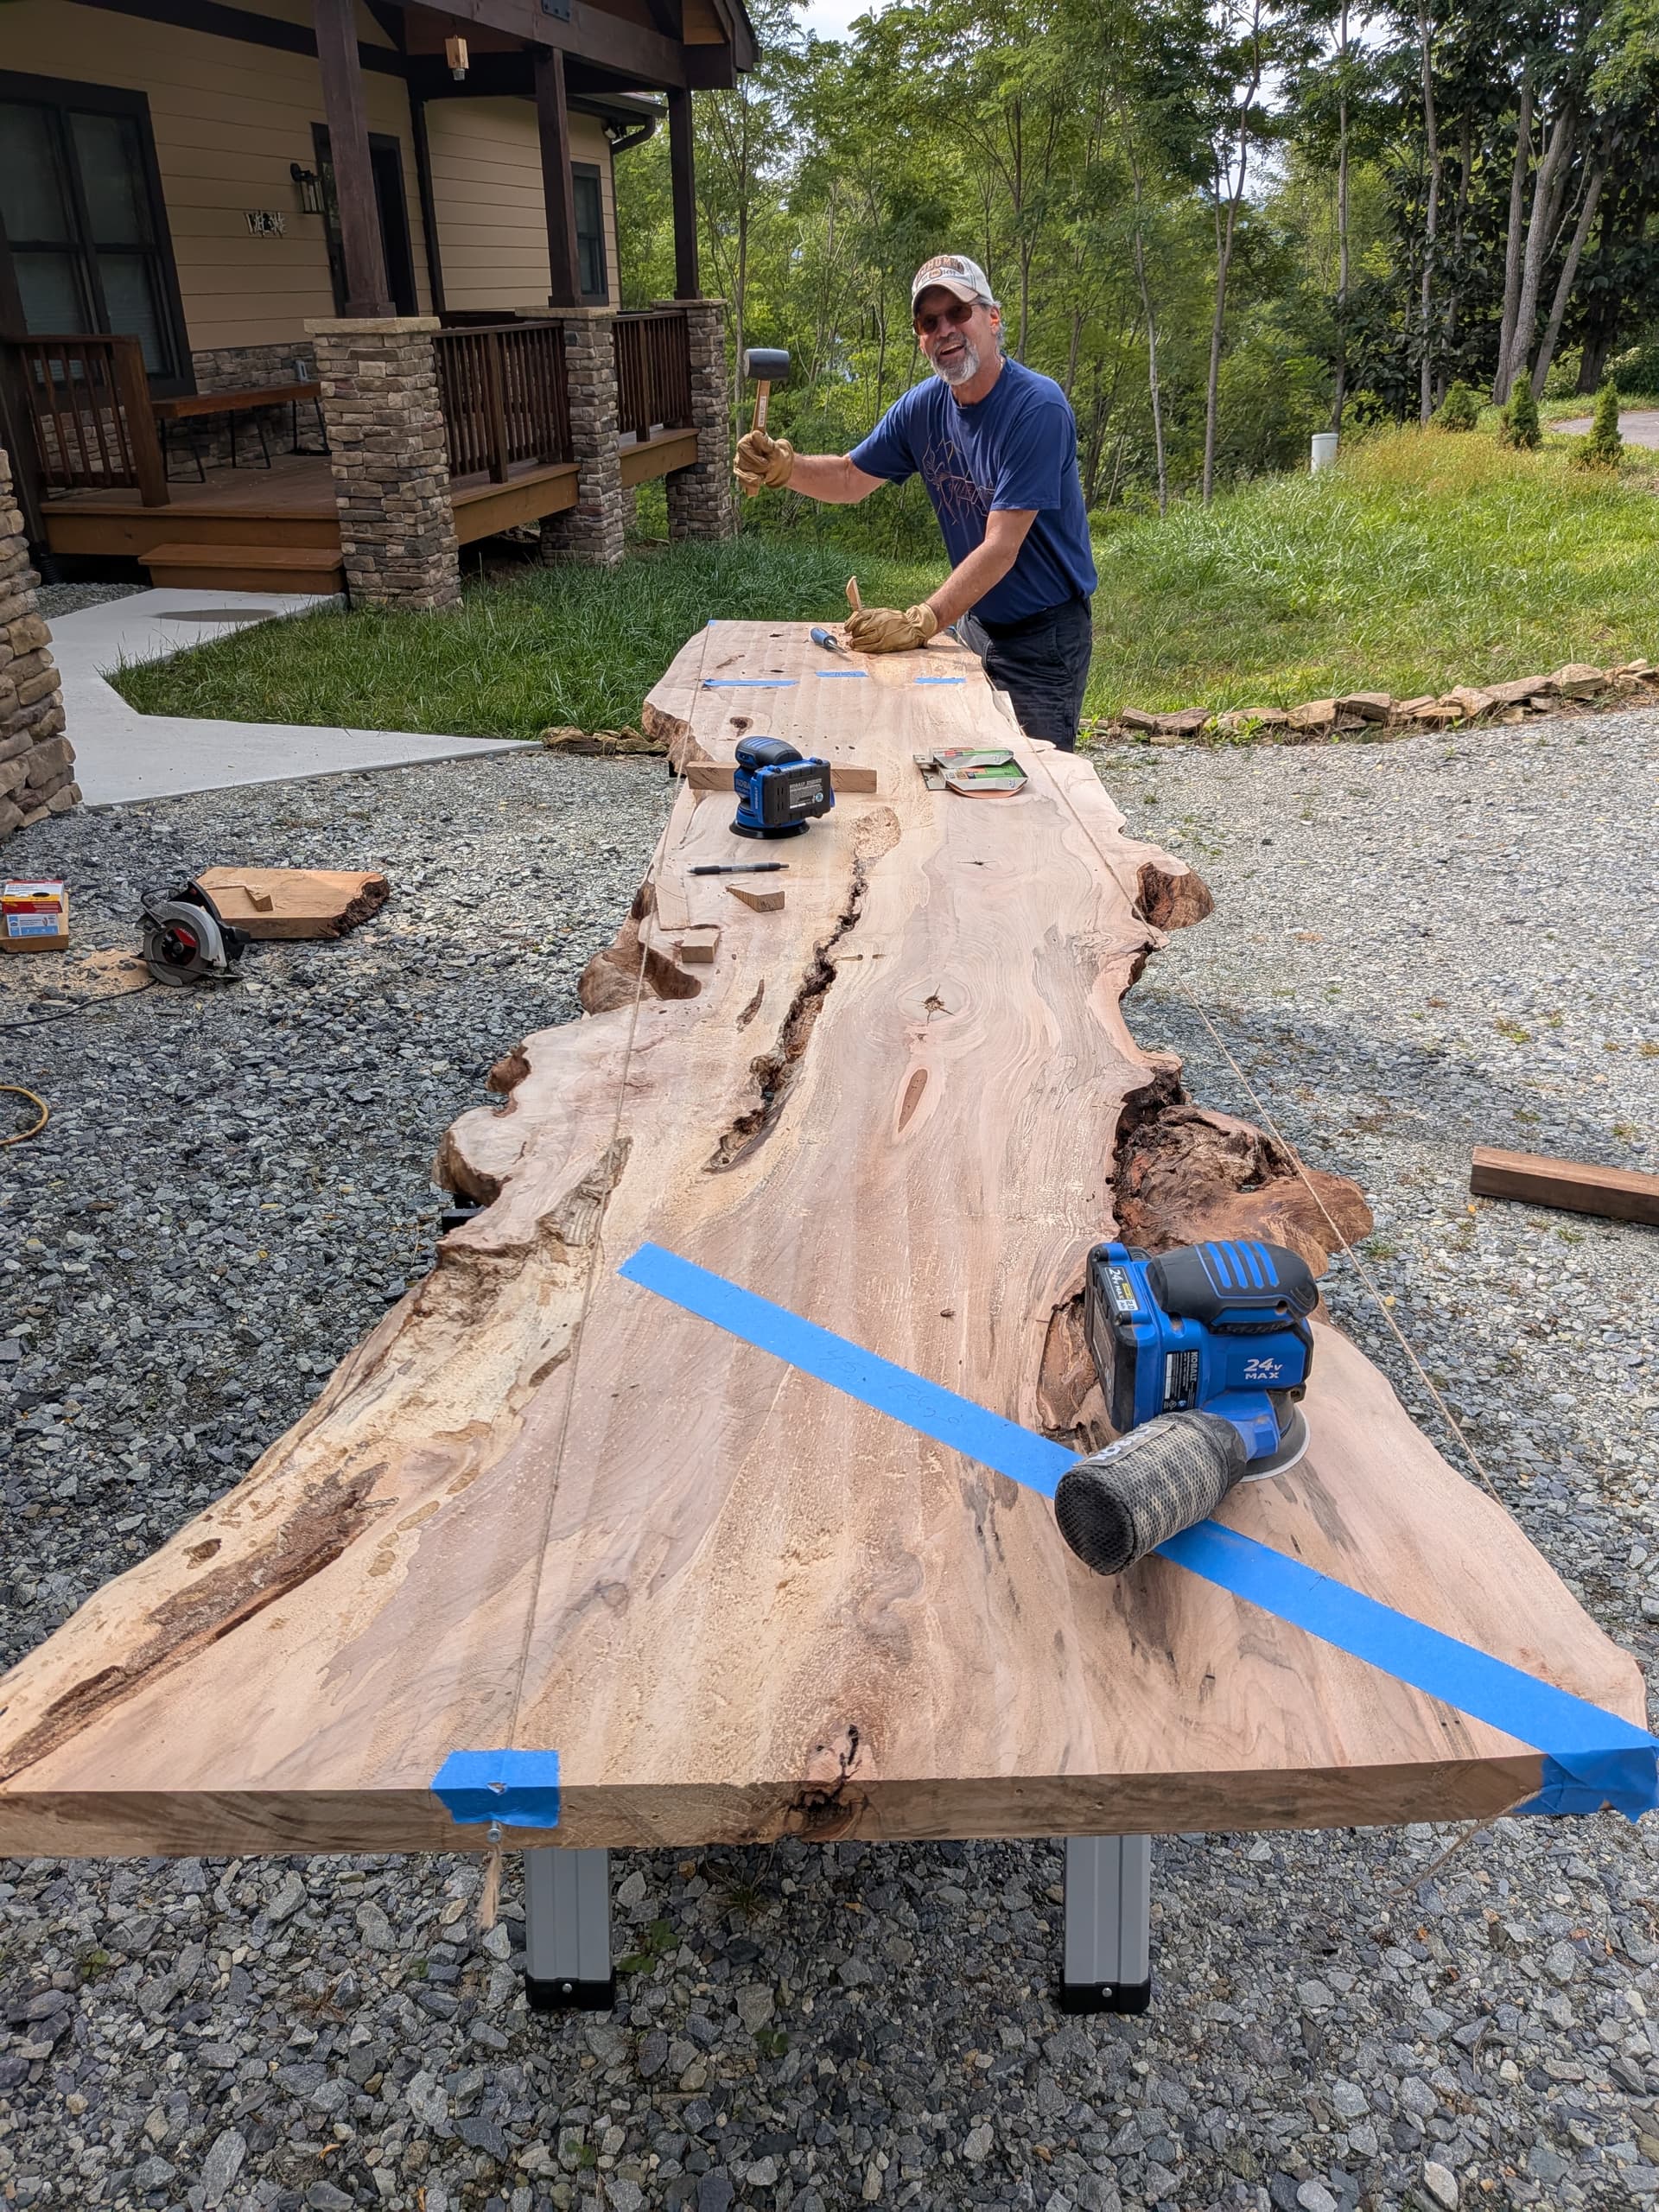
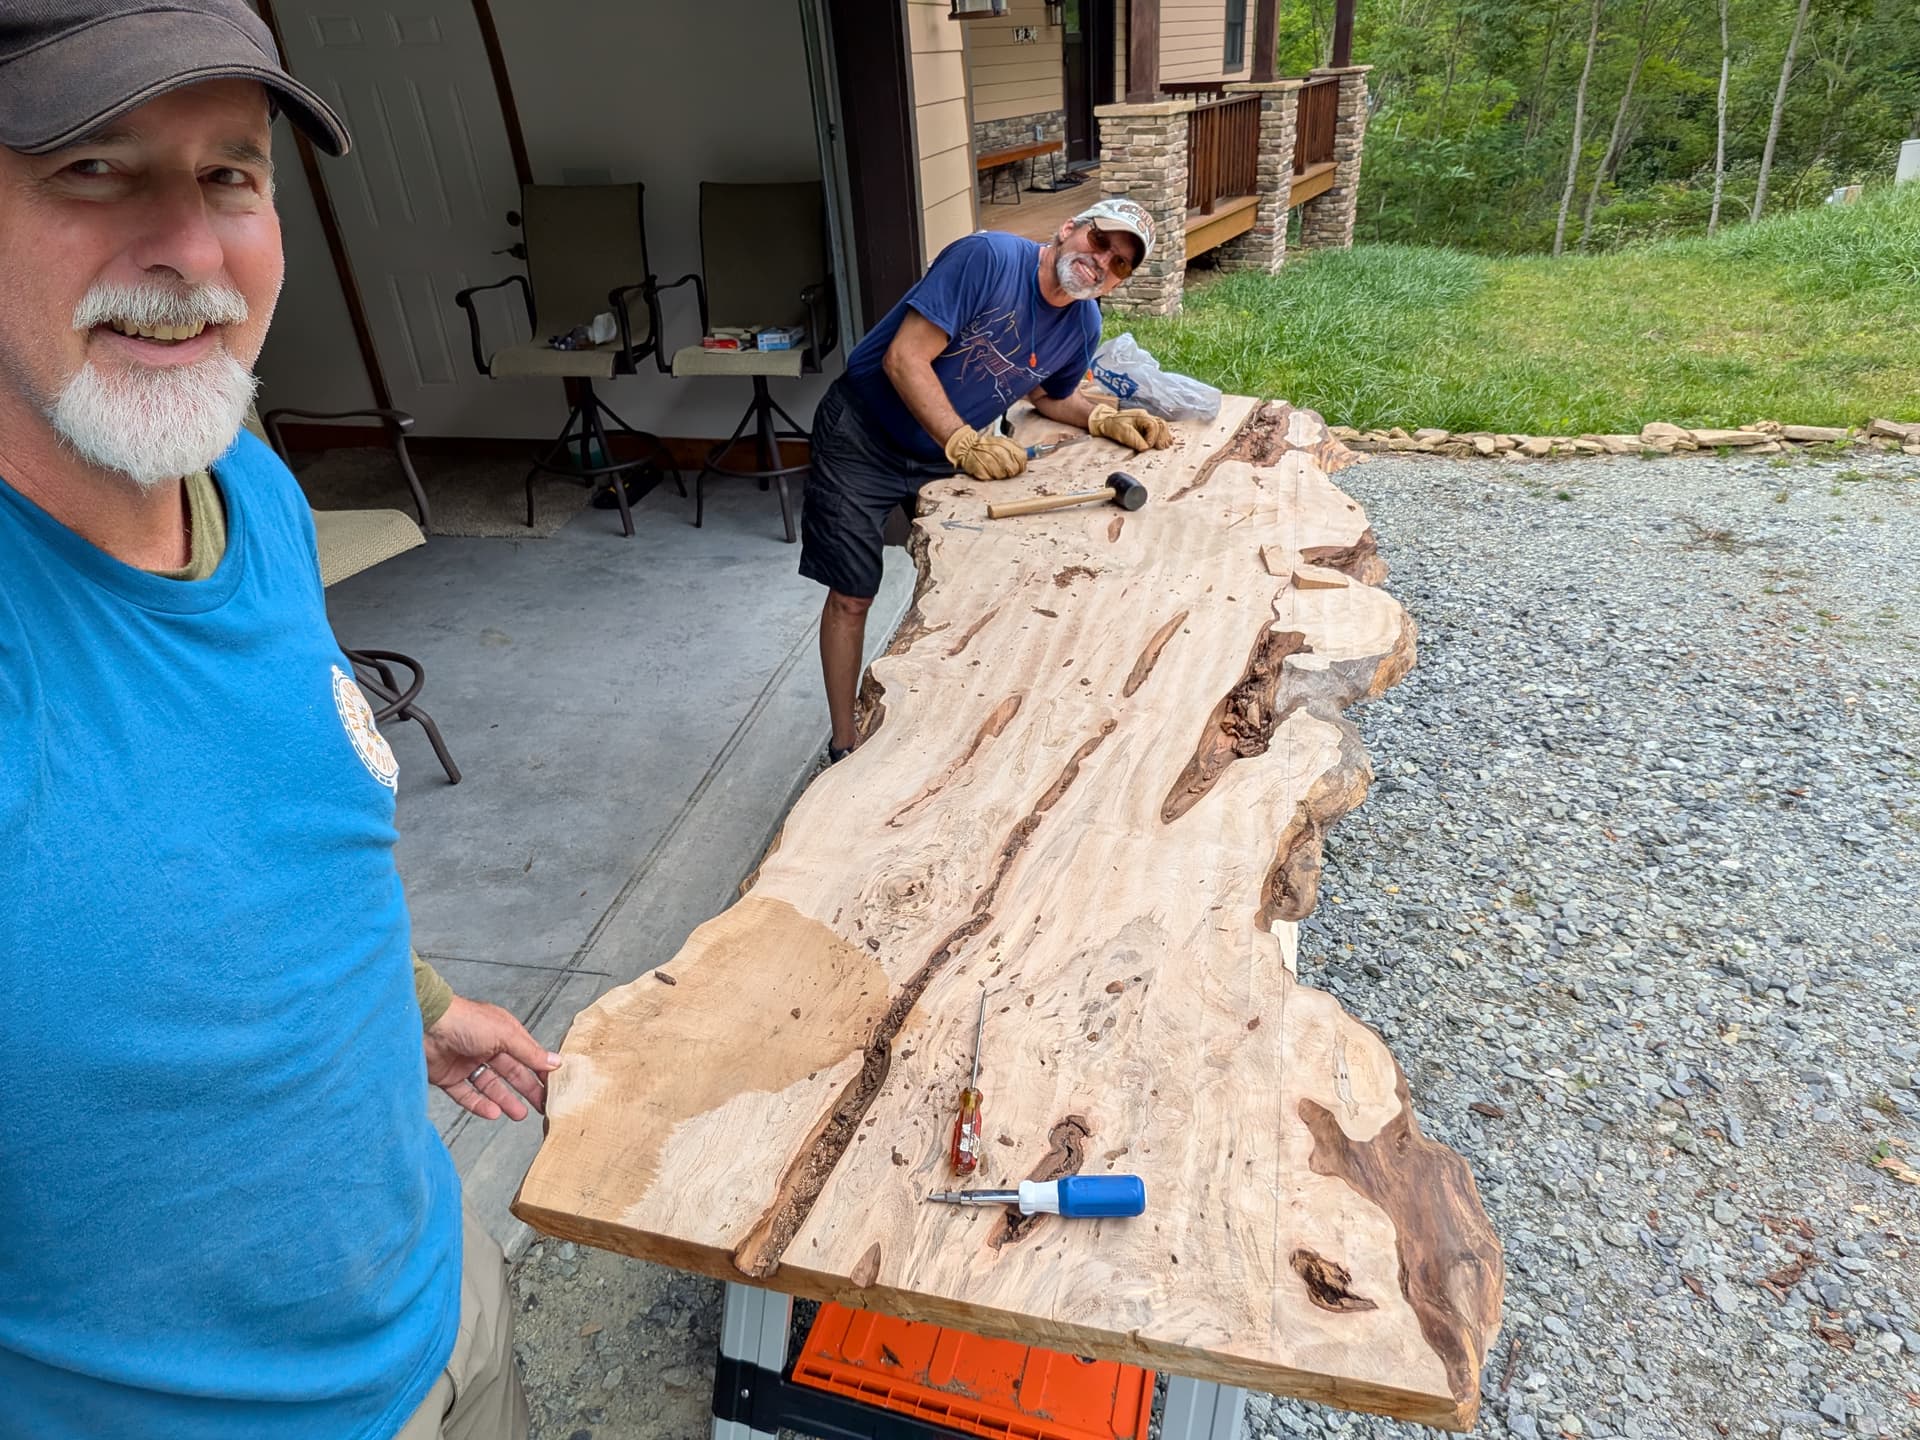
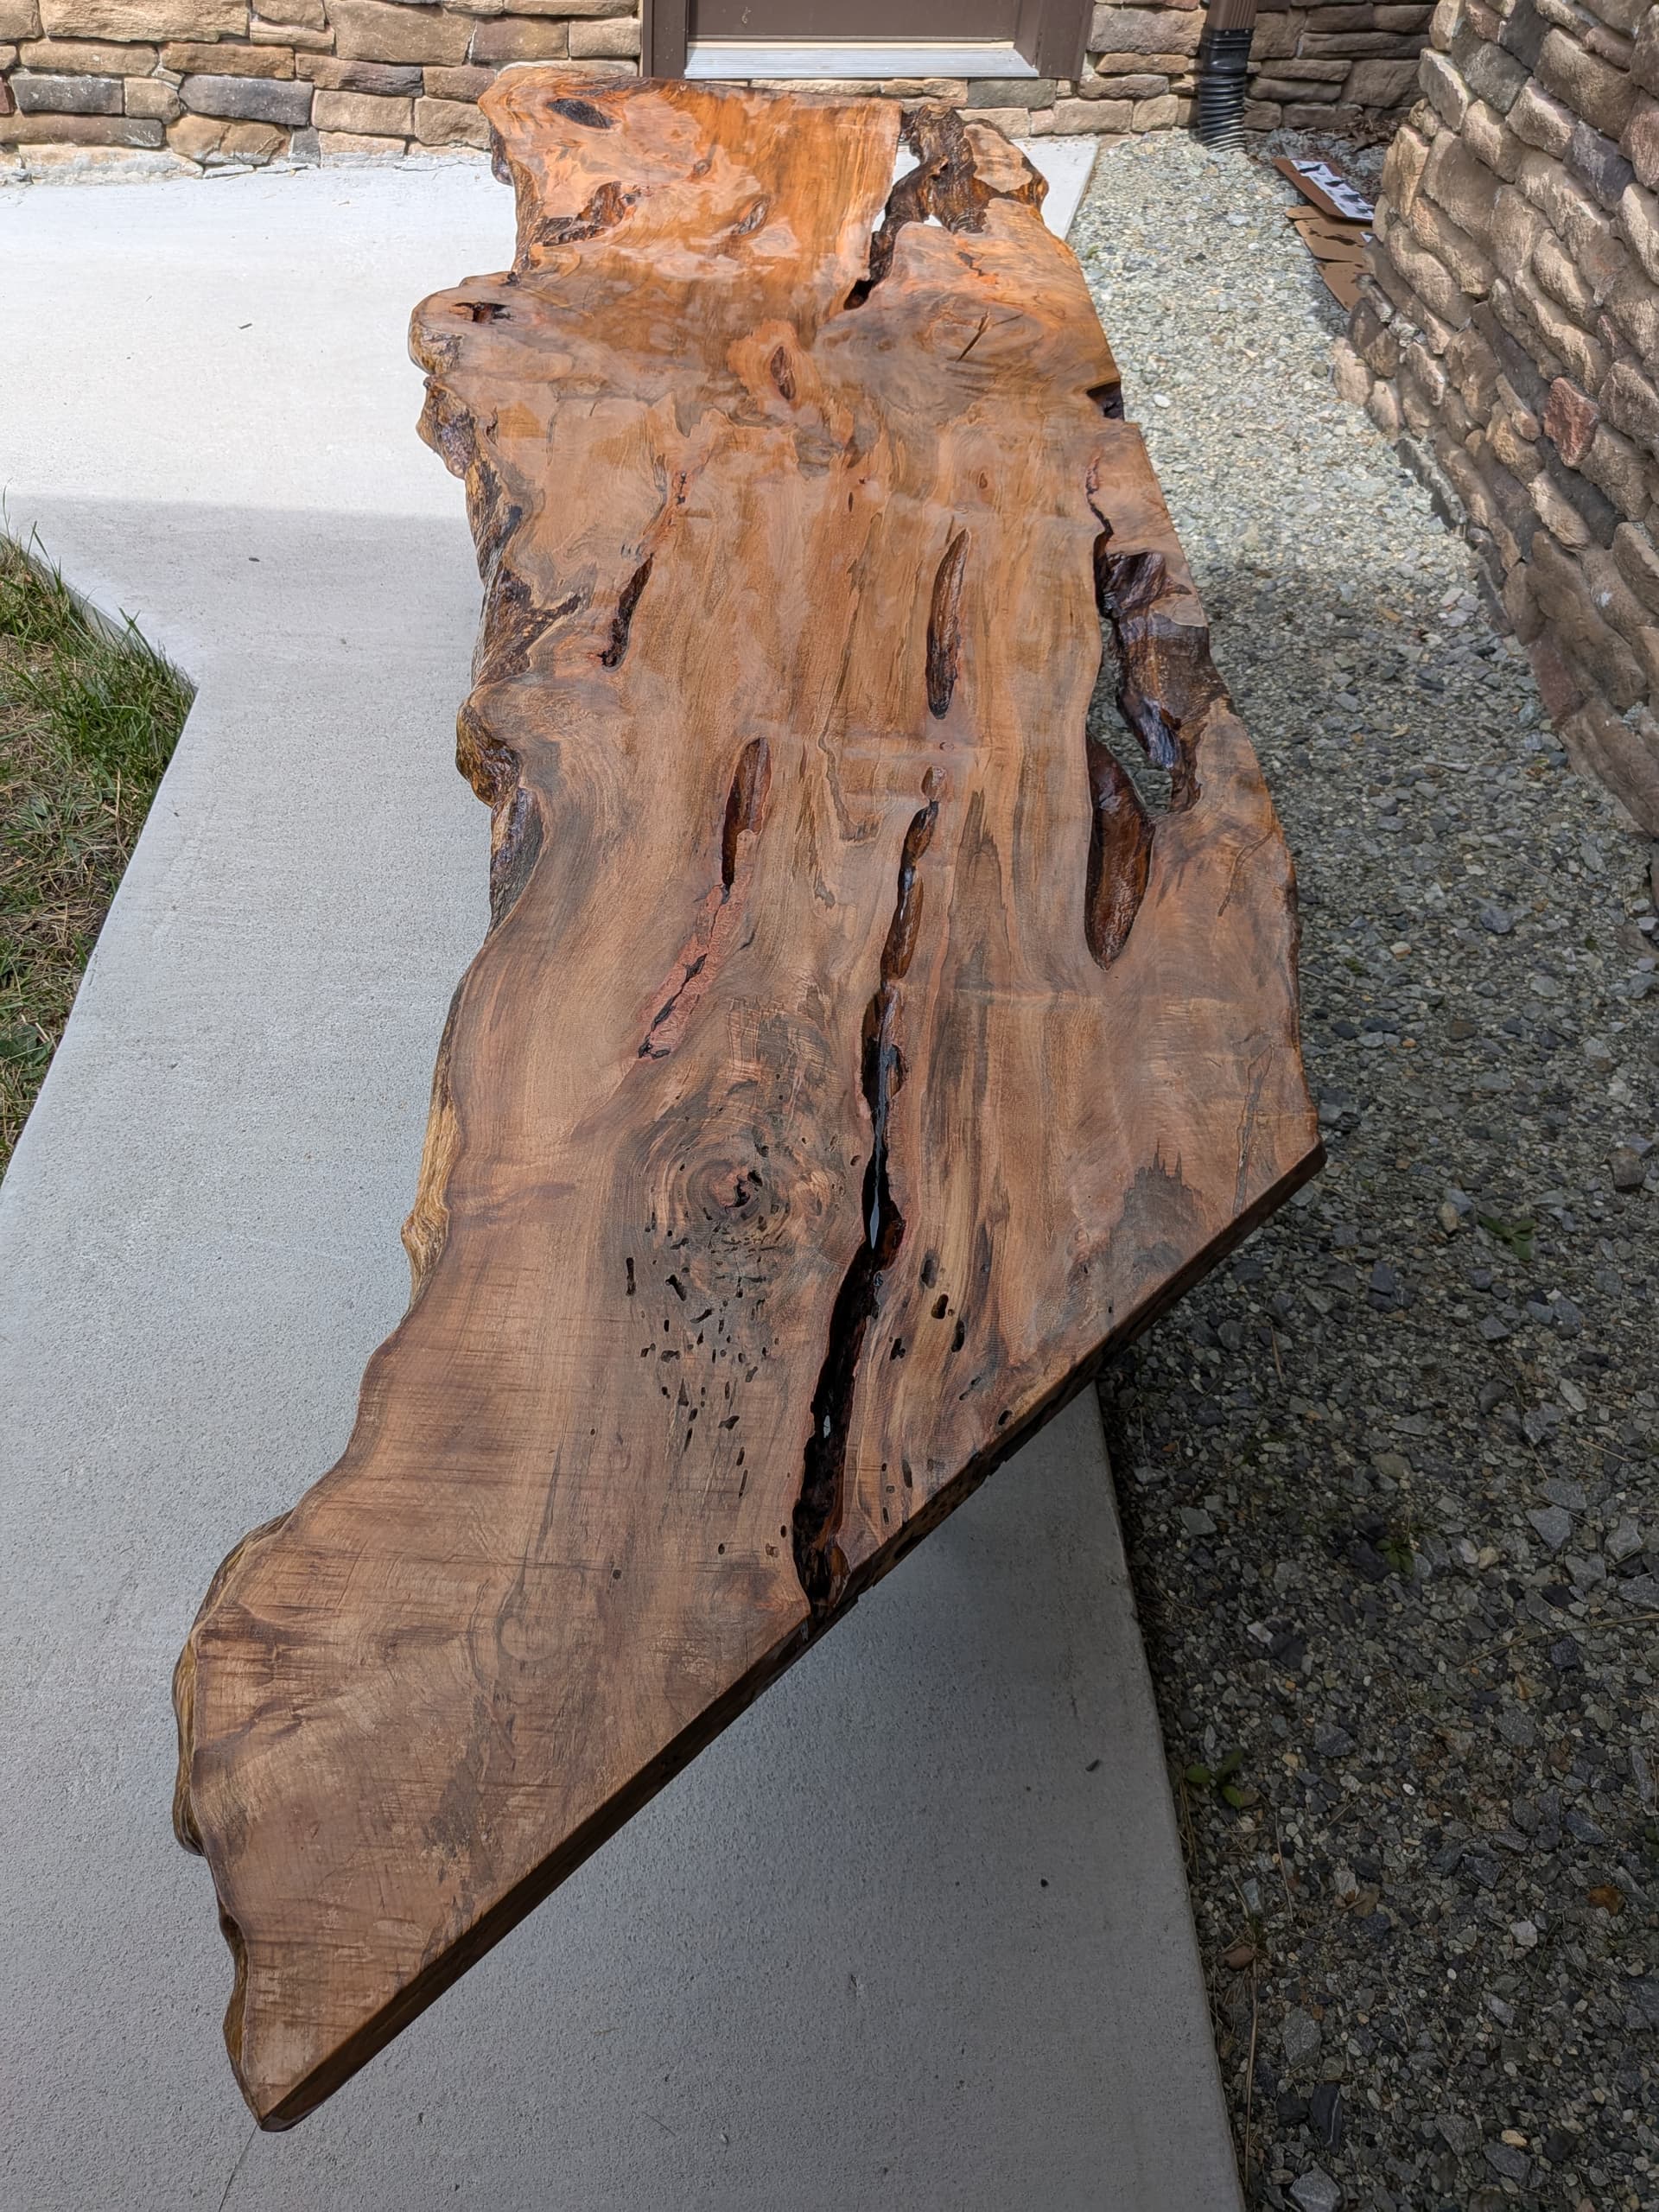
The first step was to removing bark, rotten wood and think through the initial layout. For this we used a chisel and rubber mallet, and sanders with 60 grit paper. Sometimes we employed a wooden chisel when separating the bark from the maple, wood on wood reduces gouging.
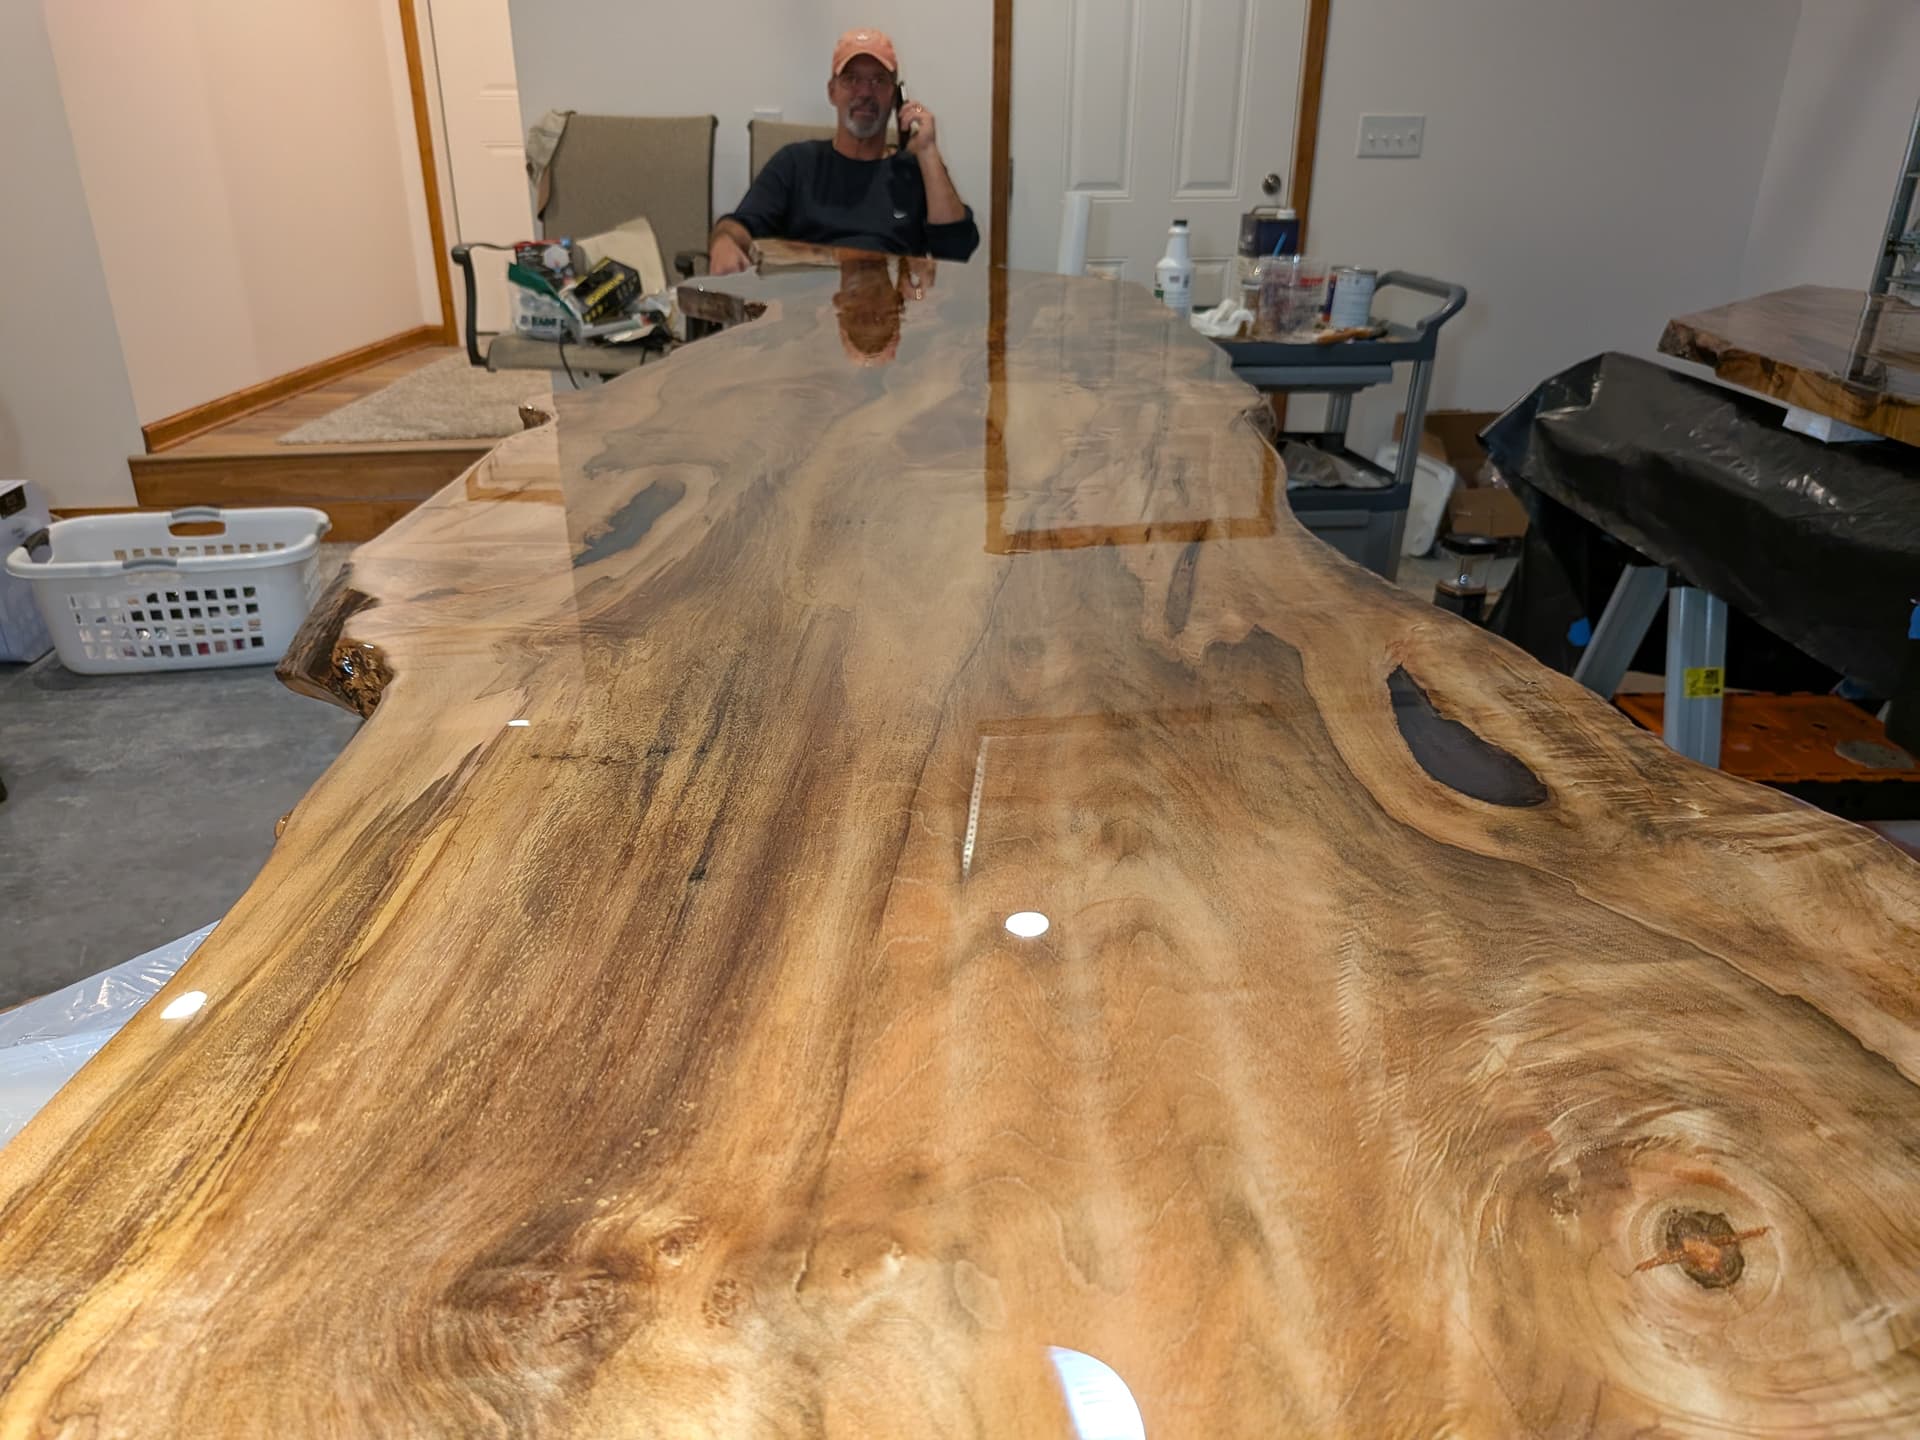
At this stage we were confirming how each slab would be oriented and utilized in the bar. We wanted the 45 degree cuts to be about the same length. The bar frame support was sturdy and about 20 inches wide with the slab ranging from 24 to 30 inches wide. We ran strings the length of the bar to layout where the slab would rest on the support frame. A center-line was drawn between the strings and carefully measured on the bar support frame. So tough choices were made as to what parts of each slab had to be removed. At this stage, each slab still weights about 100 pounds.
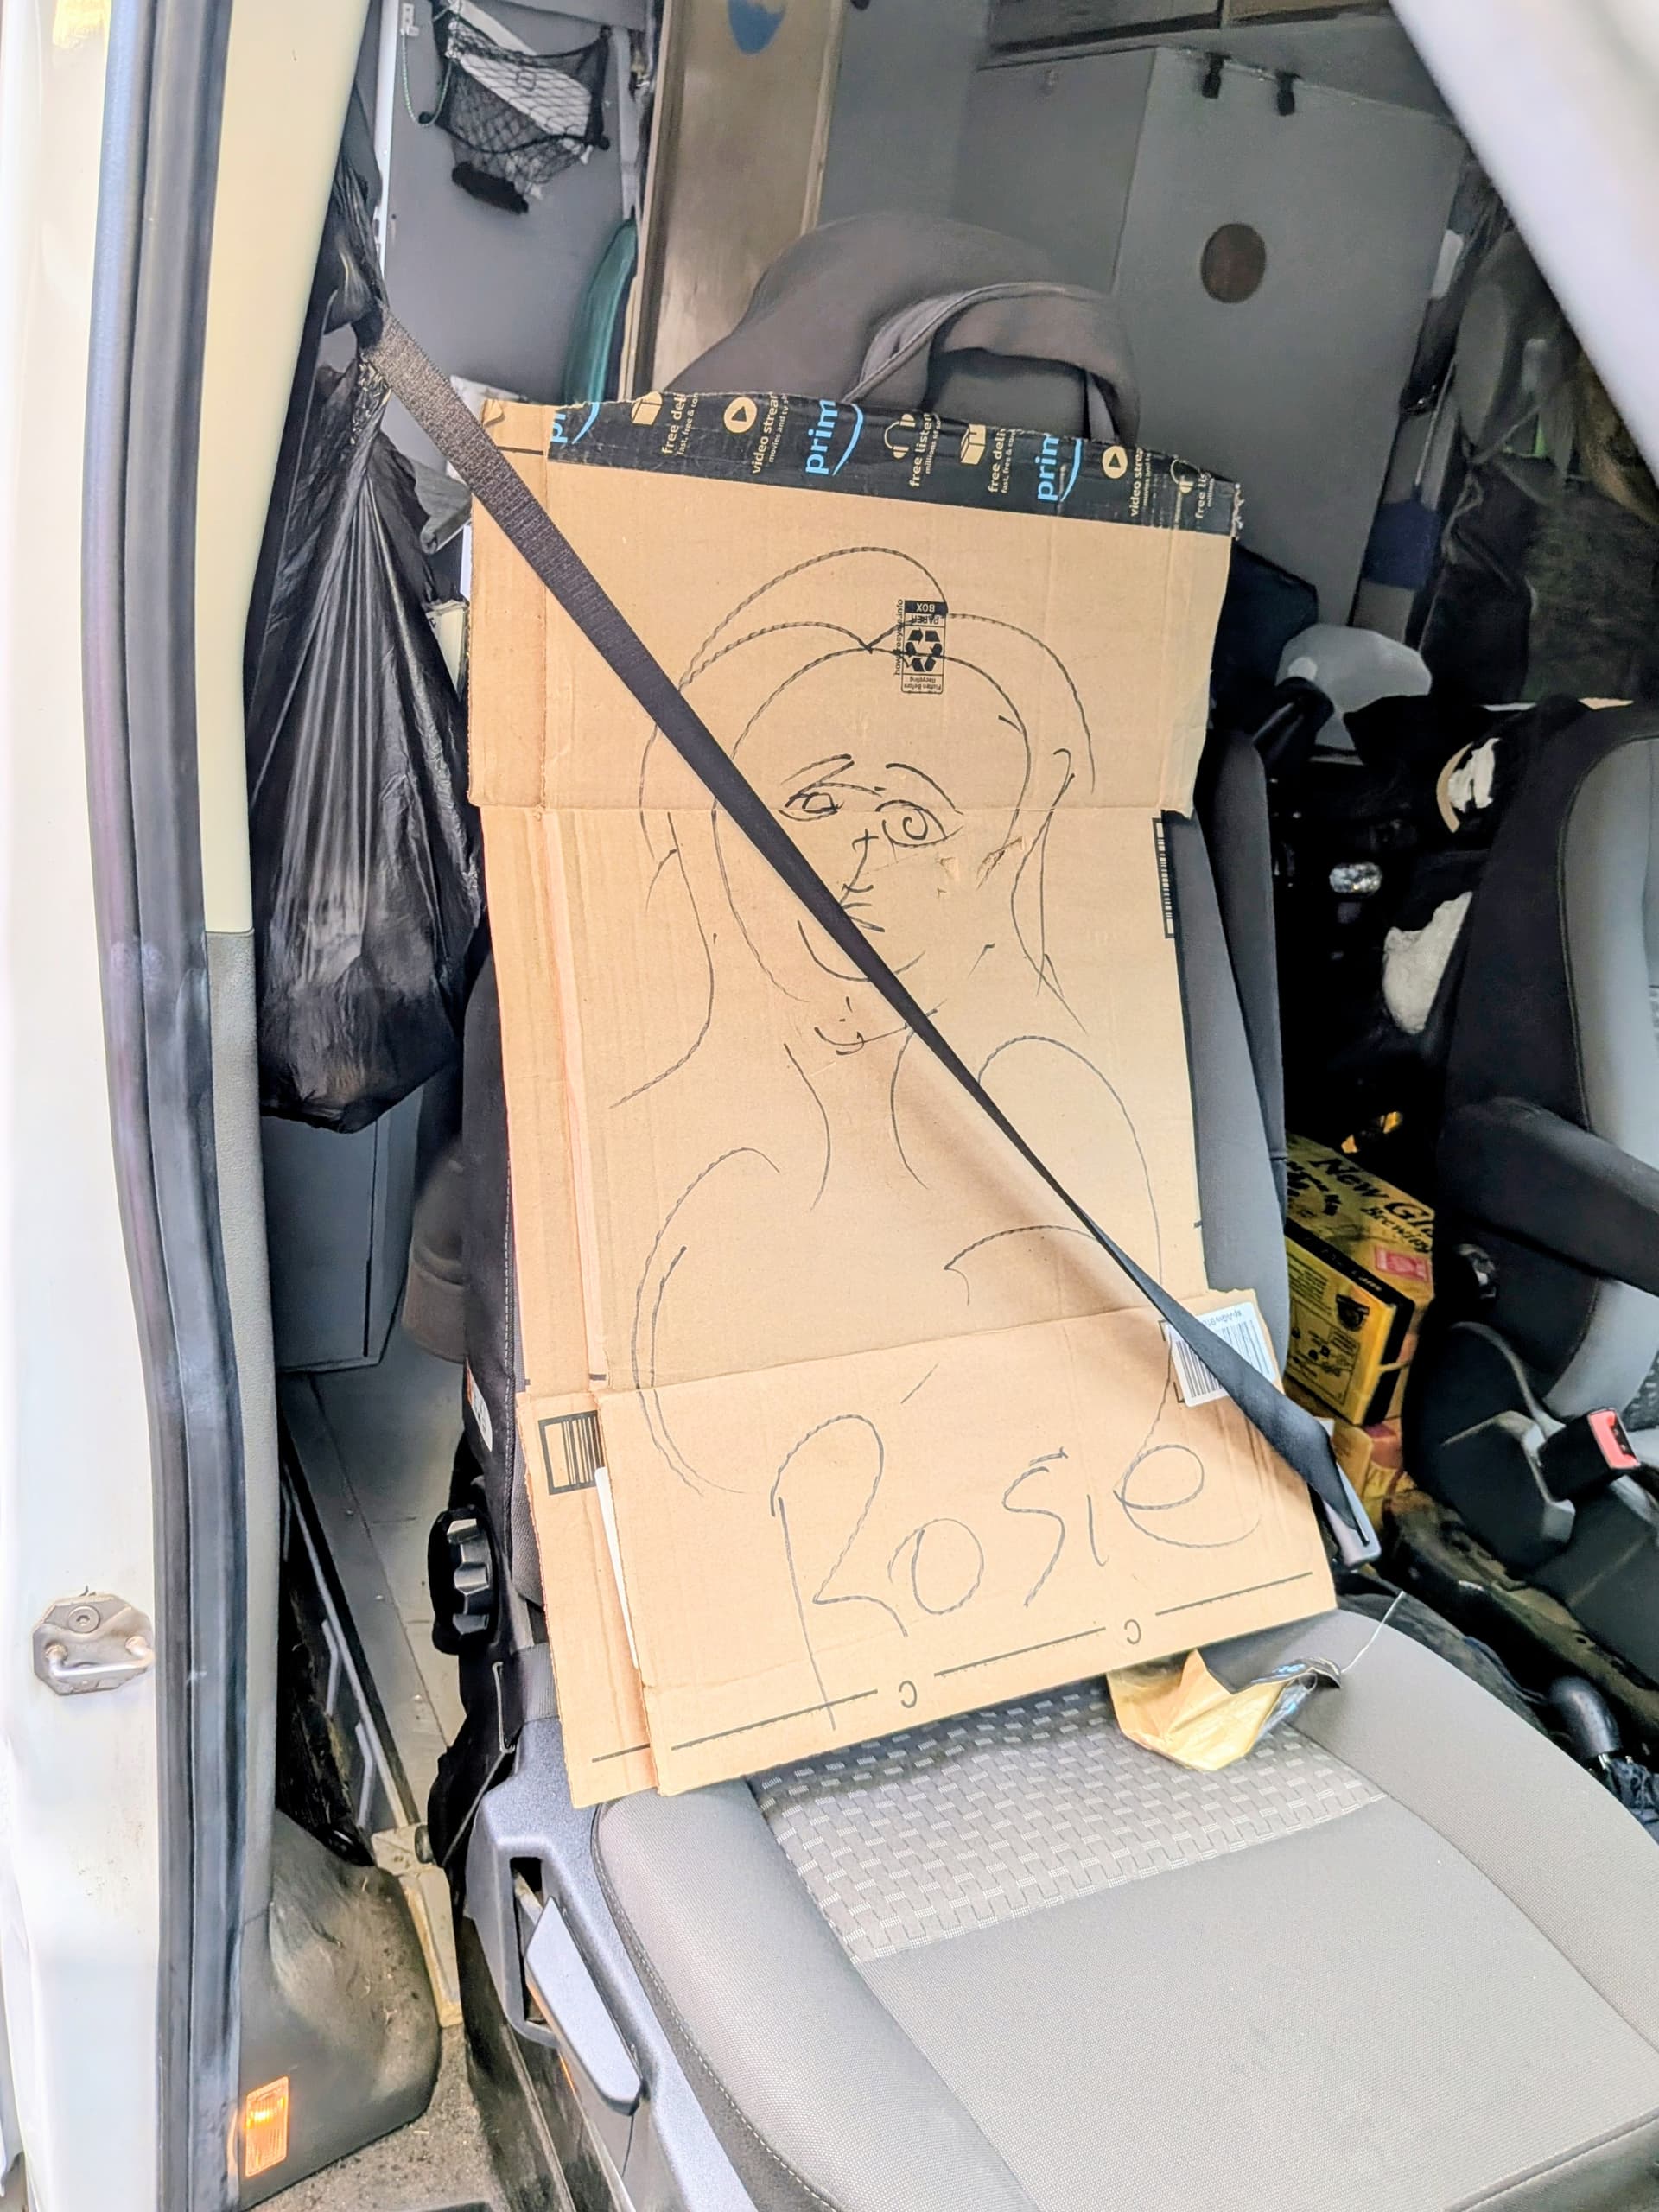
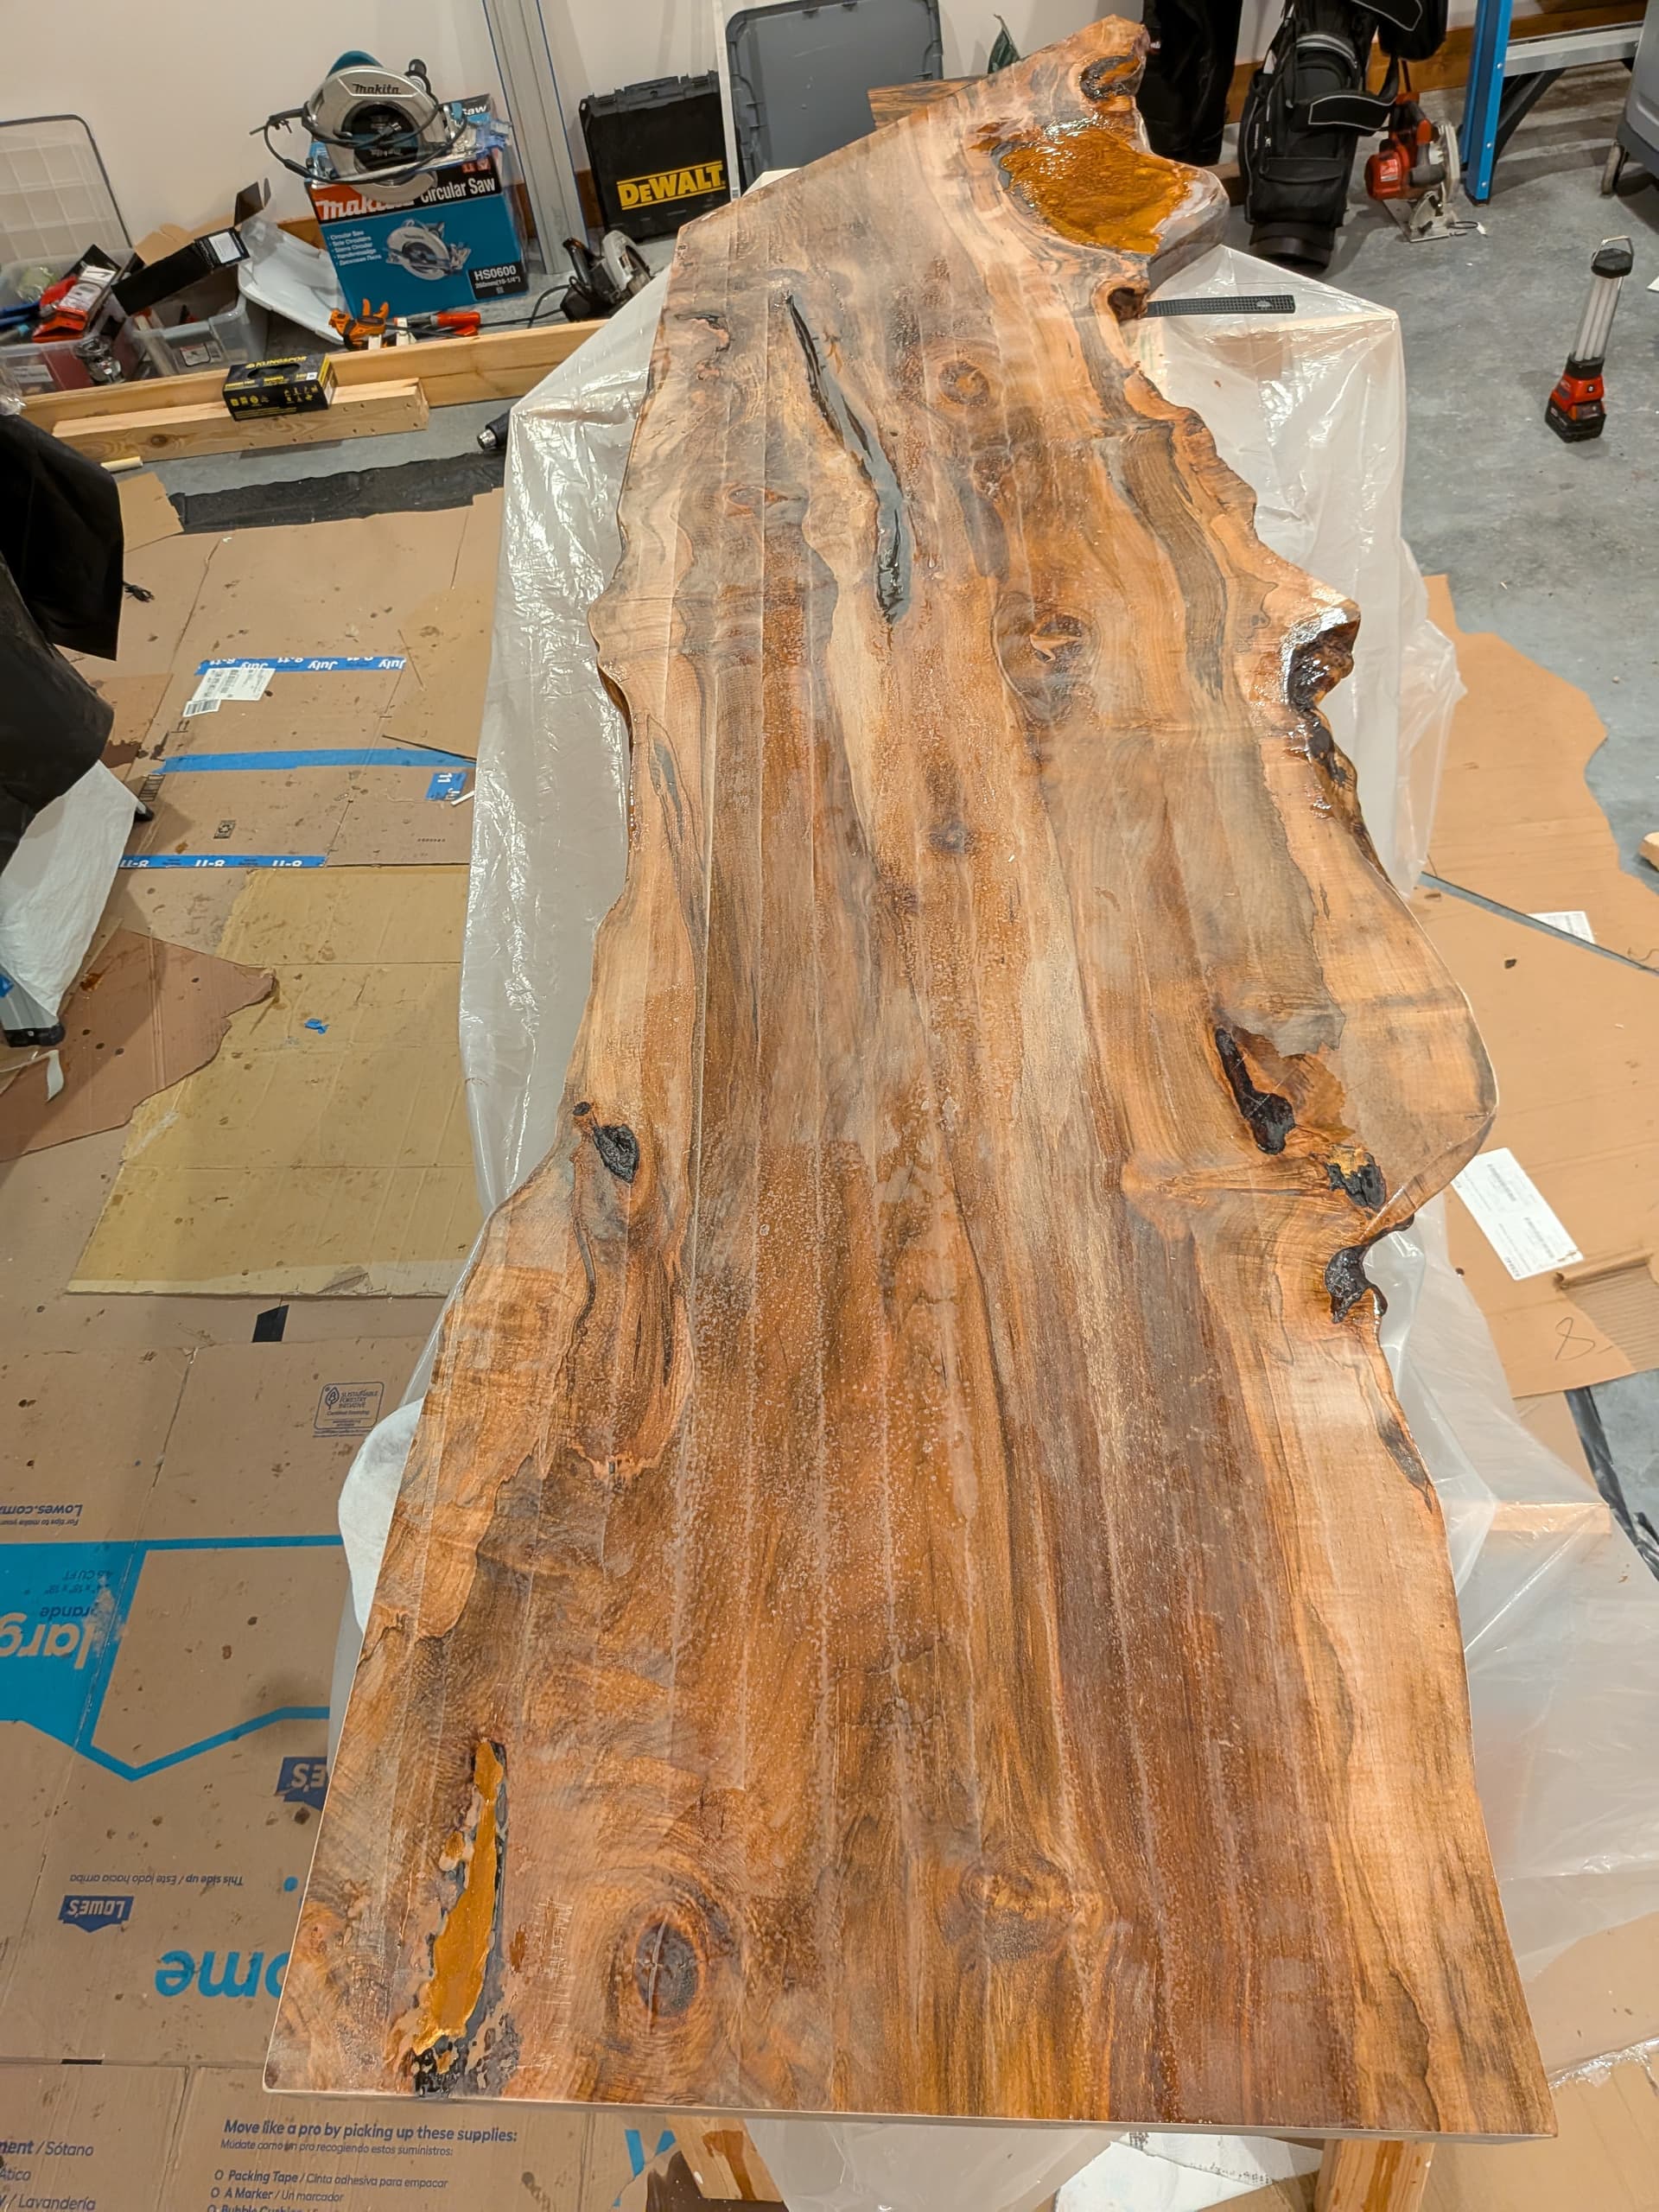
Rosie couldn’t join us just yet, but she was missed. Application of Total Boat Penetrating Epoxy. Sanding and more sanding.
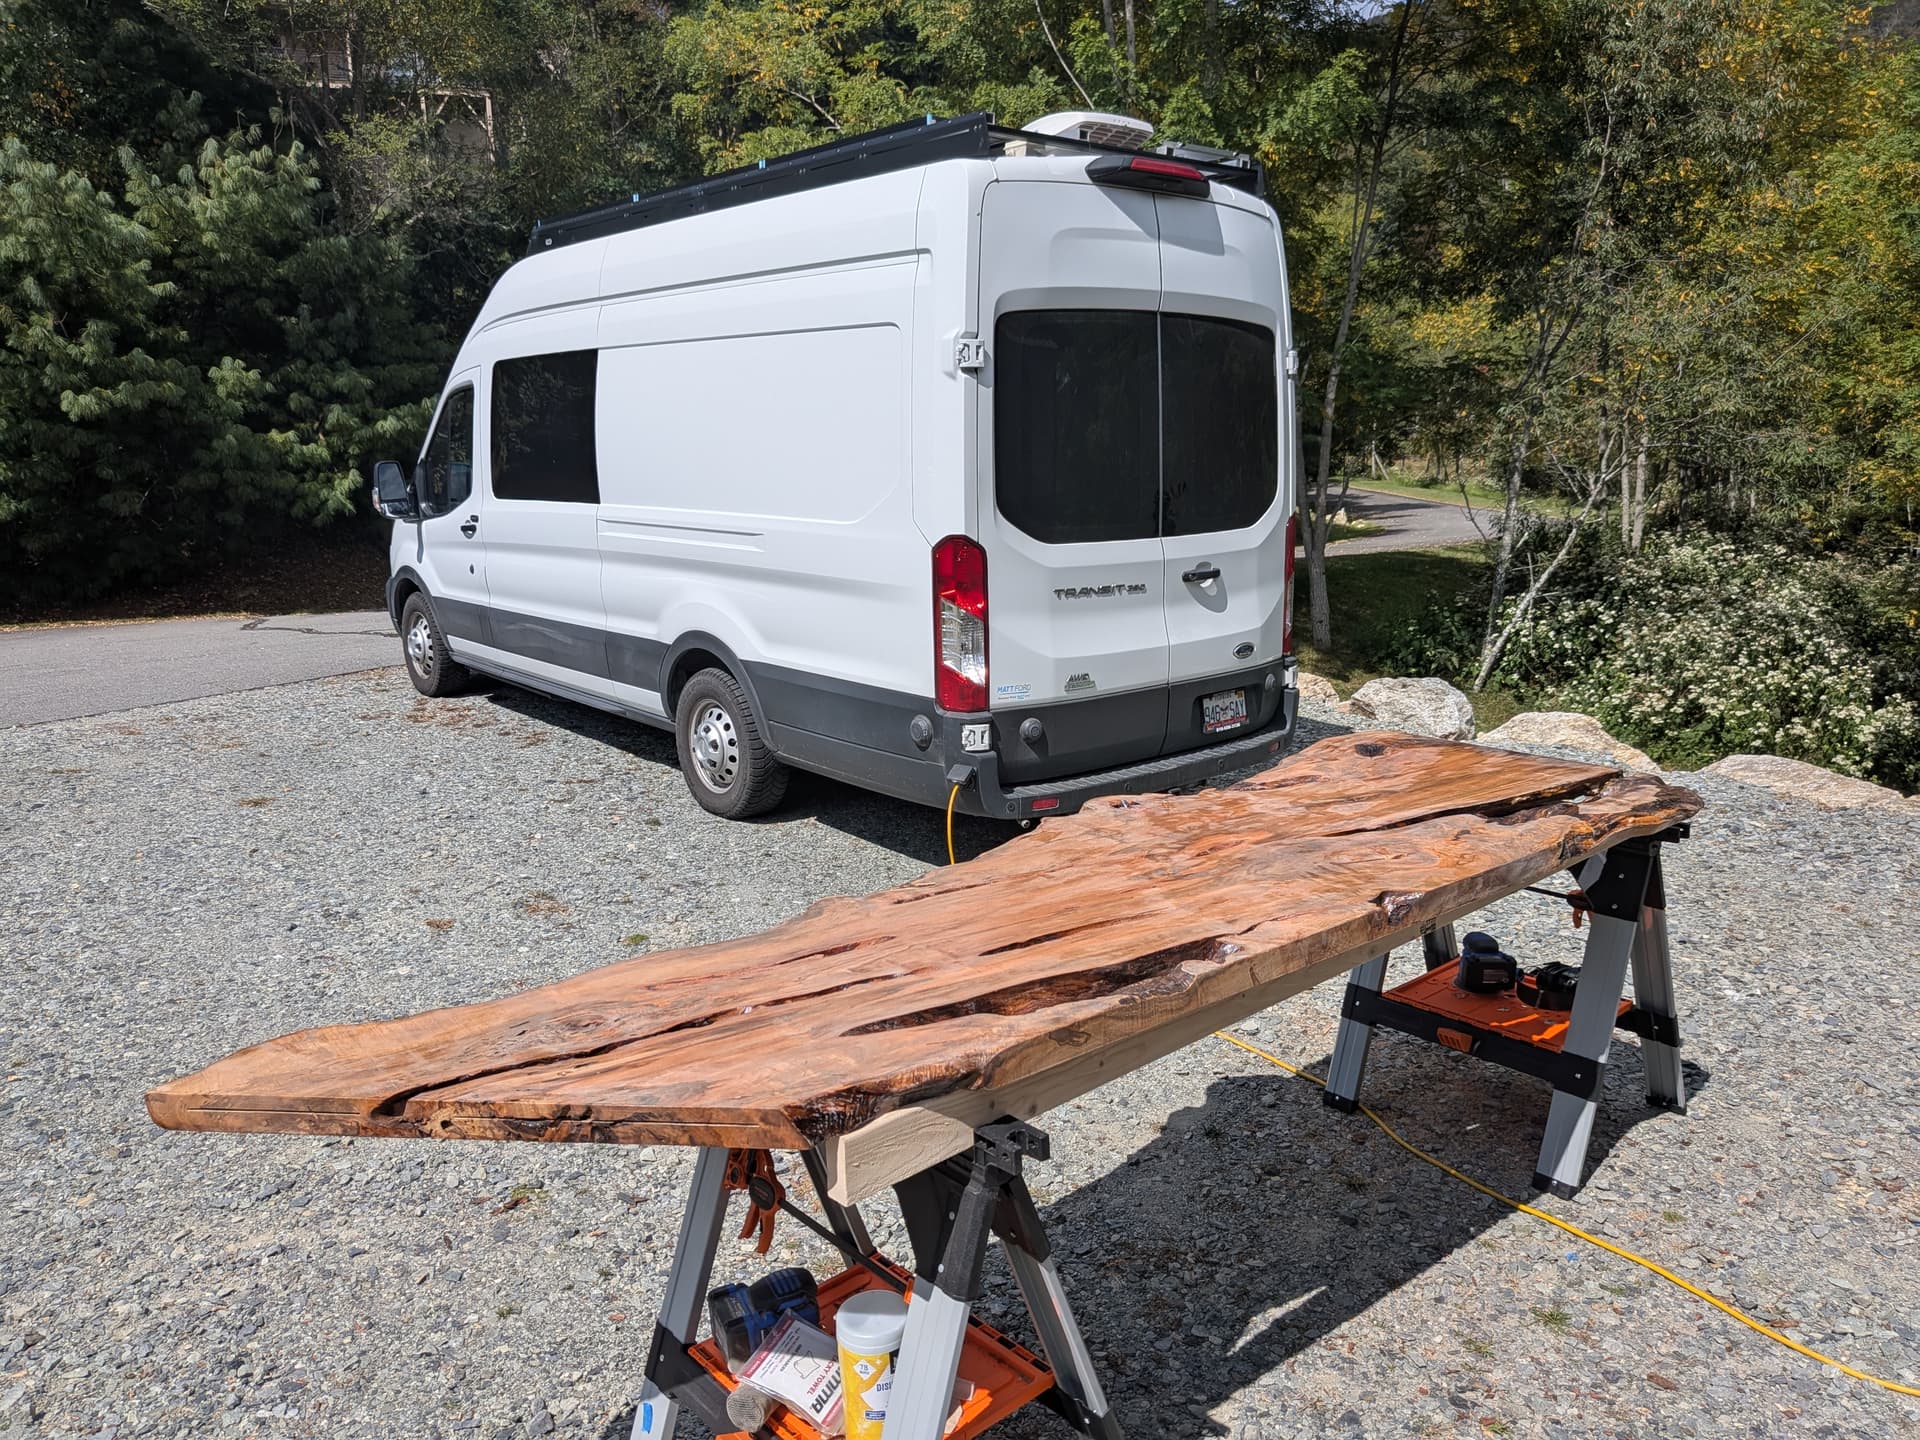
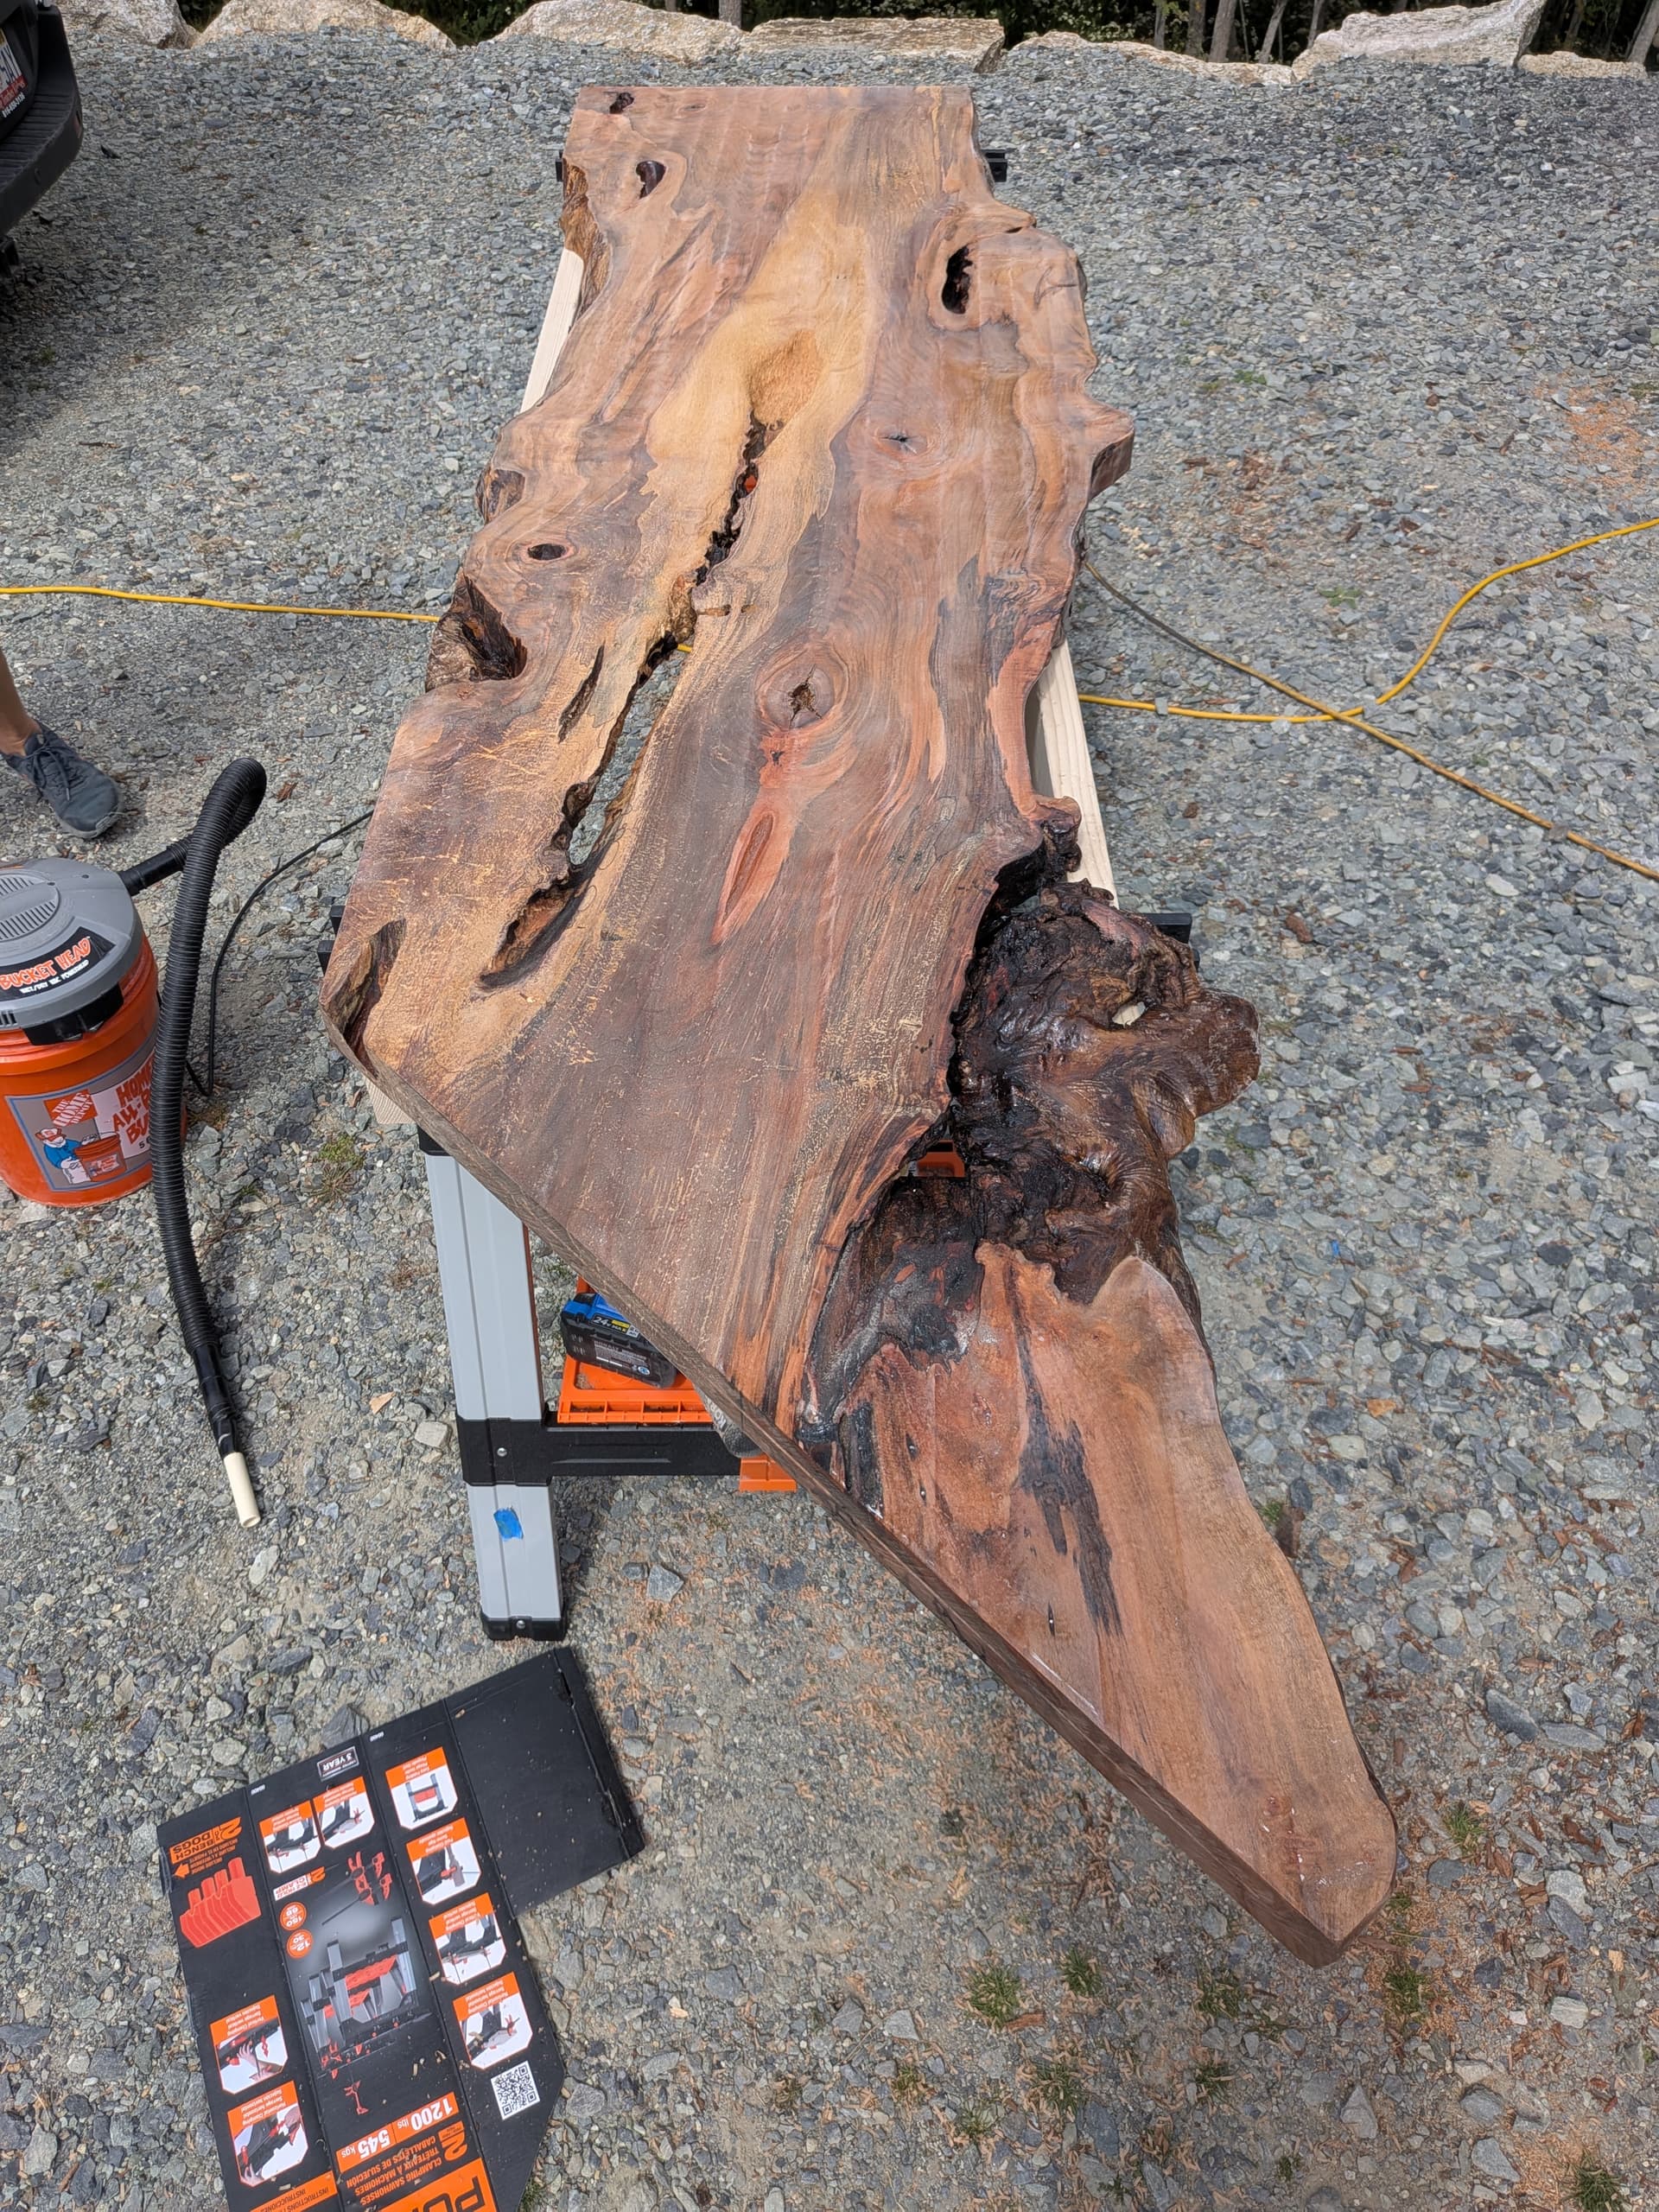
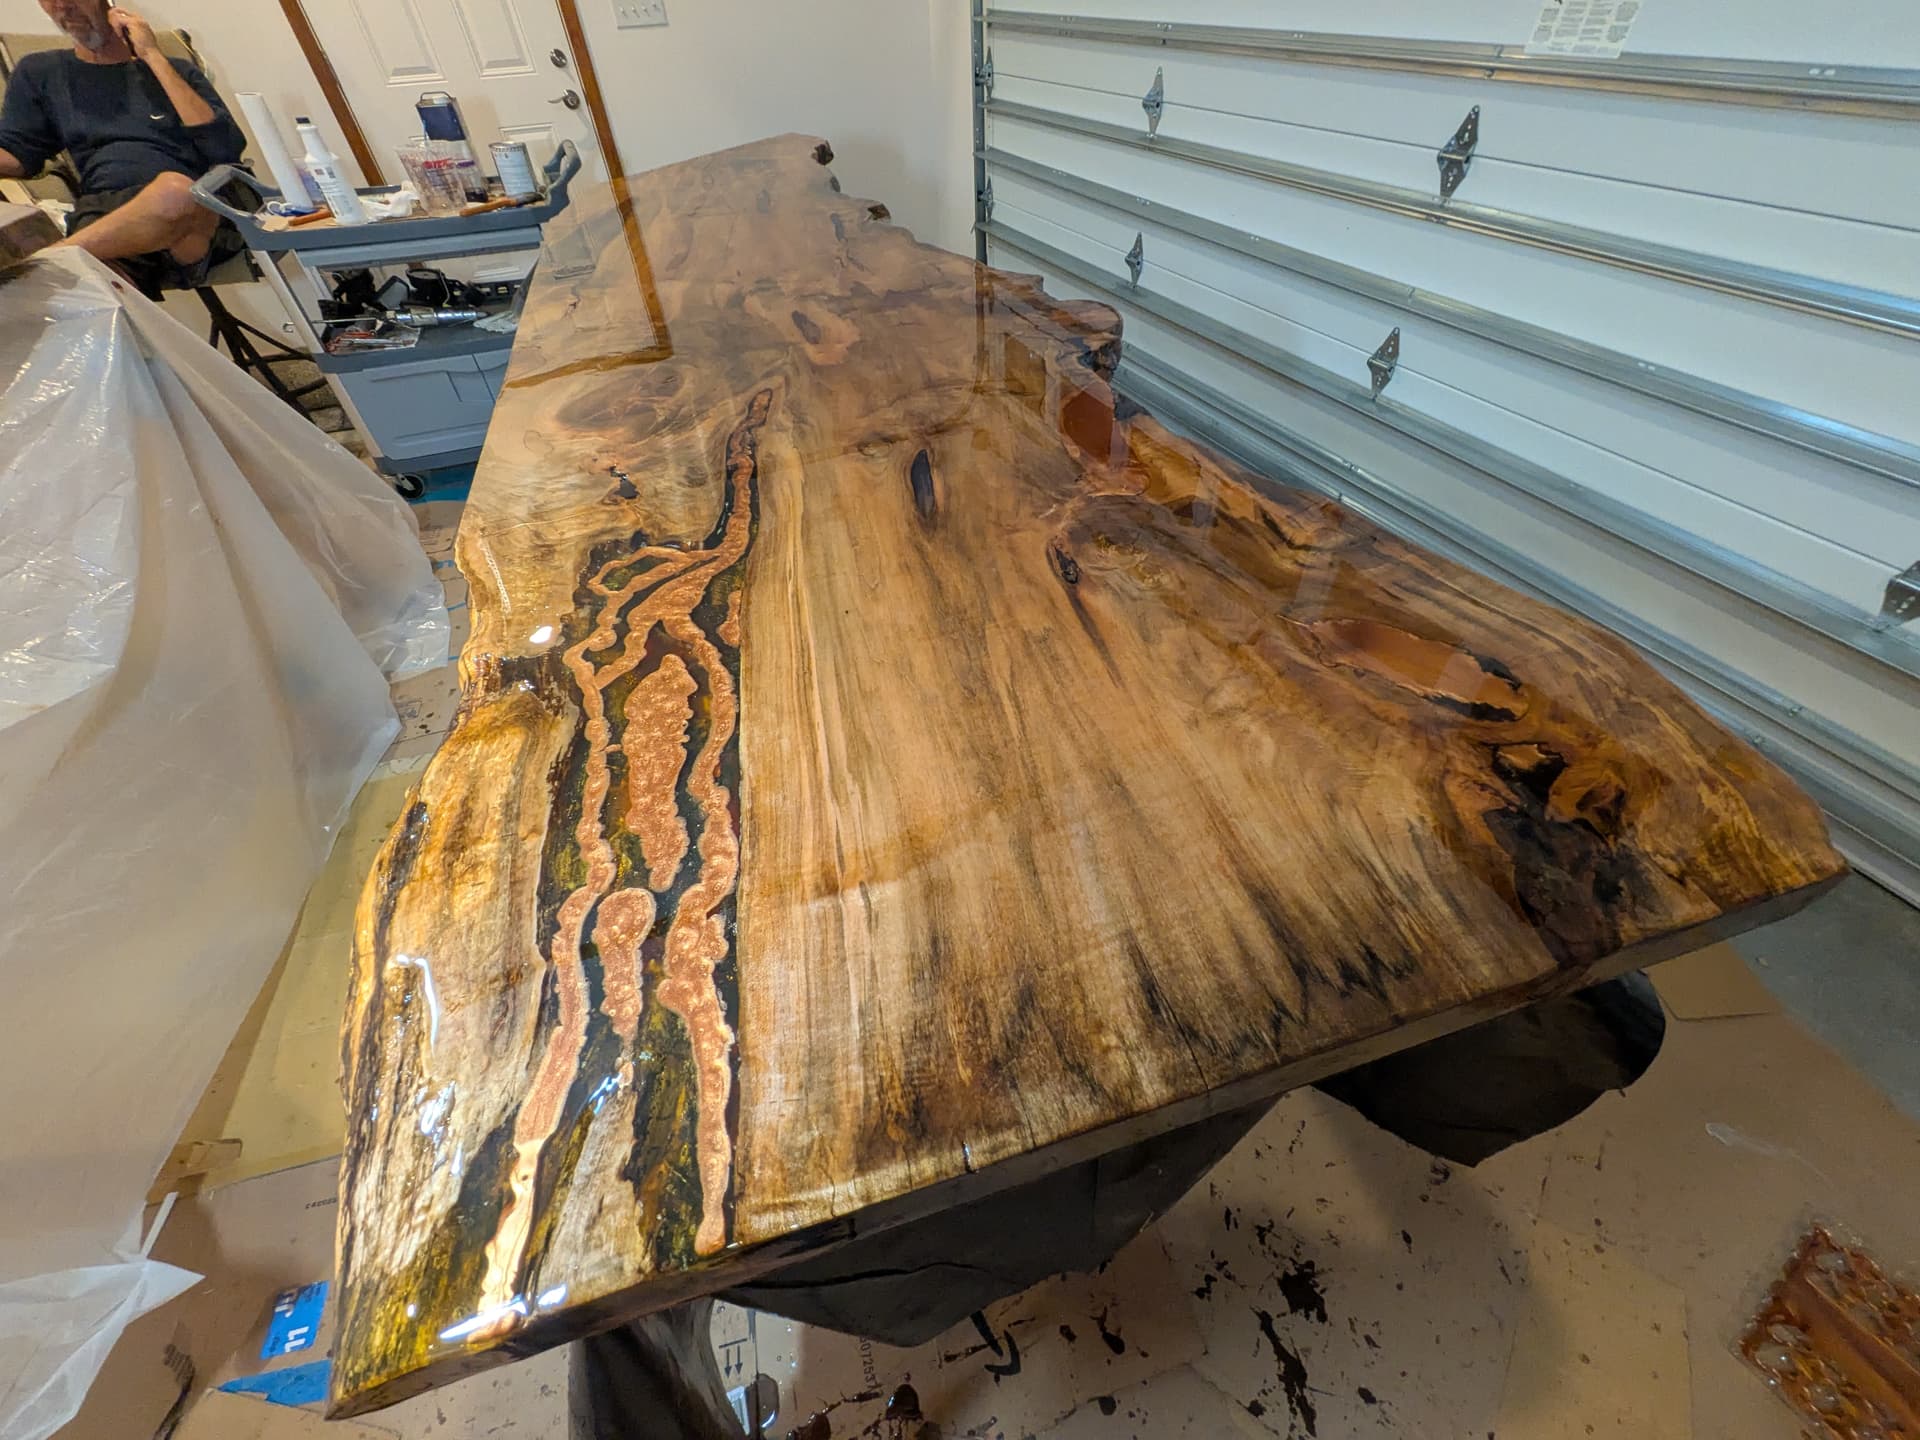
In these last two photos you see the 45 degree cuts. These surfaces will need to join and ideally will be about the same length. To join the two slabs we used a router to put a 1/8" slot 1" deep into each edge. The big-box stores sell 1/8" by 1" wide flat-bar aluminum. In our case there would be an epoxy river running off one edge, so we milled two slots, one each side of the river, and short of the end of the slab to avoid exposing the slot to the outside. The slots are covered with tape to keep epoxy out until the final install.
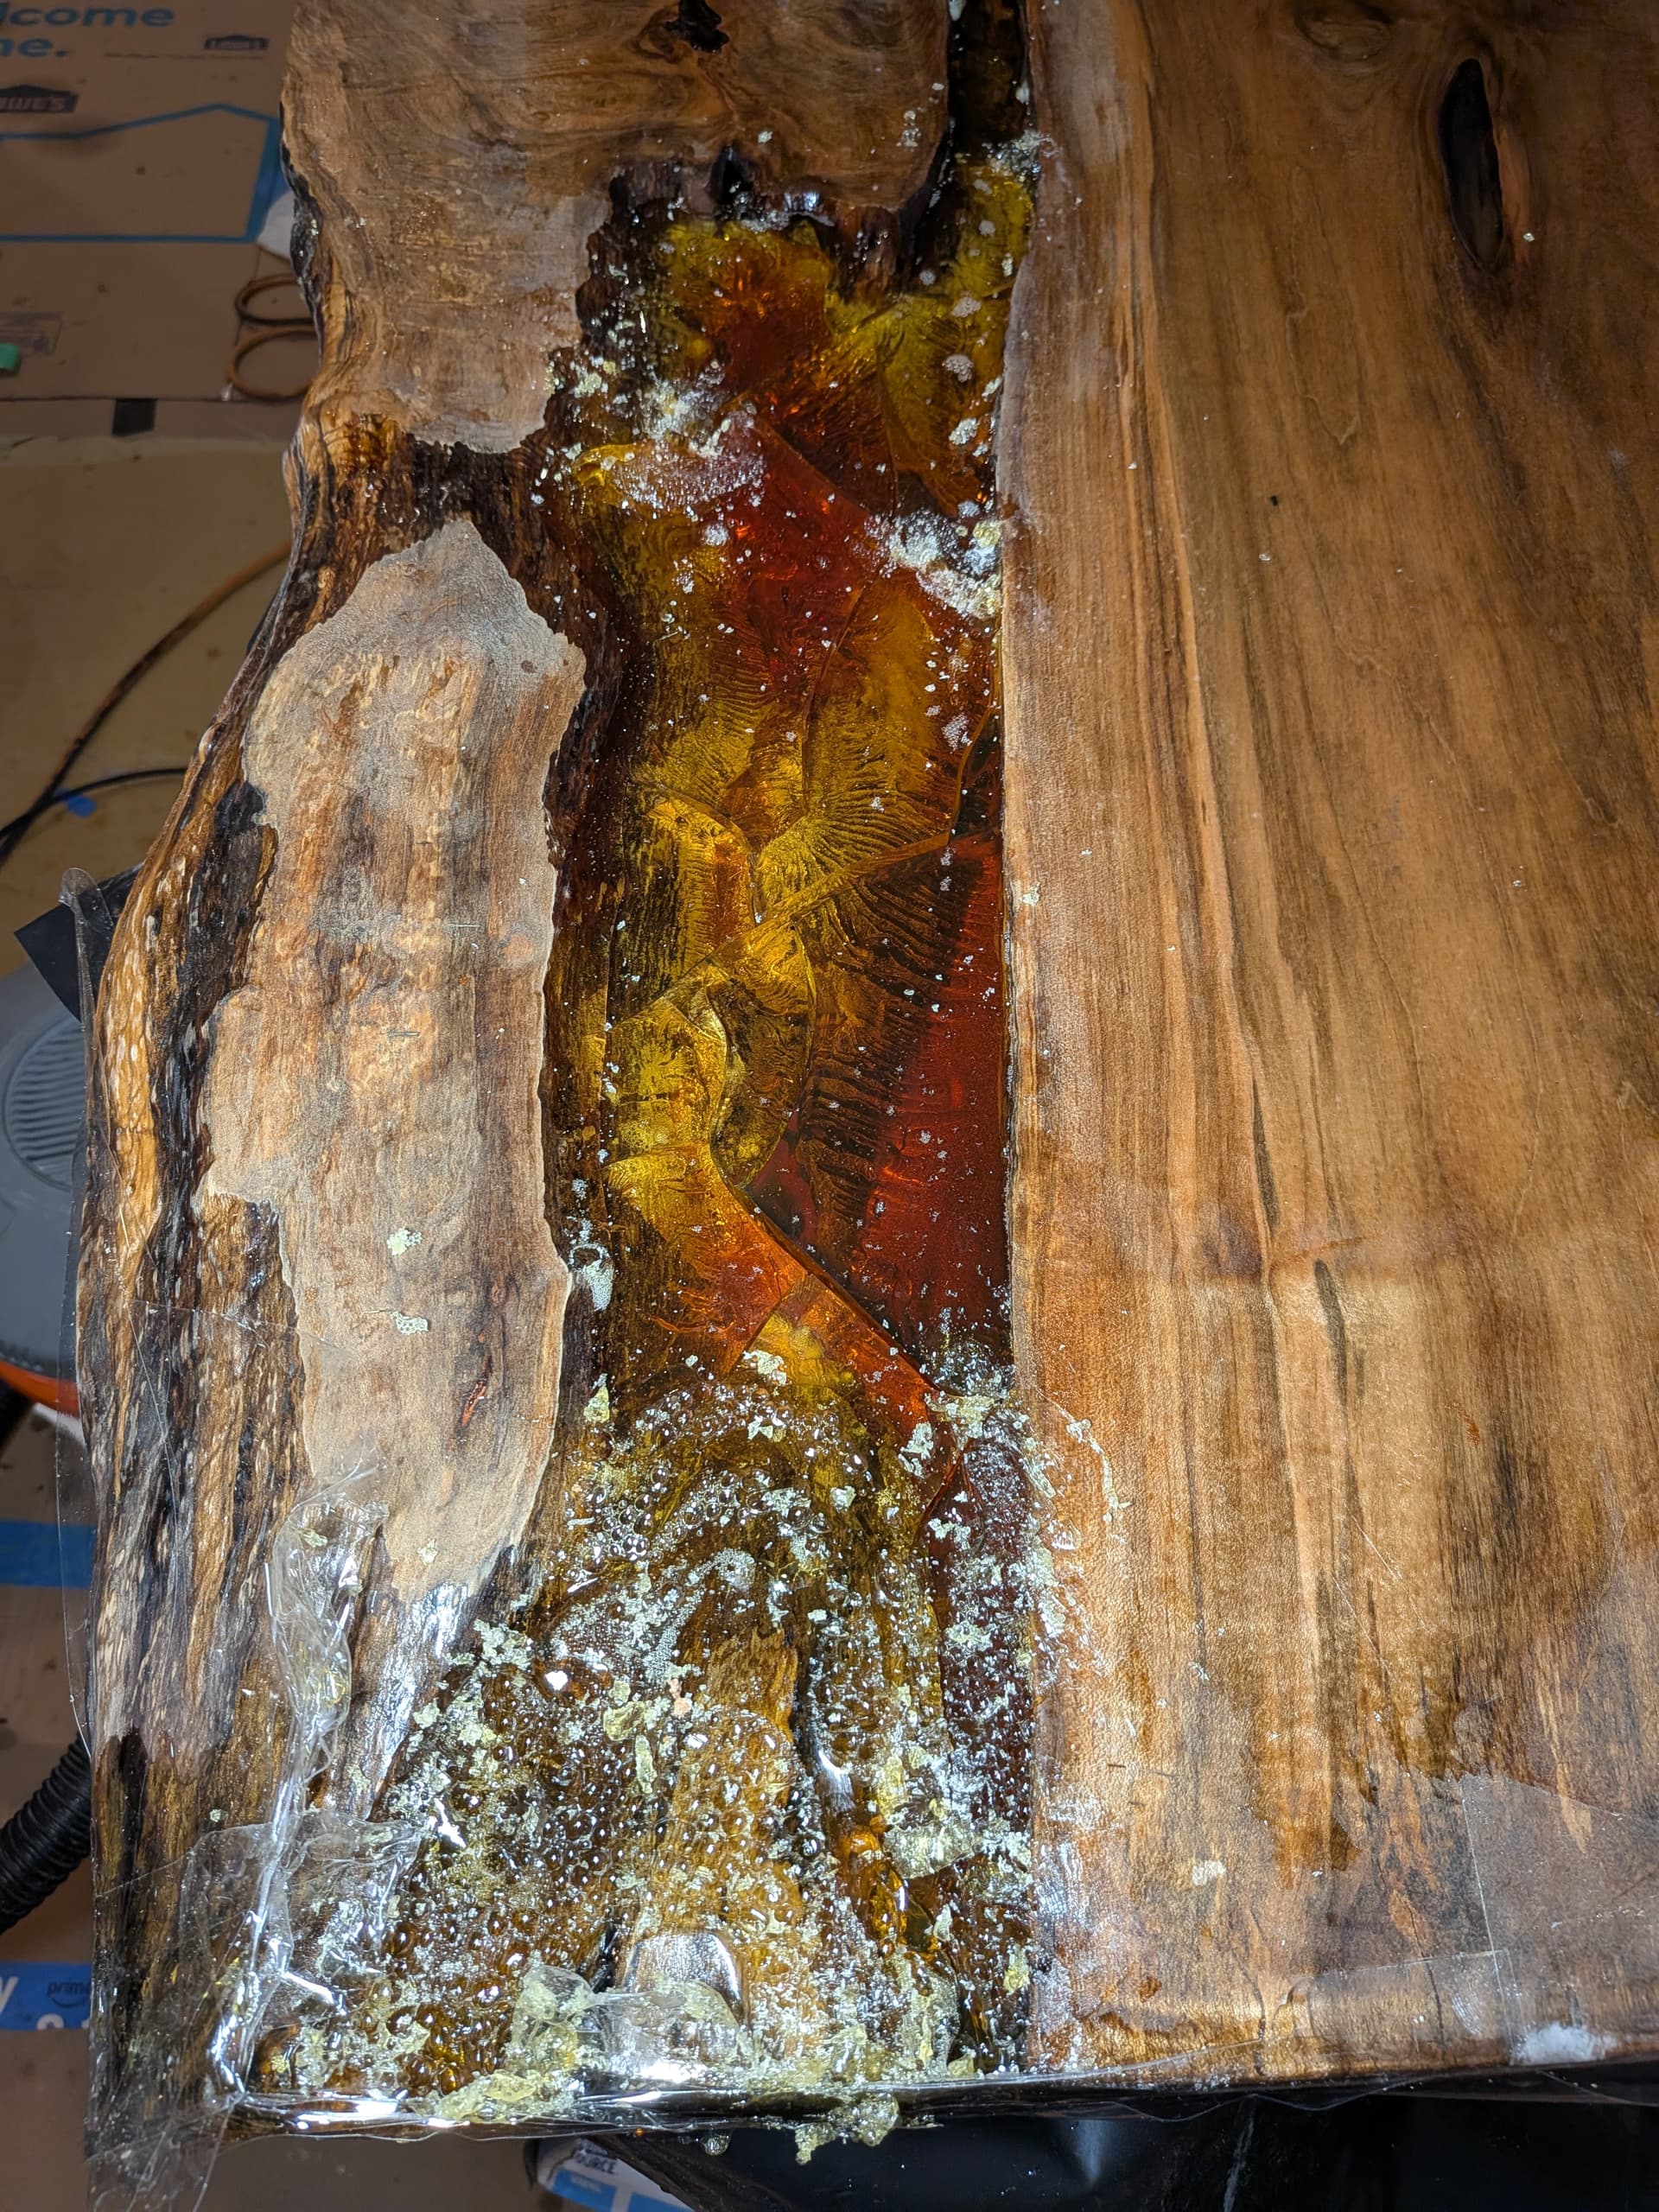
Next we started with the deep pours. The Total Boat ThickSet has a 30 minute working time. Initially we had trouble with bubbles. Many of the bubbles were removed with a heat gun. Later we would mix all epoxy by hand, slowing the process but eliminating the bubbles.
We did a deep pour using the West System 205 epoxy and learned (re-learned) a valuable lesson, do not pour too much at one time, the heat will build up and the epoxy will fracture and bubble up like mad.
And yes, sanding and more sanding
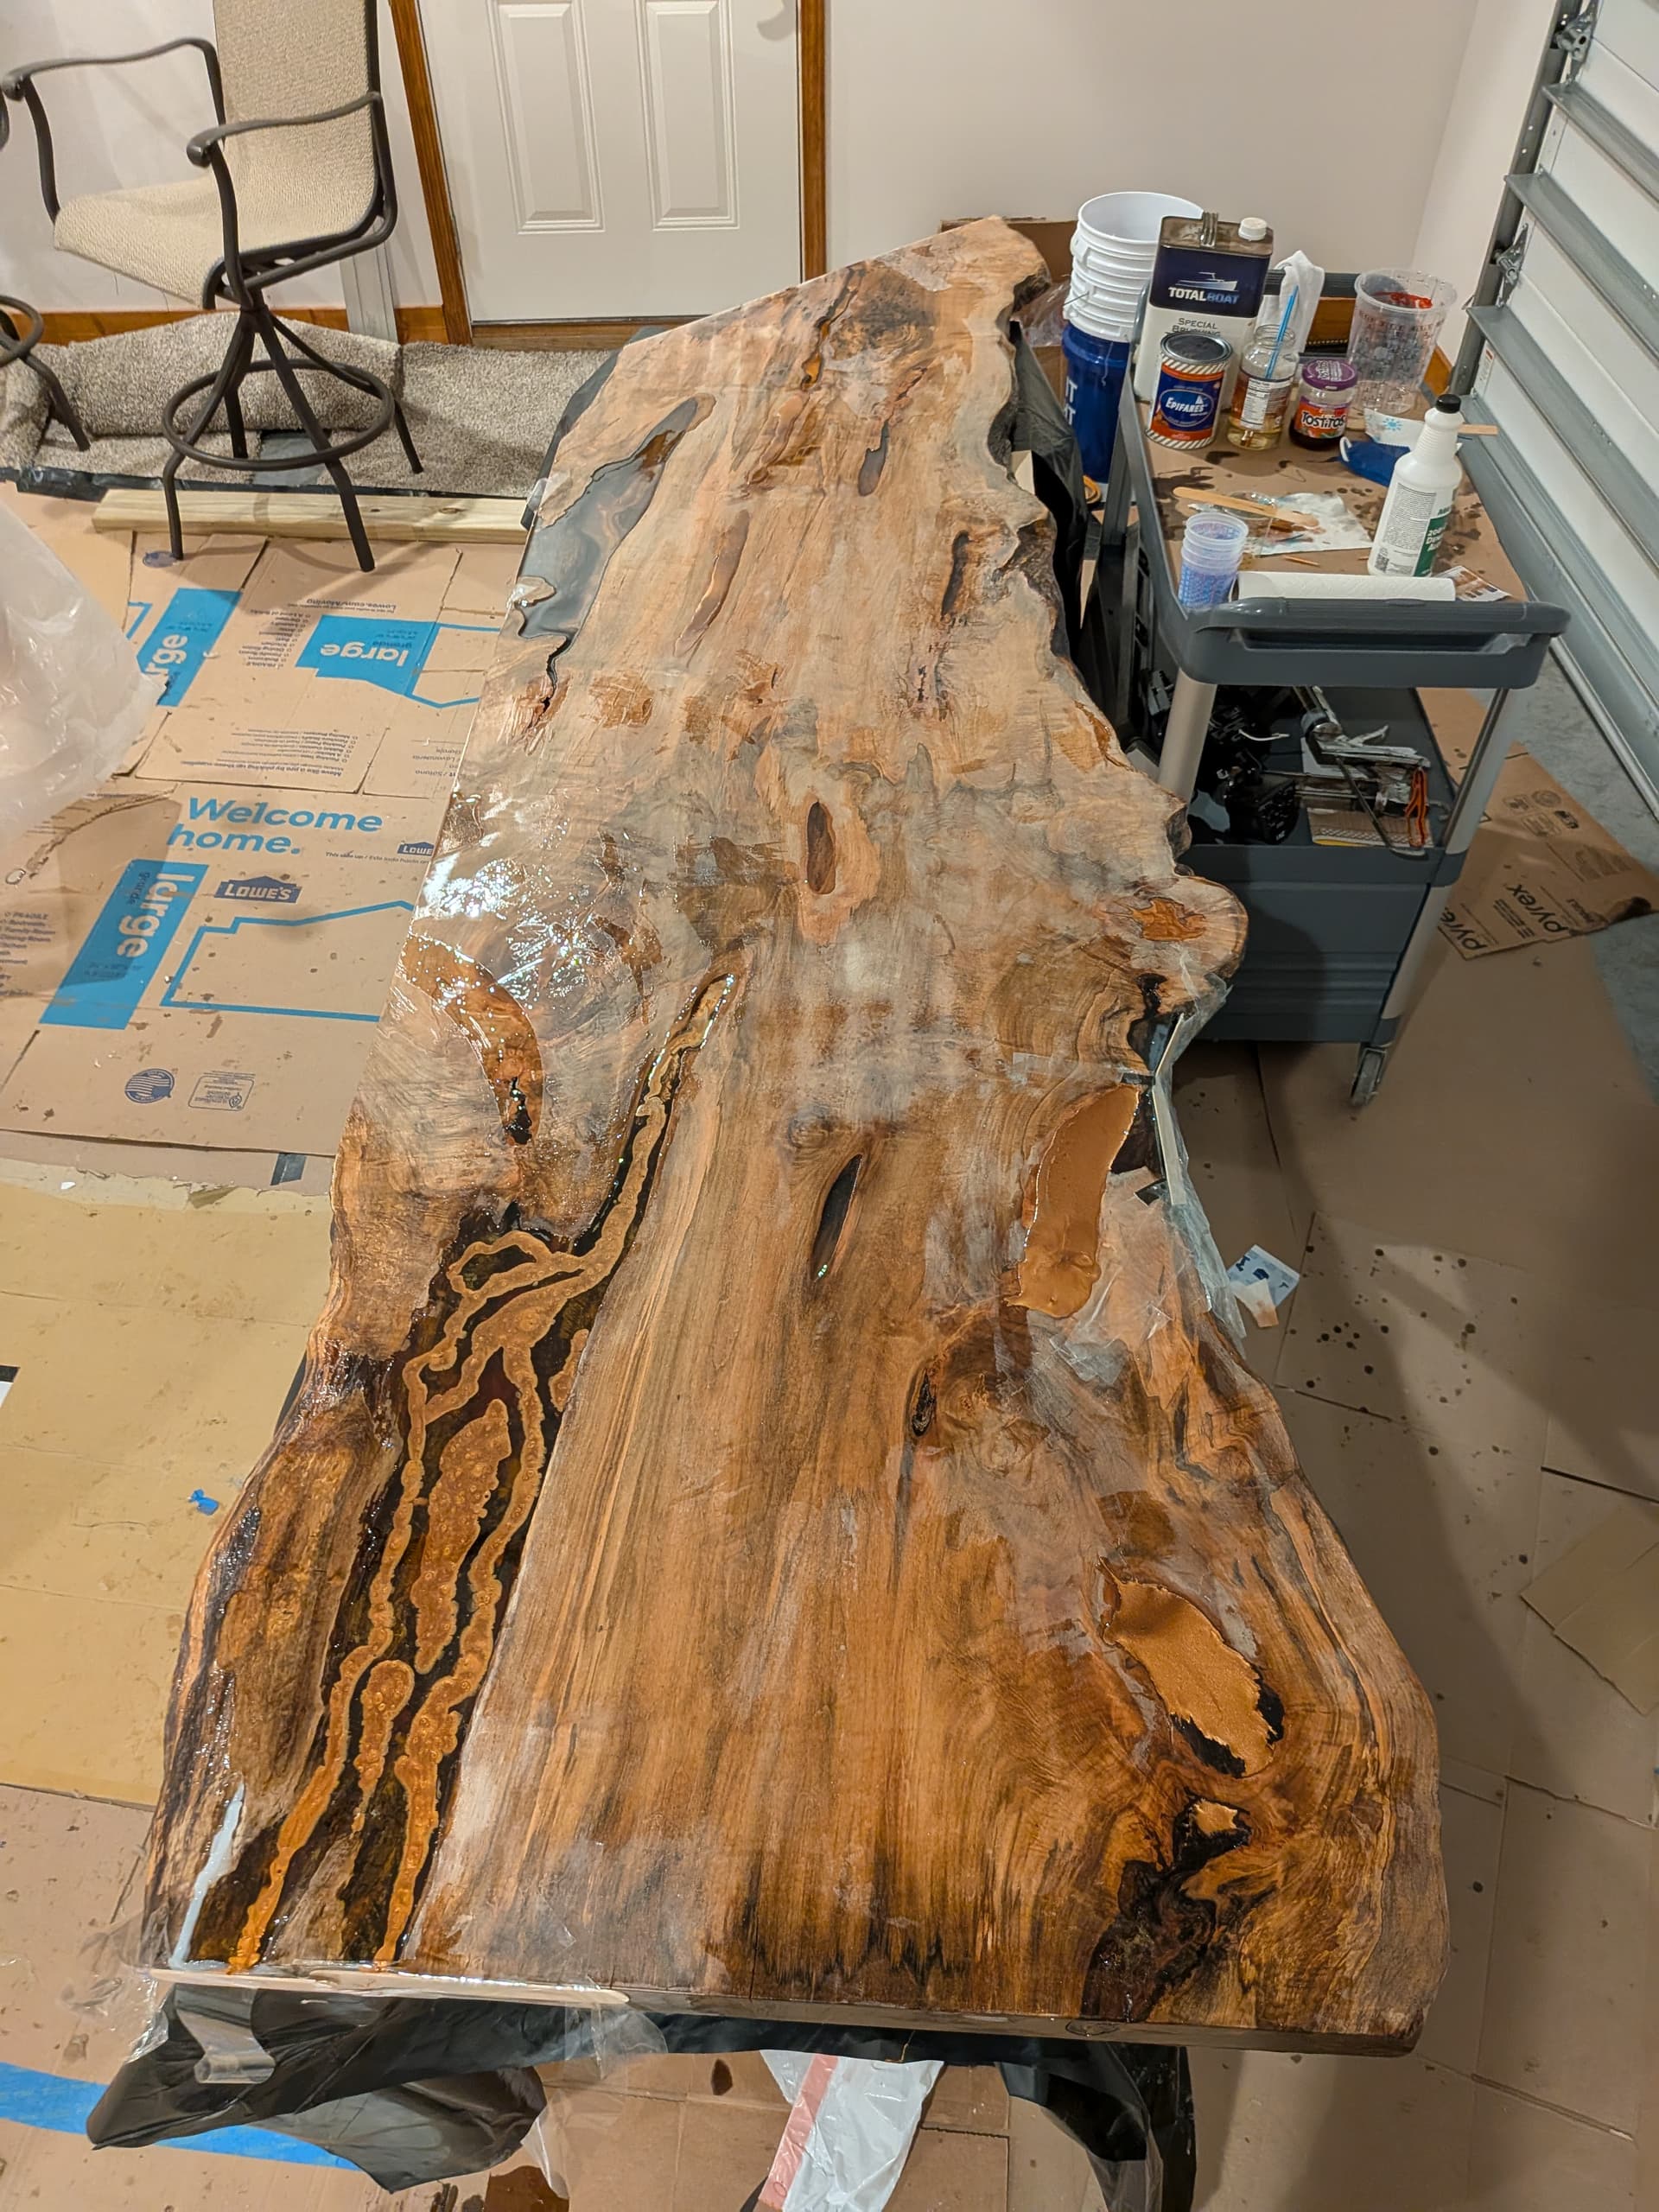
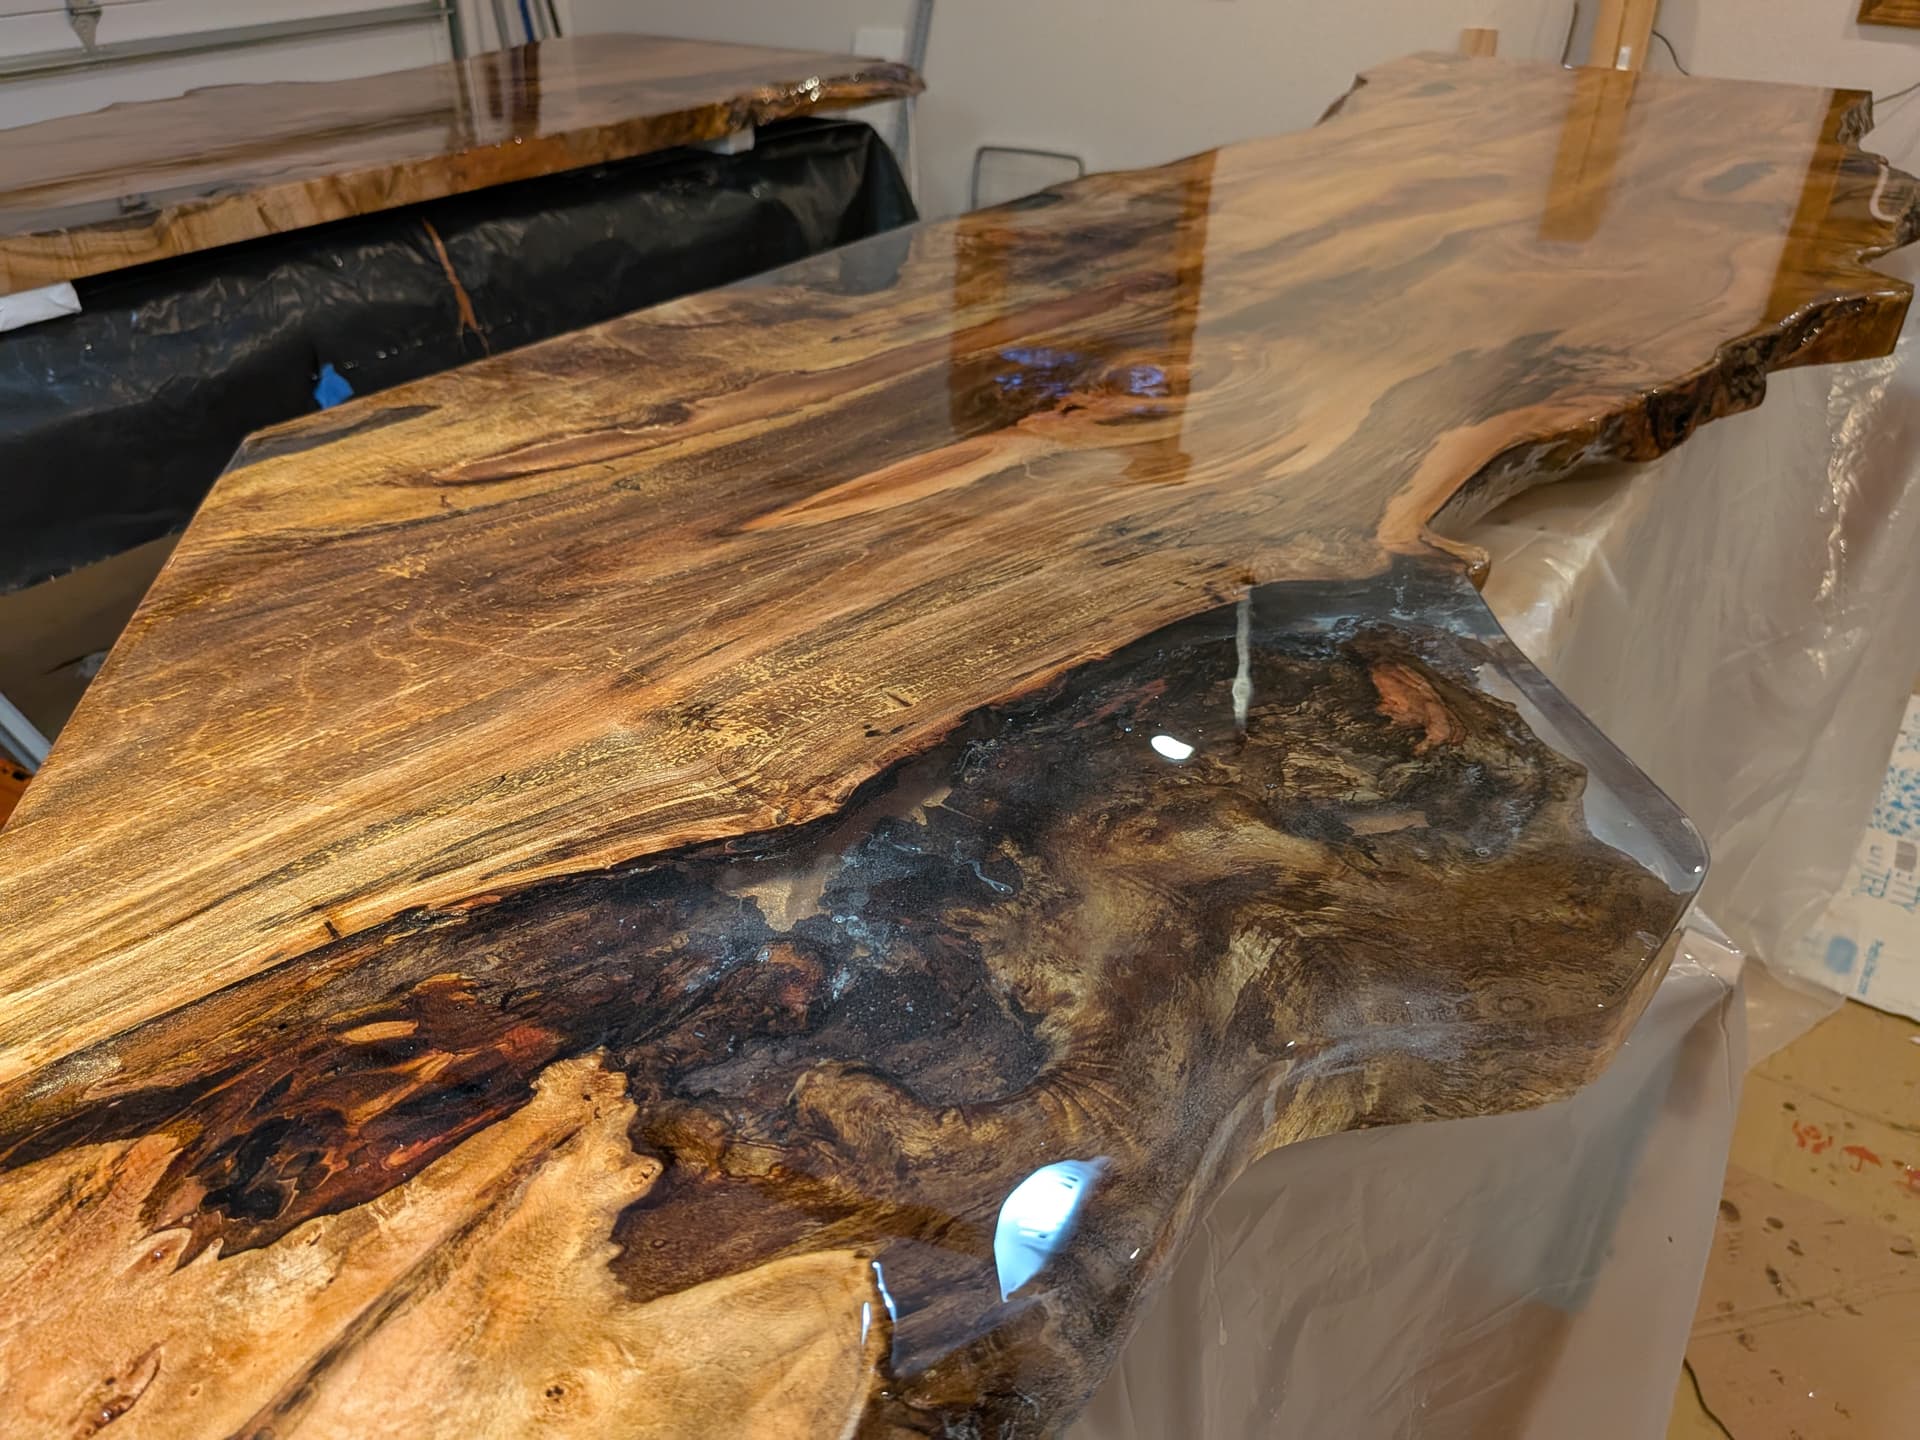
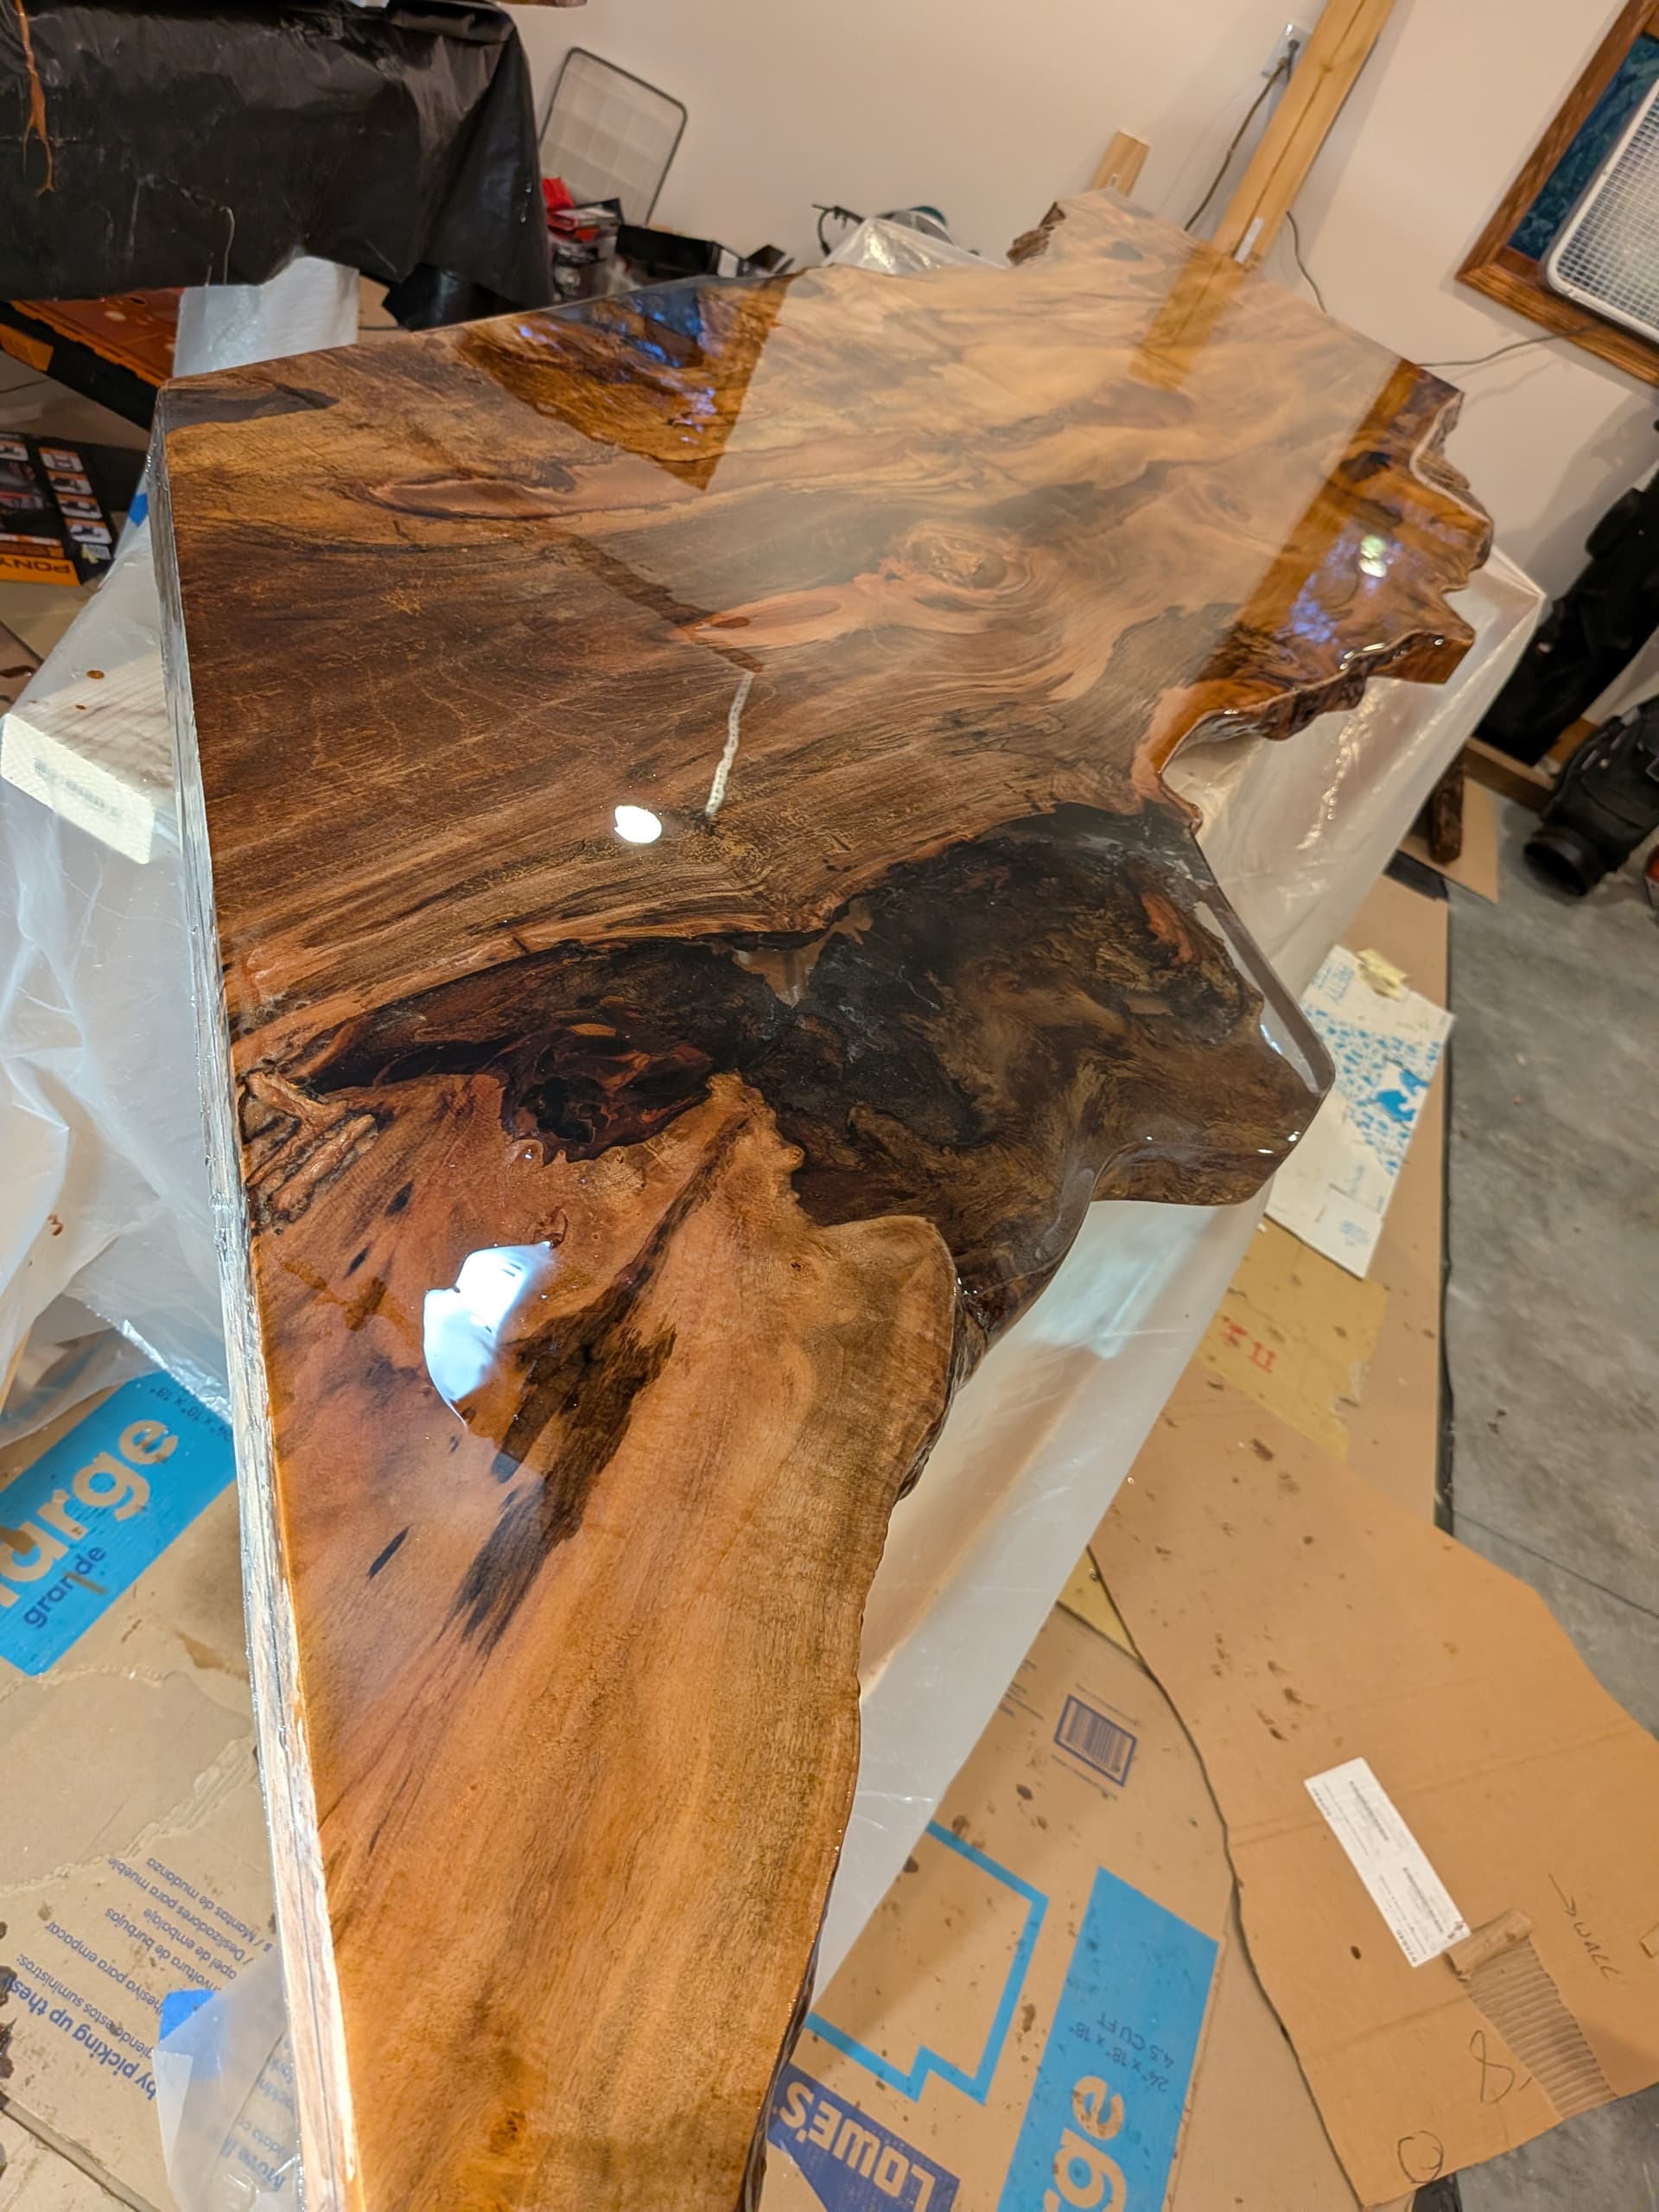
We had about 1 gallon of epoxy remaining for the final flood-fill. The coating ended up being about 1/16" thick, which seed just about ideal. The next morning morning the surface was completely dry. We used a large window fan to circulate all night and a heater to keep the temperature a little warmer and dryer then it would have been without it. The outside temperature was about 58 degrees overnight and inside the garage was about 68 degrees.
We executed a single flood-fill. Optionally we could have done a series of flood fills, each getting the surface closer to glass.
The remaining steps involve:
- Installing the bar halves on the bar-base
- Installing trim at the end of the bar against the wall
- Multiple coats of varnish


Epoxy Troubleshooting
We always have so much time to fix things later but not so much time to do it right the first time!

That is it, belly up to the bar, cheers!