End Grain Maple & Sapele Basketweave

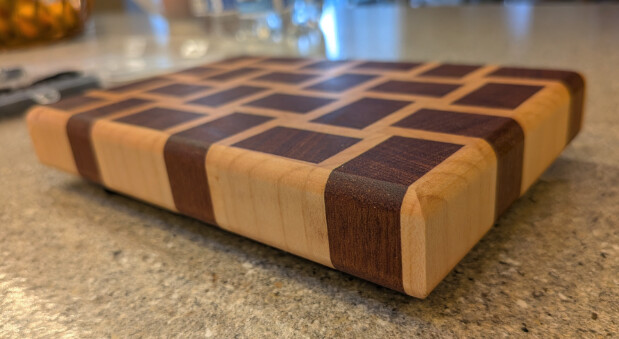
We learn by trying new things. The woods were left over from earlier projects in quantities just enough to prove a build process. These are small boards intended for use on a bar top, just large enough to cut limes.

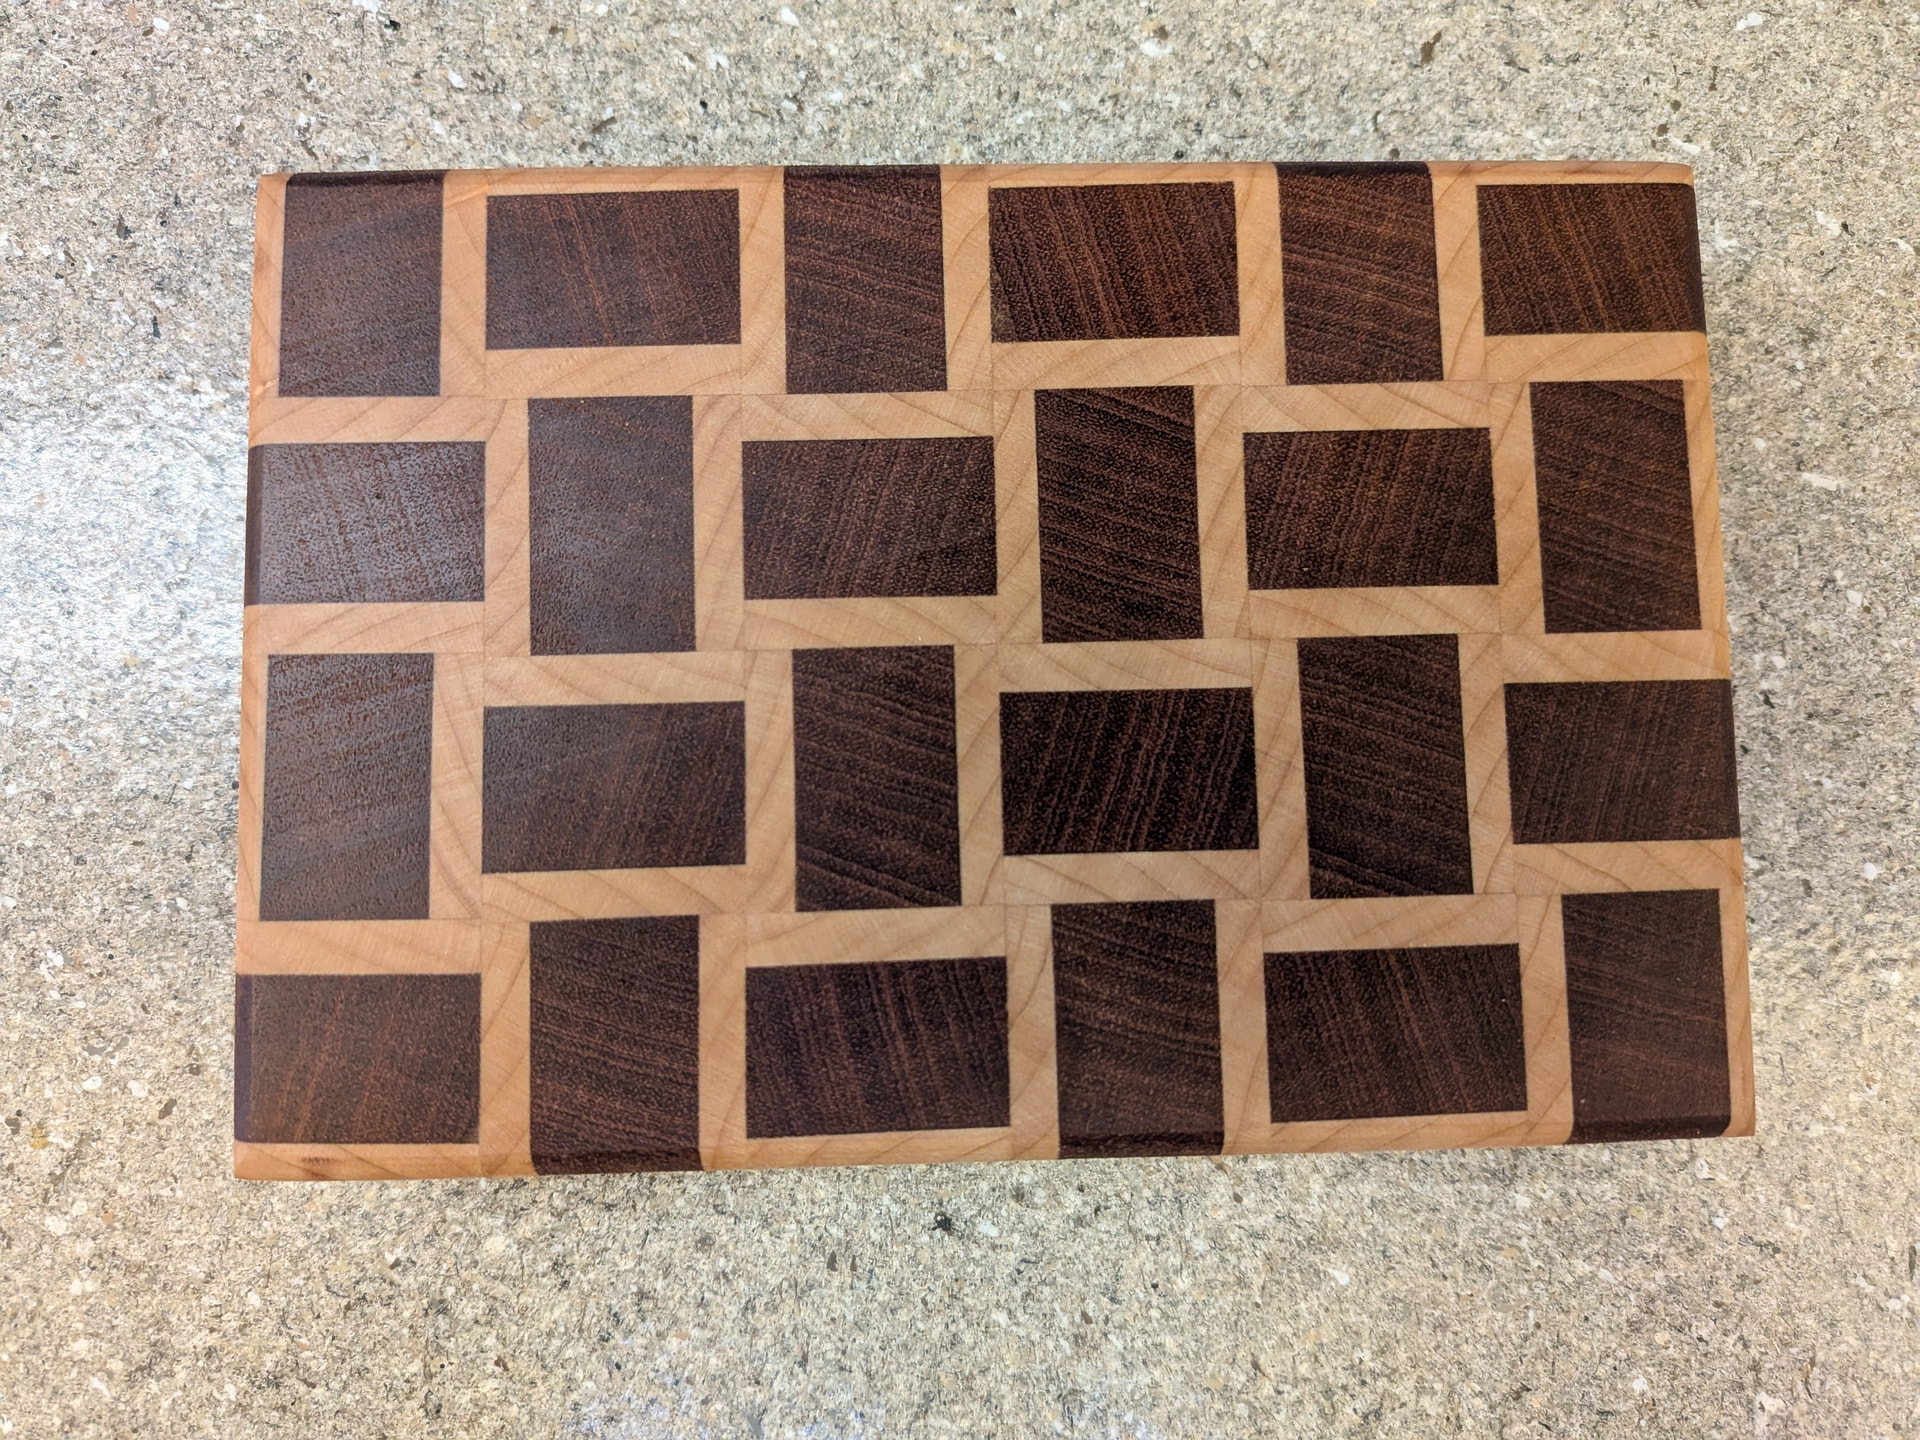
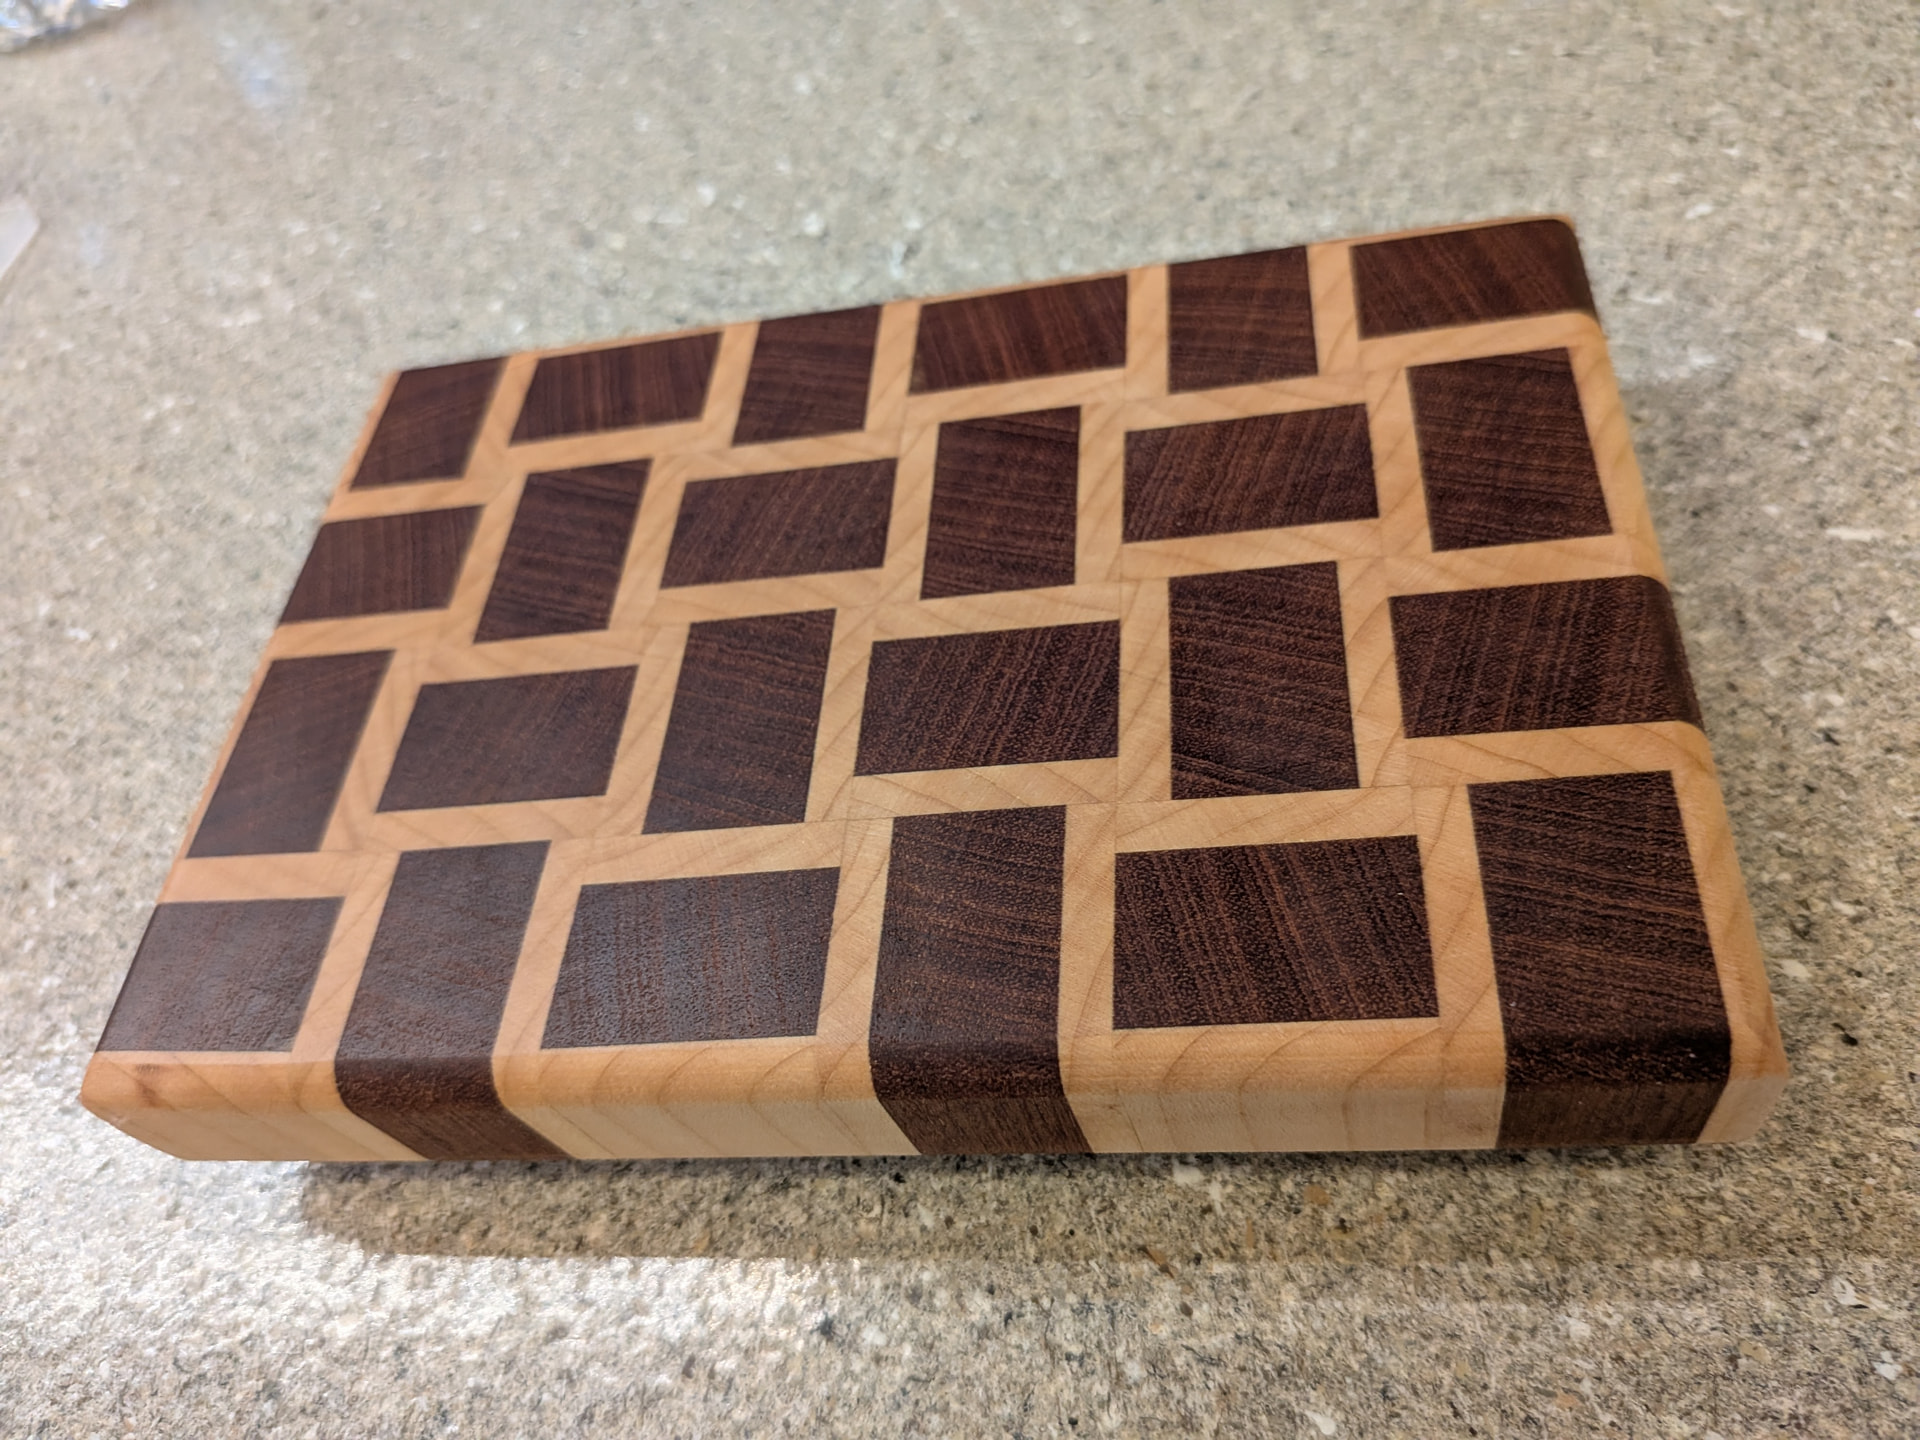
This small cutting board is made from 72 individual pieces of wood, 24 Sapele and 48 Maple.

Process:

  1. Glue-up 1: Make a sandwich with sapele between two thin maple strips. The composite is a perfectly square 2"x2" triplet. Example: Sapele 1.5" thick by 2.0" wide sandwiched between two maple strips 0.25" thick by 2.0" wide. Make 4 of these. Important: You need an even number for the pattern to work.
  2. When the glue dries, clean up each triplet, making each one square, clean, and exactly the same size.
  3. Glue-up 2: Rotate every other triplet. Glue all 4 together.
  4. When the glue dries, clean up each side.
  5. Calculate the strip width necessary to use as much of the material as possible. Consider the blade width. The width of the strips will become the height of the board.
  6. Cut cross-grain to make strips. Lightly sand each strip to remove loose material.
  7. Rotate the strips to have end-grain up, and flip every other strip end-for-end to create the weave pattern.
  8. Glue-up 3.
  9. When the glue dries, clean up the board with a planer and sanding.

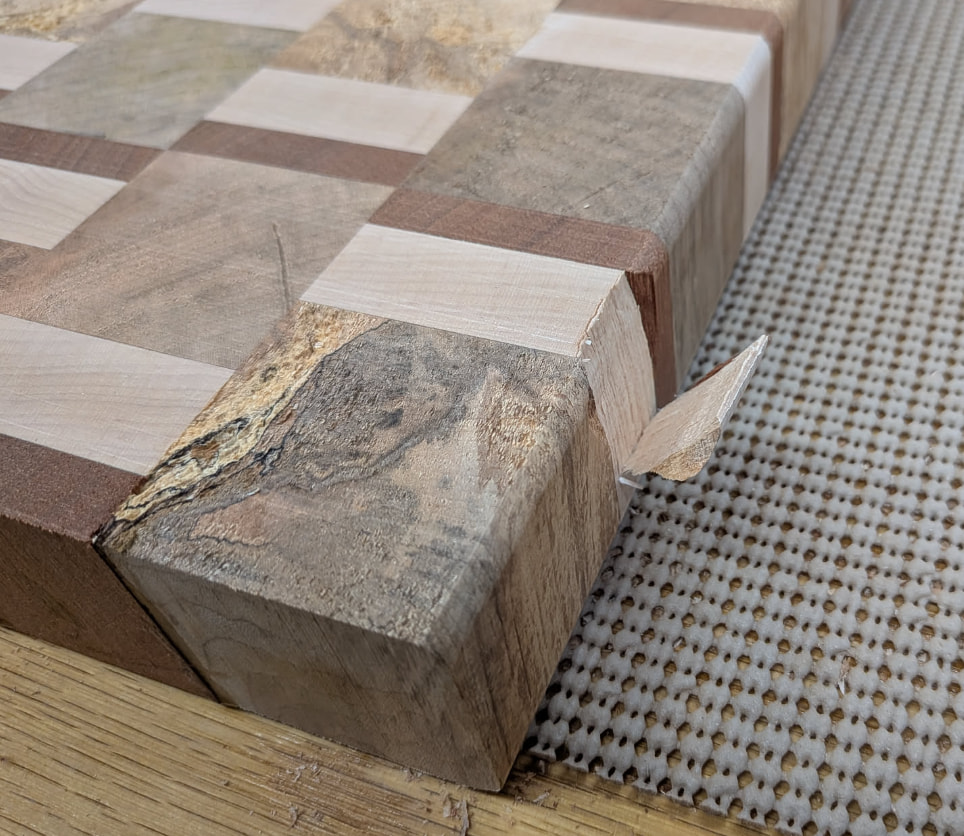
Use caution and great care when using a planer on an end-grain board. Consider avoiding the planer and cleaning up the board by sanding. If you choose to proceed, a router can be used to round over the edges to remove sharp edges that can catch a planer blade. Make gradual passes. In this photo, the white oak splintered a flake from the board, even though the edge was rounded.

  1. Apply butcher block conditioner and optionally install rubber feet.

Youtube Tutorial

In a basketweave cutting board, the “number triplets” are a shorthand for how many strips of each wood/color are grouped together at each stage.

Think of each triplet like:

A / B / C

where each number is the strip count or unit width for the three visual bands in the repeating pattern.

1. First glue-up: make striped blanks

The first glue-up creates long striped panels.

Example triplet:

1-3-1

means:

A B B B A

So the center wood is three units wide, bordered by one unit of the other wood.

For a basketweave look, you usually make two complementary blanks:

1-3-1
3-1-3

So one blank is mostly dark in the middle, the other mostly light in the middle.

2. Second glue-up: cut strips, rotate every other strip

After the first panel is glued, you crosscut it into equal-width strips.

Then you rotate or flip every other strip so the long grain/color blocks alternate direction visually.

The logic is:

Strip 1: normal
Strip 2: rotated/flipped
Strip 3: normal
Strip 4: rotated/flipped

This makes the “over-under” illusion begin.

The triplets now describe the visible block sequence across each row. A row that was:

1-3-1

beside a flipped/rotated row becomes visually opposed by:

3-1-3

That contrast is what makes the weave.

3. Third glue-up: cut again and alternate again

After the second glue-up, you cut the board again, usually perpendicular to the previous cuts.

Then you again alternate orientation/order during the final glue-up.

The goal is to create repeating squares/rectangles where the apparent “wide” band switches direction:

horizontal wide band
vertical wide band
horizontal wide band
vertical wide band

That gives the woven checker effect.

Core rule

For a clean basketweave, the triplets should be mirror/complement pairs:

1-3-1 pairs with 3-1-3
1-2-1 pairs with 2-1-2
2-4-2 pairs with 4-2-4

The middle number controls the “fat strand” of the weave.
The outside numbers control the border/separation that makes the weave readable.

A good starting pattern is:

1-3-1 / 3-1-3

or, if you want a subtler weave:

1-2-1 / 2-1-2

The main idea: each glue-up converts long stripes into blocks, and each alternating rotation swaps which wood appears dominant, producing the over-under basket illusion.